
This post may contain affiliate links. Learn more.

Canned beans are pretty good, and I use them all the time. But you guys. A pot of dried beans, cooked from scratch with a few simple aromatics? They’re better than pretty good. They’re truly great. Here’s how to cook a pound of dried beans in the Instant Pot, on the stovetop, or in the oven.
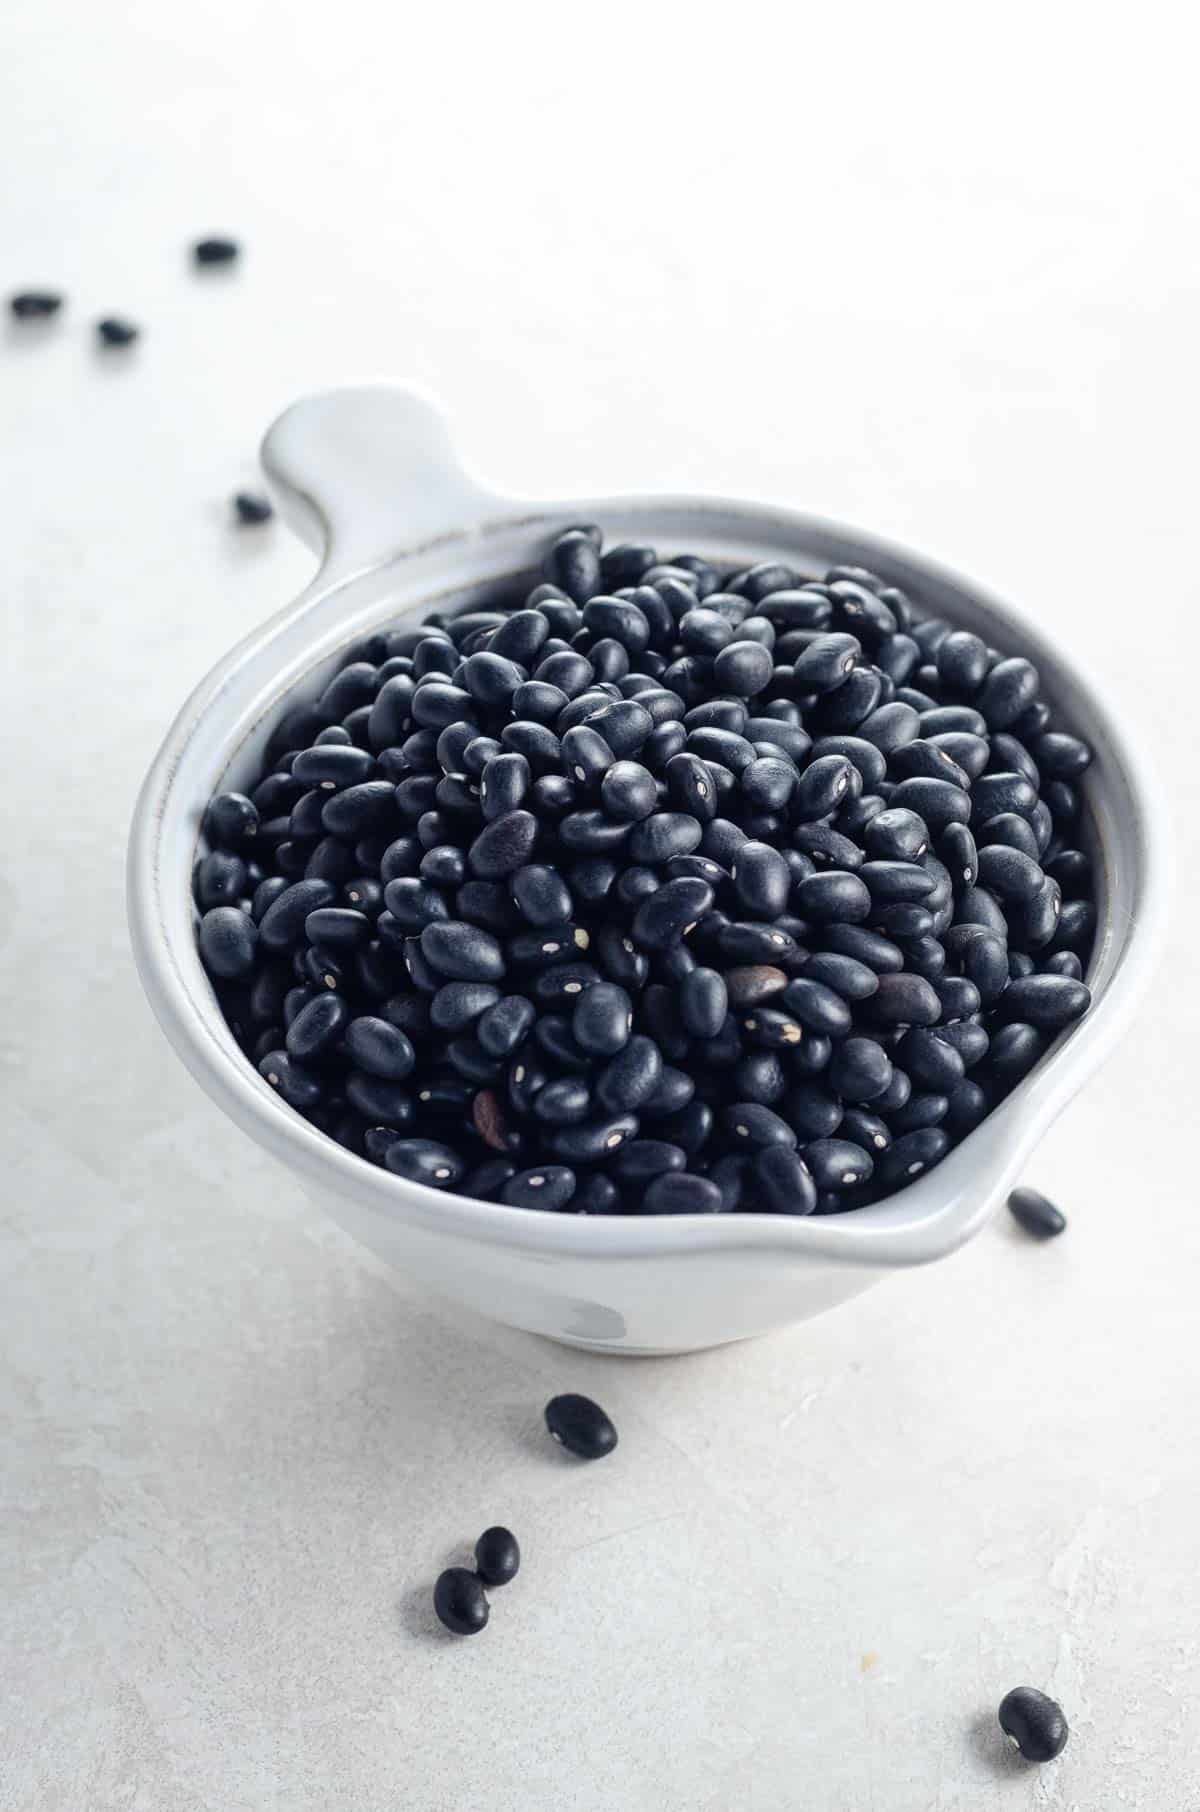
Table of Contents
- Why bother with dried beans?
- What you’ll need
- Buy “fresh” beans
- To soak or not to soak?
- Salt the cooking water
- Treat different bean types (and uses) differently
- Be flexible and observant
- Cooking dry beans in the Instant Pot
- Approximate Instant Pot cooking times by bean type (for unsoaked beans)
- Cooking dry beans on the stovetop
- Cooking dry beans in the oven
- Expert tips and FAQs
- Cooking Dry Beans (Instant Pot, Stovetop, or Oven) Recipe
Why bother with dried beans?
Three words: taste, texture, and cost. Beans cooked from dried are just so, so much more flavorful than canned beans that it almost feels like magic. I realize this sounds a little ridic, but it’s true.
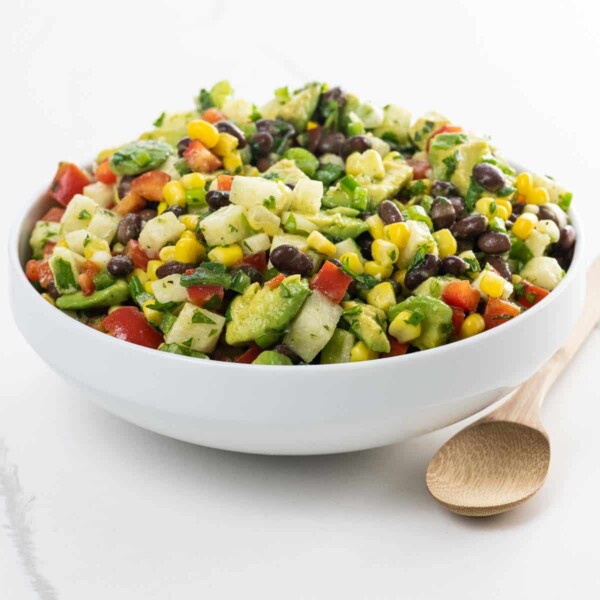
Texture-wise, I love that you can control how firm or soft you’d like your beans when you cook them from dry. For bean salads, it’s nice to leave them a touch on the firmer side. For making refried beans and adding to soups, you might prefer them a little softer.
And although canned beans aren’t particularly expensive, dried beans are dirt cheap. It’s hard to argue with that.
What you’ll need
Here’s a glance at the ingredients you’ll need to make this recipe.
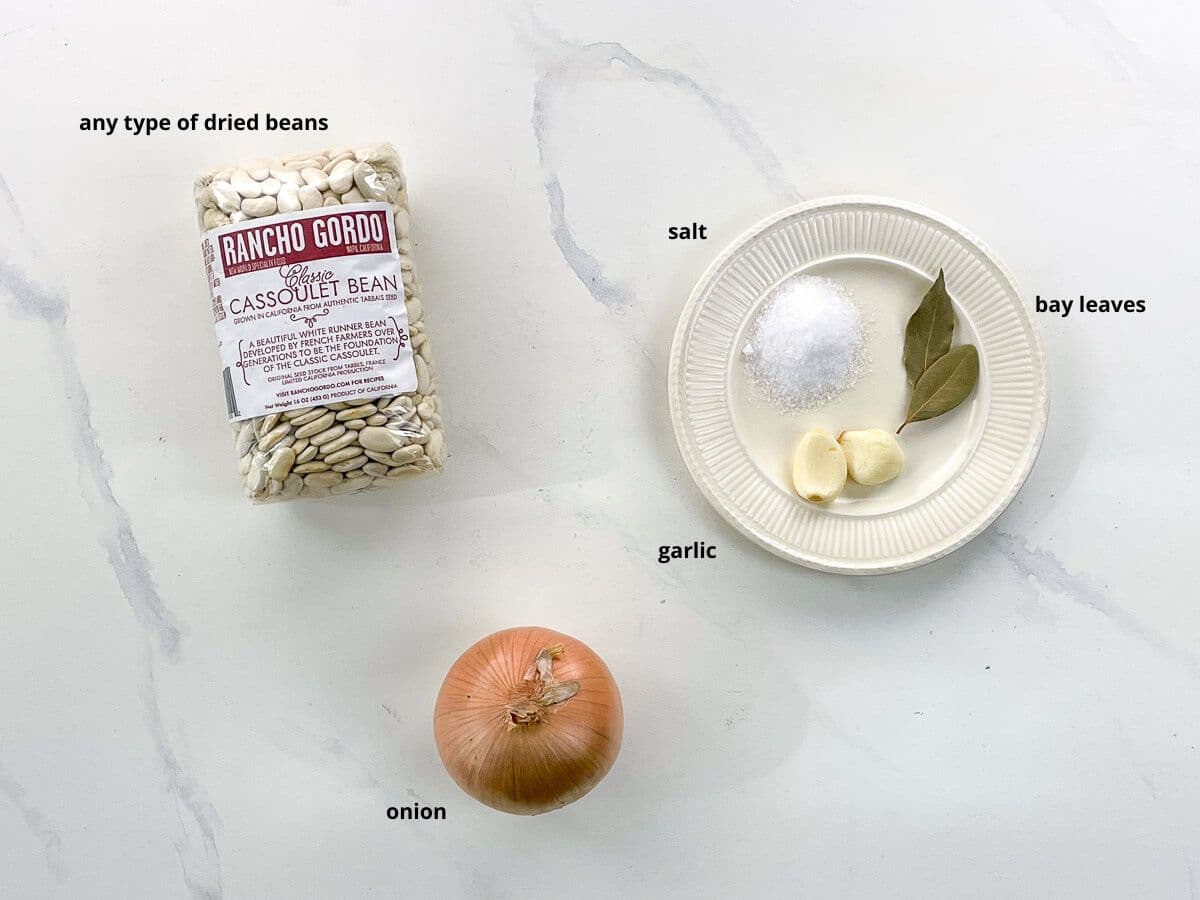
- You’ll start with one pound of any type of dried beans. Refer to the section below for a few suggestions on sourcing.
- For all types of beans, you’ll flavor the cooking liquid with onion, garlic, salt, and bay leaves.
- For white beans, add carrot, celery, rosemary, and thyme.
- For pinto beans bound for Mexican- or other Latin-American-inspired dishes, you can add oregano and cumin if you like.
Buy “fresh” beans
Fresh may be a confusing term when buying dried beans, but do yourself a favor and buy from a source that sells beans consistently and frequently, so the ones you find on the shelf won’t have been sitting around for ages.
It’s true that you can increase the cooking time for older beans to soften them eventually, but it’s also true that older beans don’t cook as consistently, so even if you cook them meticulously you’re likely to end up with some blown-out beans, some perfectly cooked ones, and some that are still too firm, all in the same pot.
To soak or not to soak?
The good news is, there’s a clear answer to the question of whether to soak beans before cooking. The bad news is, the answer is this: It depends.
Nutritional perspective
First things first: All legumes contain phytates (sometimes called phytic acid). They can bind with some nutrients and make them less bioavailable. If you have a heavily plant-based diet or are otherwise concerned about consuming too many phytates, soaking beans for 24 hours before cooking helps remove it. From
Next: You may have heard that soaking beans will make you less gassy. This part really doesn’t seem to be true. (It’s possible it’s true for some very small percentage of people, since everyone’s different — but there isn’t really evidence to support it as a general theory.) So my advice is, don’t soak for that reason.
Culinary perspective
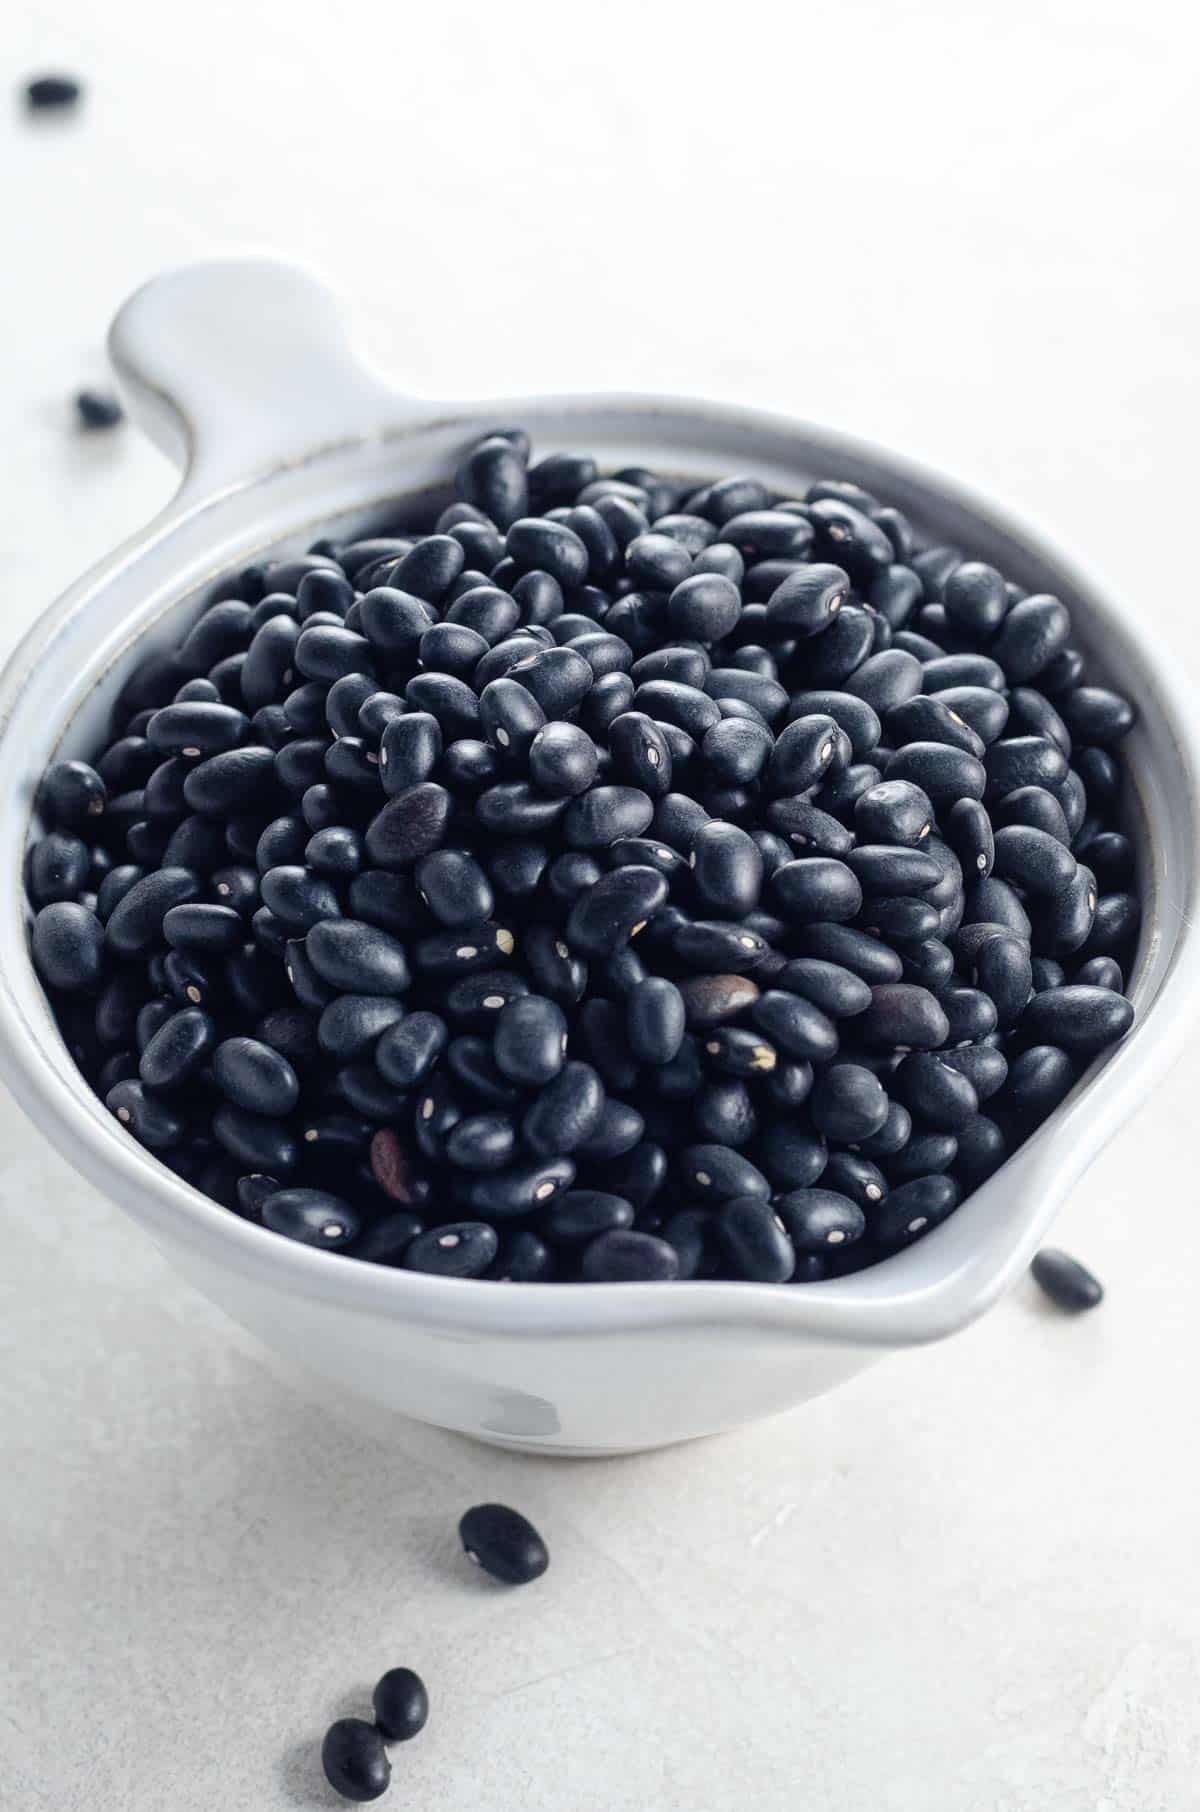
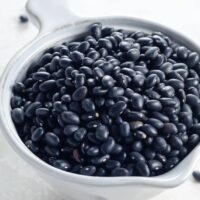
From a culinary perspective, some types of beans really don’t need to be soaked and may even taste more flavorful if you skip soaking. Small beans with thinner skins like black beans, black-eyed peas, mung beans, and adzuki beans do not need to be soaked no matter whether you’re cooking them on the stovetop or in the Instant Pot.
Larger beans, like chickpeas, great northerns, and pinto beans, benefit from soaking if you’ll be cooking them on the stovetop. Here’s how:
- Rinse beans, place in a bowl or pot with cool water to cover by a couple of inches, and stir in a teaspoon or two of salt.
- Leave to soak for four to eight hours. (I don’t love the quick-soak method where you bring the soaking water to a brief boil and let the beans sit in the hot water for an hour, because I find it results in quite a lot of blown-out beans.)
- Soaking results in shorter cooking time for these larger beans, plus more even cooking if your beans are older.
If you’re cooking beans in the Instant Pot, even these larger beans do not need to be soaked.
Salt the cooking water
Let’s clear up a persistent myth. Salting the water while cooking beans does NOT prevent them from getting soft, and it does NOT cause their skins to blow out. It just doesn’t. Culinary school, casual conversation, and the internet are all full of popular “wisdom” that doesn’t stack up.
Acid (like tomato products) in bean cooking liquid can cause beans not to soften well. But friends, salt just makes your beans taste as delicious as they’re supposed to.
Treat different bean types (and uses) differently
Chickpeas take longer to cook than black beans. Pinto beans are somewhere in the middle. Just to name a few. There’s no one-size-fits-all magic cooking time for beans, so follow the suggestions for your bean type.
Also consider the purpose for which you’ll be using the beans. Making a bean salad? You’ll probably want them a touch firmer. Using in soup or to make refried beans? Maybe cook them a little longer.
Be flexible and observant
In the end, no one can tell you exactly how long the beans you have today will take to cook. There’s too much variability in age, type, etc. to know for sure. So it’s your job to pay attention, taste frequently, and own the process. You can do this.
Cooking dry beans in the Instant Pot
As always, I have certain strict rules for Instant Pot recipes. In order to be IP-worthy, a recipe needs to fit three criteria:
- First, you have to be able to place all the ingredients in the pot at once and walk away. Just because you can sautée in the Instant Pot does not, in my mind, mean you should.
- Second, the recipe needs to have long-cooking ingredients that truly cook faster in the Instant Pot, even when you account for the time it takes for the IP to come up to pressure.
- And third, there can be zero loss of flavor, texture, or authenticity based on the use of the Instant Pot. Dried beans definitely fit the bill.
Important note
Don’t fill your Instant Pot more than halfway with beans, since they’ll expand and foam a lot during cooking, and you’ll risk clogging the pressure release valve. Don’t let this information scare you, but do follow this important instruction. A pound of beans fits easily into a 6-quart Instant Pot.

How to do it
To cook a pound of beans in the Instant Pot, first rinse them first under running water and pick out any non-beanlike matter such as small stones. Then:
- Place beans in the Instant Pot and add six cups of cool water (filtered if possible, since extra minerals in hard water may increase cooking time).
- Add salt, bay leaves, garlic, and onion, along with any additional ingredients.
- Close lid and set vent to sealing position. Set IP to manual, high pressure, for the time indicated below for your bean type. The IP will take 20 minutes or so to come up to pressure before starting the cooking time.
- After cooking, allow pressure to release naturally for best bean texture. This, too, will take about 20-25 minutes.
A note on Instant Pot cooking times
The downside of the Instant Pot is that you have to commit to a cooking time and walk away, rather than watching and testing beans as you go. I find that aiming for the higher end of the suggested cooking time range works best, since Instant Pot beans don’t tend to get overly mushy, just delightfully creamy inside with mostly intact skins as they cook. I’d rather have slightly softer beans than have to repeat the tail end of the cooking process.
That said, if your beans aren’t done to your liking after natural pressure release, lock the lid on again, seal the vent, and cook on high pressure for an additional 10 minutes. The pot should come up to pressure much more quickly the second time since the contents are already hot. It’s best to release pressure naturally again at the end of cooking time to preserve the shape of the beans, but if you’re in a rush, it’s okay to do a manual release.
Approximate Instant Pot cooking times by bean type (for unsoaked beans)
Please note that everything from bean variety to quality to age, to the mineral content of your water, to the altitude at which you live, can substantially affect bean cooking time, so these numbers are simply guidelines. You may need to experiment a bit to get optimal results.
These cooking times are a bit longer than what you will see elsewhere on the internet. This is what has worked for us. If you’d like to see the standard charts provided by Instant Pot and Rancho Gordo, you can find them here (Instant Pot) and here (Rancho Gordo).
| Type | Minutes |
| Black-eyed peas | 10 |
| Black (turtle) | 30 |
| Cannelini | 40 |
| Chickpeas | 50 |
| Great Northern | 40 |
| Lima | 20 |
| Pinto | 40 |
Cooking dry beans on the stovetop
Rinse beans under running water and pick out any non-beanlike goodies such as small stones. Then:
- Place beans in a medium pot and add fresh cool water, filtered if possible, to cover by about two inches.
- Add salt, bay leaves, garlic, and onion, along with any additional ingredients.
- Bring to a boil, then reduce heat to a gentle simmer.
- Partially cover the pot and simmer slowly until beans are done to your liking, stirring occasionally and topping up with additional water if necessary. This will take anywhere from an hour to three hours or more, depending on the type and age of the beans you’re using.
Cooking dry beans in the oven
Preheat the oven to 300°F with the racks in the lowest positions. Rinse beans under running water and pick out any non-beanlike goodies such as small stones. Then:
- Place beans in a 5-quart Dutch oven and add fresh cool water, filtered if possible, to cover by about two inches.
- Add salt, bay leaves, garlic, and onion, along with any additional ingredients.
- Cover pot, place into preheated oven, and cook until beans are tender to your liking, stirring occasionally and topping up with additional water if necessary.
- For smaller beans, start checking at the one hour mark. Larger beans may take three hours or more.
Expert tips and FAQs
You can. Cooked beans will keep well in an airtight container in the fridge for about a week.
Once cooled, ladle beans into containers (pyrex or mason jars work well) and cover with their cooking liquid. This helps prevent beans from drying out. Scoop out, drain, and use as indicated in your recipe!
Hungry for more?
Subscribe to Umami Girl’s email updates, and follow along on Instagram.
Cooking Dry Beans (Instant Pot, Stovetop, or Oven)
Equipment
Ingredients
For all beans
- 1 pound (454 grams) dried beans, any type
- 2 teaspoons fine sea salt
- 1 medium yellow onion, peeled and quartered
- 2 garlic cloves, peeled and smashed
- 2 bay leaves
For chickpeas and white beans
- 1 carrot, cut into chunks
- 1 celery rib, cut into segments
- Sprig of fresh rosemary
- A few sprigs of fresh thyme
For pinto beans bound for Latin-inspired dishes
- A few sprigs fresh oregano or 1 teaspoon dried
- 1 teaspoon cumin seeds
Instructions
Stovetop Instructions
- If cooking larger, thicker-skinned beans such as chickpeas, great northern, cannellini, soak them for four to eight hours in cool water filtered if possible, to cover by a couple of inches, with two teaspoons of salt. Then proceed as directed in step two, discarding soaking water.
- Rinse beans under running water and pick out any non-beanlike goodies such as small stones. Place beans in a medium pot and add fresh cool water, filtered if possible, to cover by about two inches.
- Add salt, bay leaves, garlic, and onion, along with additional ingredients listed above, if using.
- Bring to a boil, then reduce heat to a gentle simmer. Partially cover the pot and simmer slowly until beans are done to your liking, stirring occasionally and topping up with additional water if necessary. This will take anywhere from an hour to three hours or more, depending on the type and age of the beans you’re using and how tender you’d like them.
Instant Pot Instructions
- Rinse beans under running water and pick out any non-beanlike matter such as small stones.
- Place beans in the Instant Pot and add six cups of cool water (filtered if possible, since extra minerals in hard water may increase cooking time).
- Add salt, bay leaves, garlic, and onion, along with additional ingredients listed above, if using.
- Close lid and set vent to sealing position.
- Set IP to manual, high pressure, for the time indicated below for your bean type. The Instant Pot will take 20 minutes or so to come up to pressure before starting the cooking time.
- After cooking, allow pressure to release naturally for best bean texture. This, too, will take about 20-25 minutes.
Oven Instructions
- Preheat the oven to 300°F with the racks in the lowest positions.
- Rinse beans under running water and pick out any non-beanlike goodies such as small stones. Place beans in a 5-quart Dutch oven and add fresh cool water, filtered if possible, to cover by about two inches.
- Add salt, bay leaves, garlic, and onion, along with additional ingredients listed above, if using.
- Cover pot, place into preheated oven, and cook until beans are tender to your liking, stirring occasionally and topping up with additional water if necessary. For smaller beans, start checking at the one hour mark. Larger beans may take three hours or more.
Step-by-step video
Notes
Approximate Instant Pot cooking times by bean type (for unsoaked beans)
Please note that everything from bean variety to quality to age, to the mineral content of your water, to the altitude at which you live, can substantially affect bean cooking time, so these numbers are simply guidelines. You may need to experiment a bit to get optimal results. These cooking times are a bit longer than what you will see elsewhere on the internet. This is what has worked for us. If you'd like to see the standard charts provided by Instant Pot and Rancho Gordo, you can find them here (Instant Pot) and here (Rancho Gordo).BLACK-EYED PEAS 10
BLACK 30
CANNELLINI 40
CHICKPEAS 50
GREAT NORTHERN 40
LIMA 20
PINTO 40
Nutrition
Nutrition information is automatically calculated, so should only be used as an approximation.
Hungry for more?
Subscribe to Umami Girl’s email updates, and follow along on Instagram.


I used to soak my beans until I found that step unnecessary. I love using the crockpot for making beans. Thank you for this post. I’ll be keeping it in my bookmarks!
Memoria, I soak and rinse to reduce the oligosaccharides that lead to…ahem…intestinal difficulties. Have you not found a difference when you don’t soak? Admittedly I’ve never tried skipping it.
i never learned how to cook dried beans. my mother must not have loved me. I will have to bring that up @ our next reunion. Thanks for stepping in and teaching me.
Ha! It takes a village. No shame in that.
We love all things bean and this was a perfect piece for today. Thank you!
Thanks, Karla! I do remember you having been pro-legume at lunchtime. 🙂