
This post may contain affiliate links. Learn more.


Make perfect, foolproof popovers every time with our easy popover recipe. Learn a few simple tricks for mastering this favorite holiday tradition or anytime treat.
Why we love this recipe
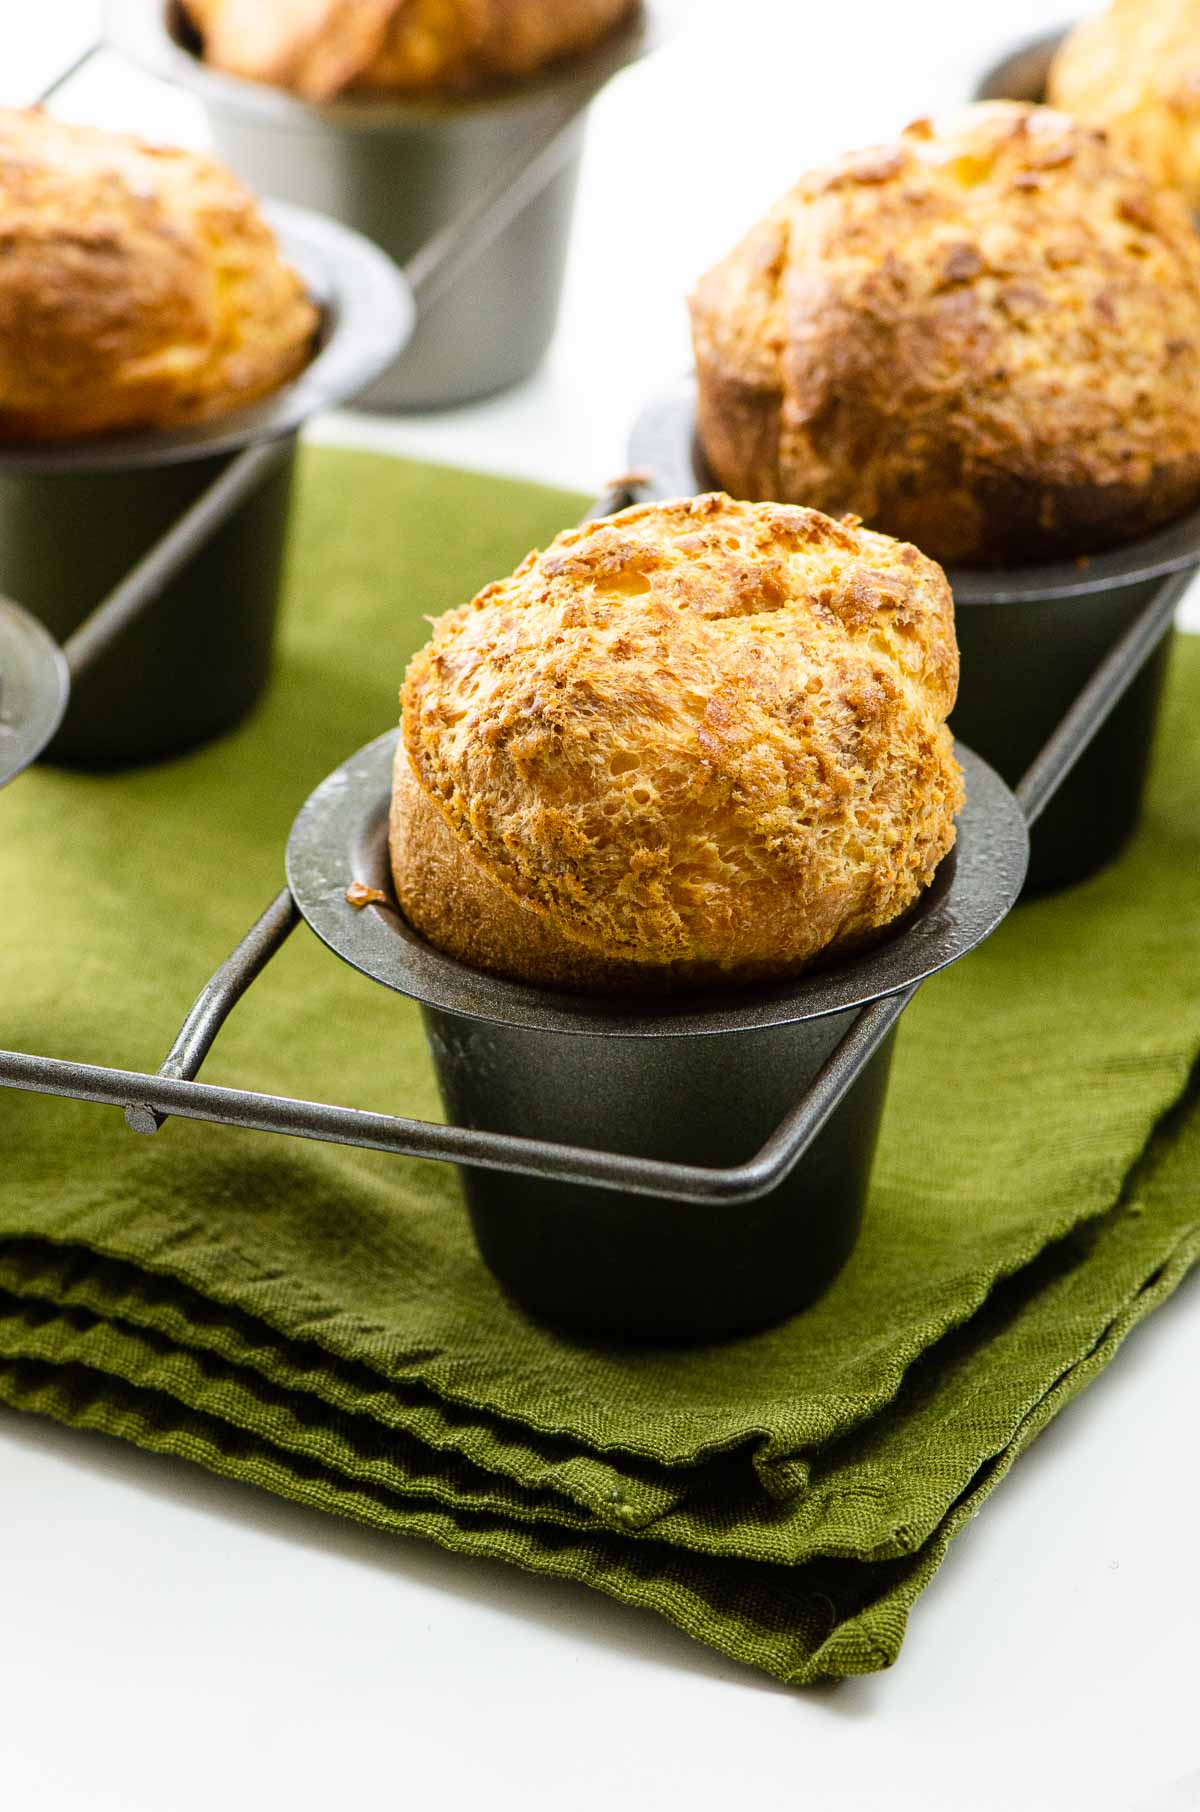
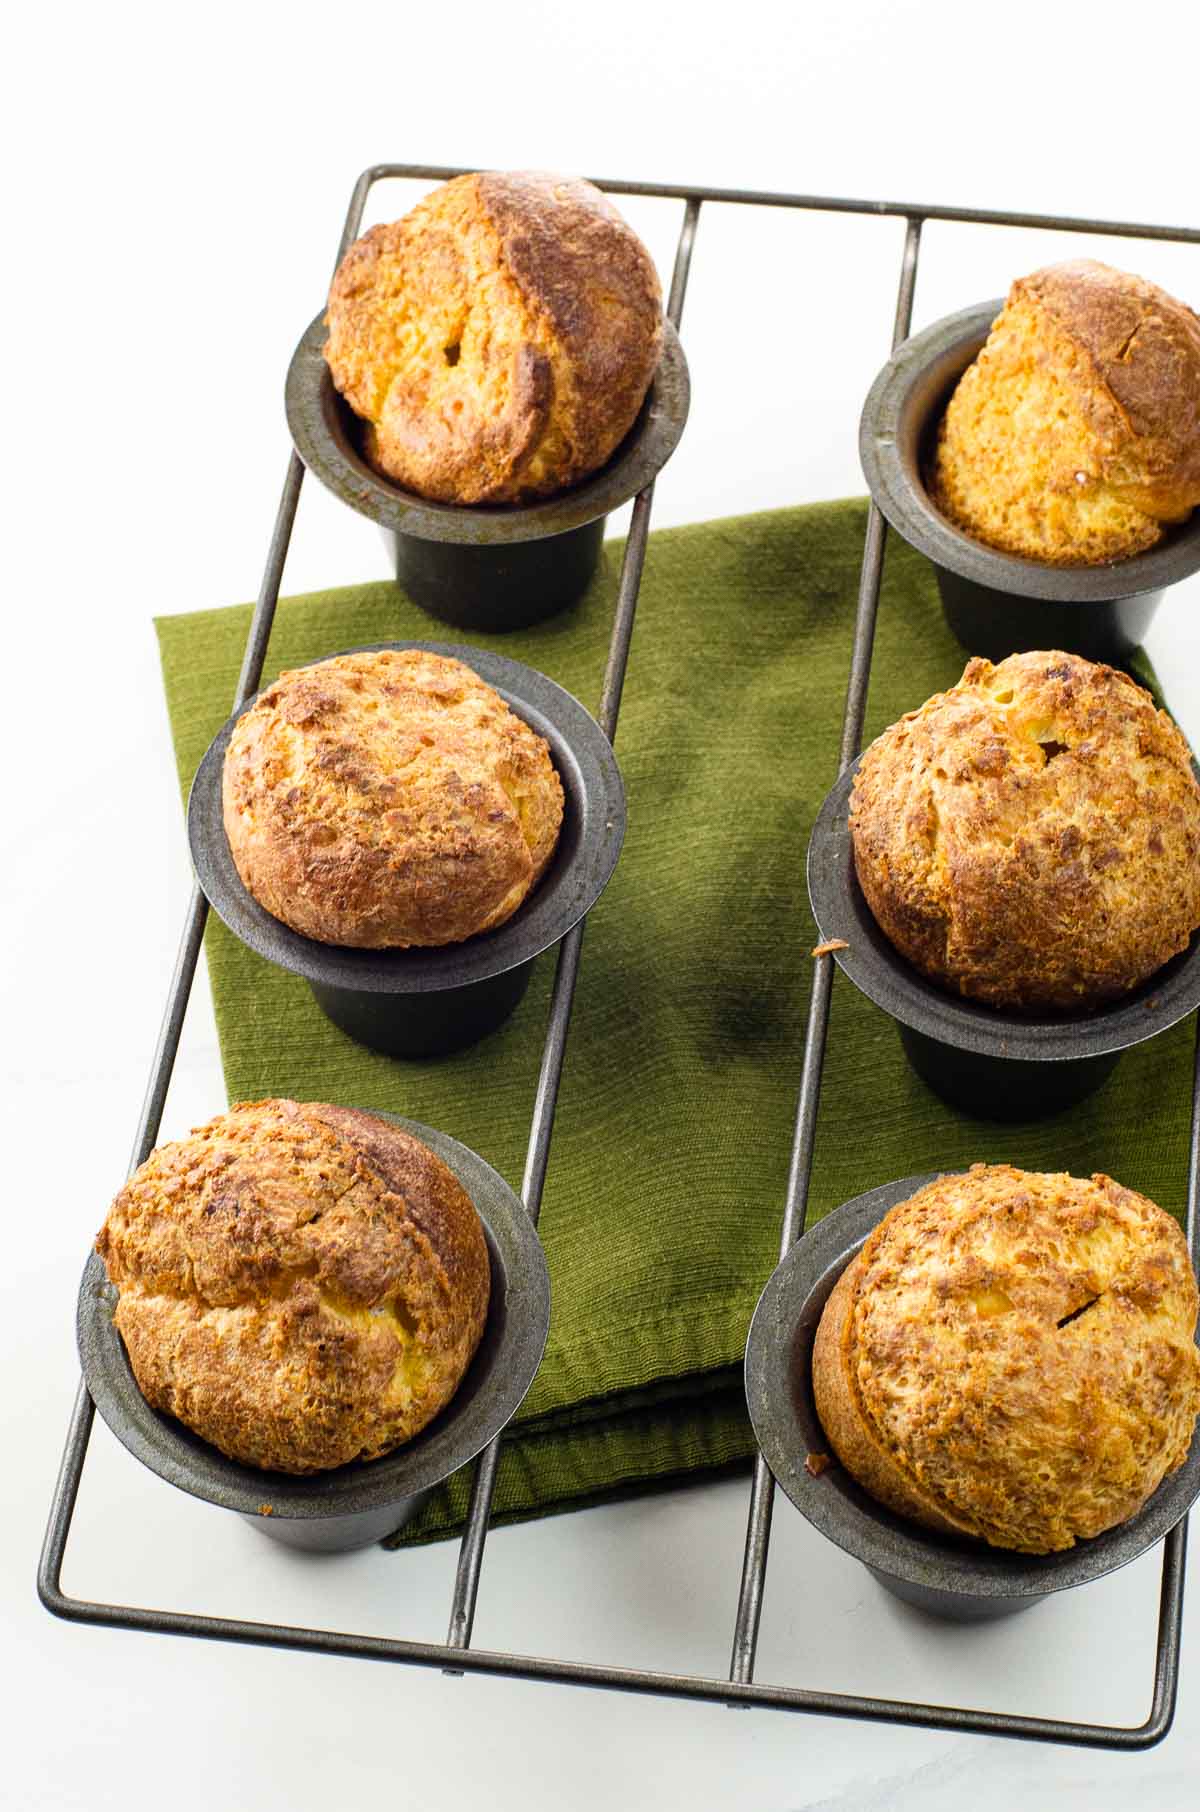
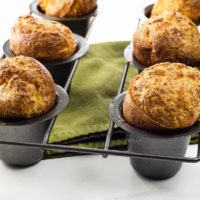
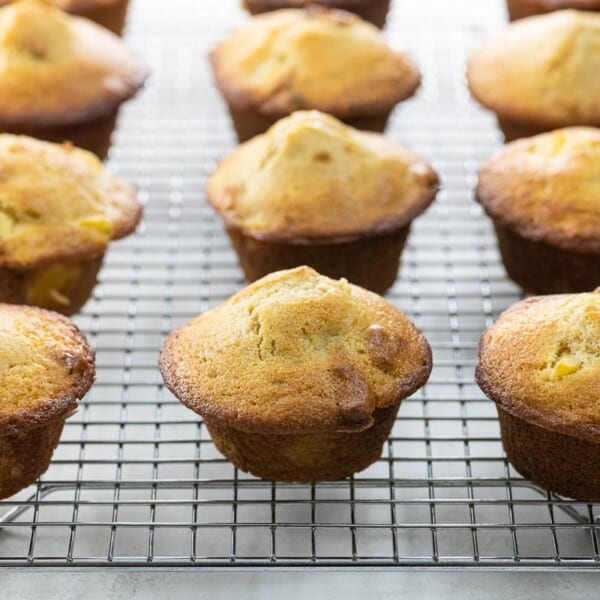
Popovers are a favorite holiday tradition around here. They’re crisp and buttery on the outside, and — owing to the copious amounts of steam they trap and ultimately release — positively ethereal on the inside.
Our recipe is:
- Made from just a few common ingredients
- A perfect accompaniment to the holidays, a dinner party, or even brunch
- Adaptable — feel free to add a few seasonings of your choice right to the batter
I first published this recipe here way back in 2010. I’ve updated the post for clarity, but the recipe remains the same.
What you’ll need
Here’s a glance at the ingredients you’ll need to make our easy popover recipe. This is one of those recipes where a handful of fridge and pantry staples transforms into something truly magical.
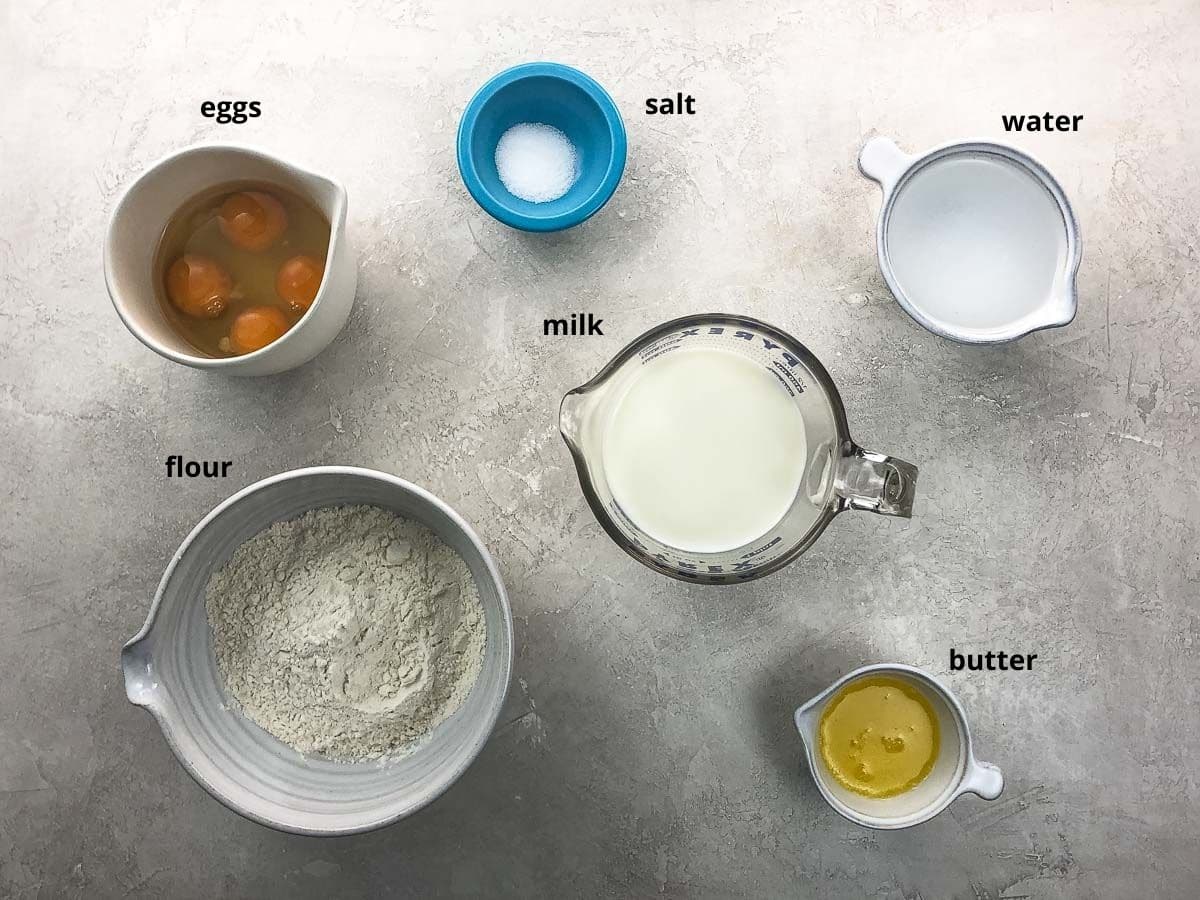
- With just a few ingredients, quality matters more than ever.
- Use all-purpose flour.
- Look at the golden yolks on those eggs. You can use any eggs, but…the better the better.
- Same goes for butter and milk. I use a cultured butter from grass-fed cows here and everywhere. It sounds fancy but isn’t. Kerrygold, for example, is widely available and not too expensive.
How to make them
Here’s what you’ll do to make a great batch of foolproof popovers. You can see the steps in action in the video that accompanies this post, and get all the details in the recipe card below.
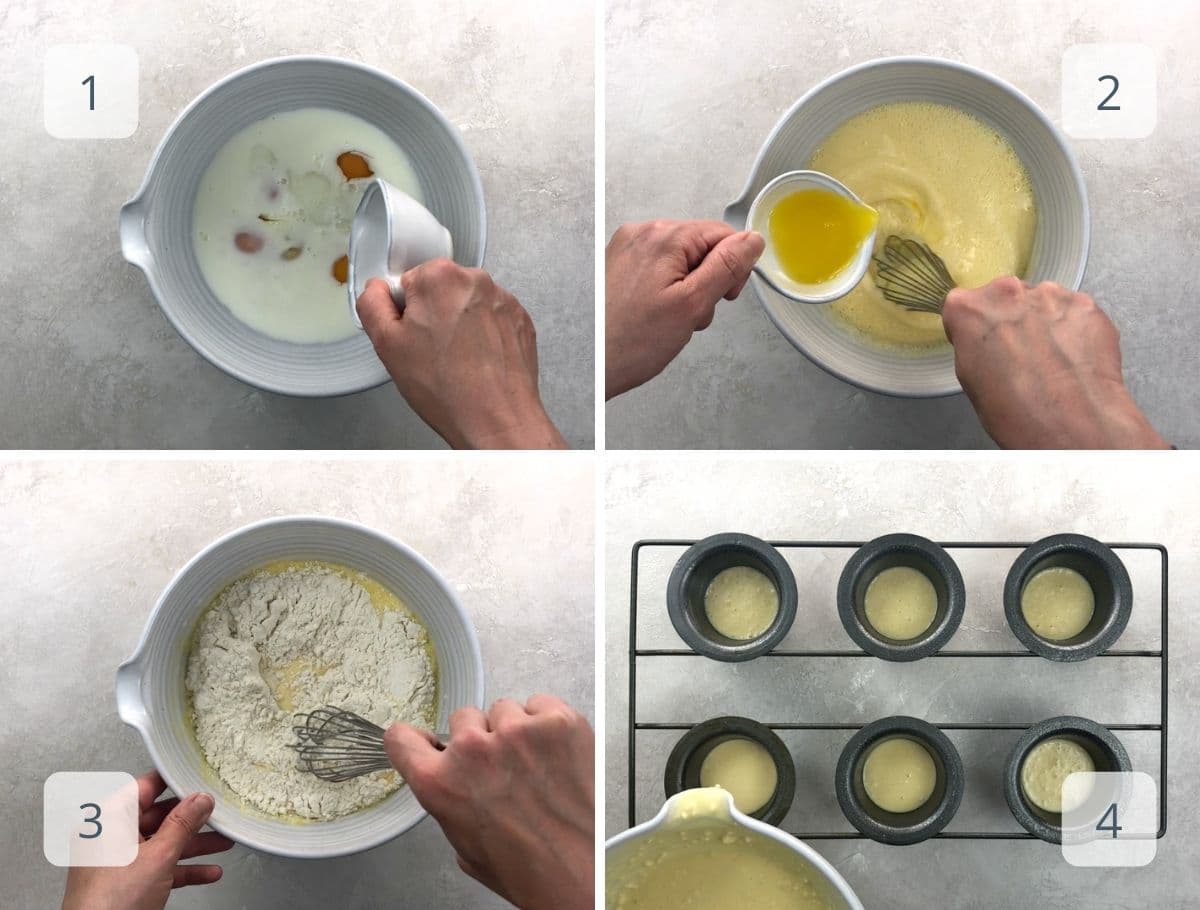
- In a large bowl, whisk together the eggs, milk, and water.
- Drizzle in the melted butter while whisking.
- Add the four and salt and mix until well combined but still slightly lumpy.
- Grease popover pans or muffin tins and divide the batter among them, filling less than halfway. Bake for 55 minutes at 375°F, opening the oven only once at the 45 minute mark to make a slit in each popover. Serve right away.
Expert tips and FAQs
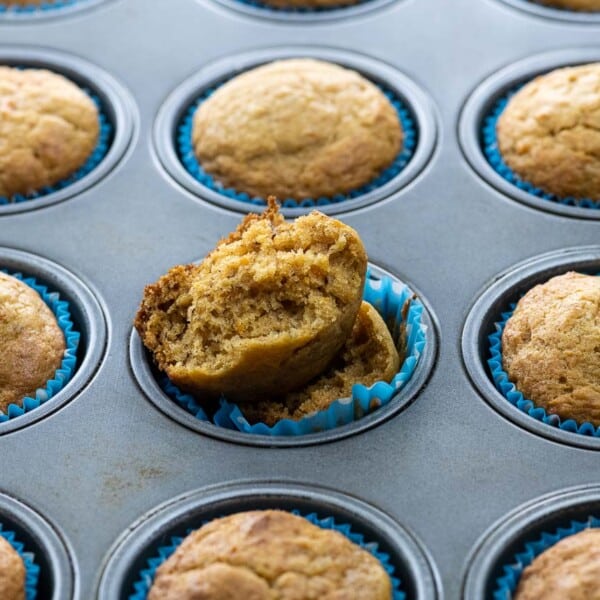
Popover pans aren’t necessary, but their tall shape and well-spaced cups help batter climb high as heat circulates around each one. You can make our easy popover recipe in standard muffin tins if that’s what you’ve got.
When mixing the batter, quit while you’re ahead. You won’t remove all the lumps by mixing, and you don’t have to. Just make sure there aren’t any big pockets of dry flour.
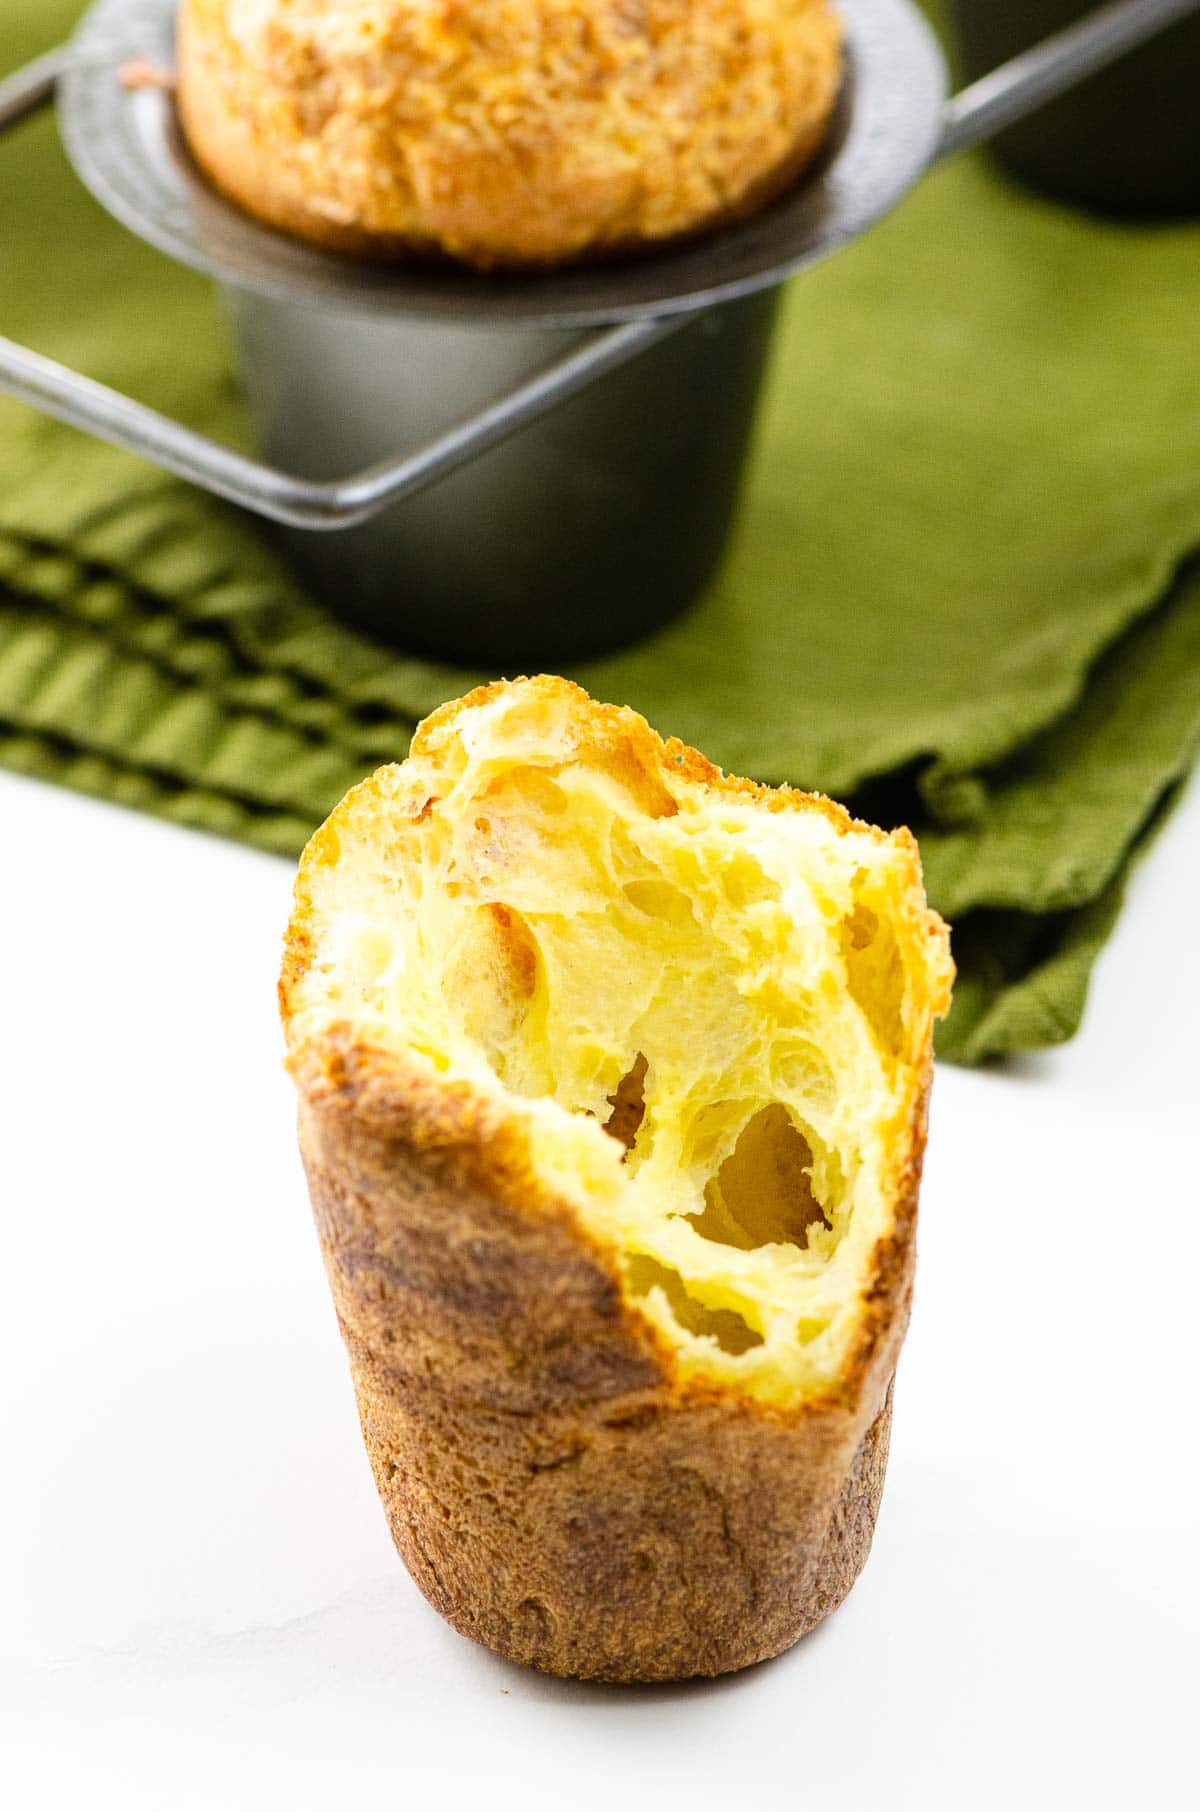
Popovers rise when the oven’s heat turns the batter’s liquid into steam, and the steam gets trapped inside the strong structure formed by the eggy, floury crust. Leaving the oven closed for the first 45 minutes ensures that this will happen uninterrupted.
After 45 minutes, when the structure is set, you’ll pierce each popover with a single slit of a paring knife and return to the oven. This allows the steam to escape after it’s done its job and prevents the insides from being soggy.
The only tricky part of making on a holiday is that they really hog the oven. They need a lot of space, and you need to leave the oven closed for 45 minutes. Be sure to think through the timing beforehand.
They’re best made shortly before serving to maximize the crisp outside, warm and tender inside vibe. That said, we love leftovers. Once completely cool, store loosely wrapped in foil or in paper lunch bags for up to about 24 hours. They’re great with eggs the morning after.
Suggested additions
We love these savory treats as-is. If you feel like jazzing things up a bit from time to time, you can whisk any of the following into the batter after incorporating the flour:
- 1/4 cup of grated parmesan, pecorino, or any other hard cheese
- 2 tablespoons fresh thyme, tarragon, rosemary, or other minced herbs
- Swap in an herb, truffle, or other seasoned salt for the sea salt
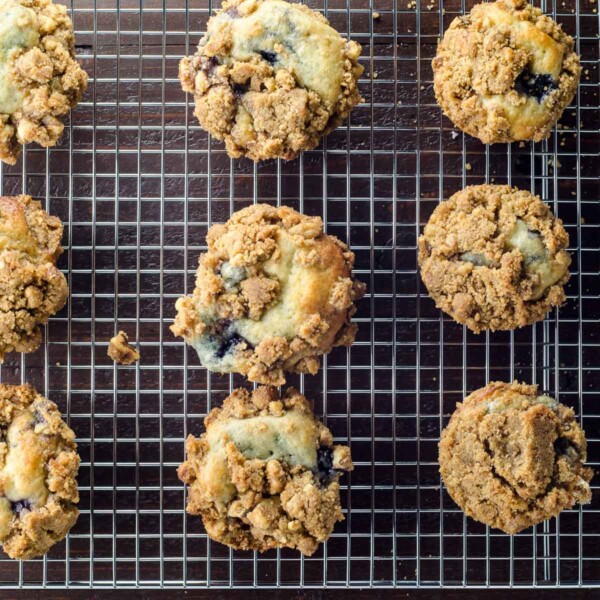
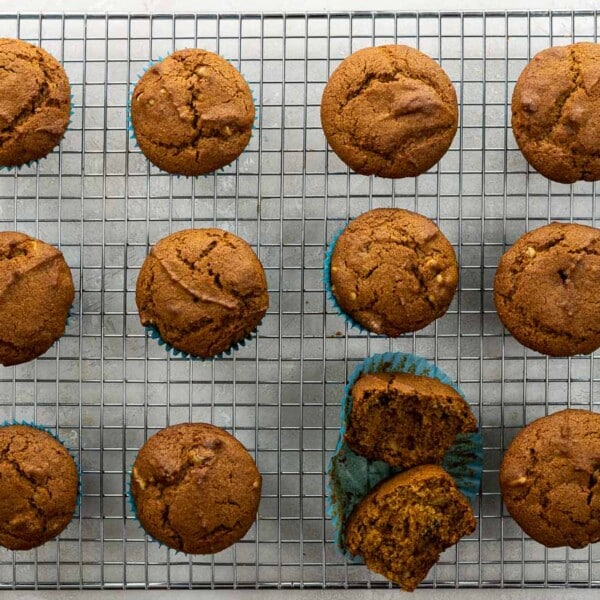
More favorite savory muffins & quick breads
Hungry for more?
Subscribe to Umami Girl’s email updates, and follow along on Instagram.
Easy Popover Recipe
Equipment
Ingredients
- 4 large eggs
- 1 ½ cups (355 ml) whole milk
- ½ cup (118 ml) water
- 2 tablespoons (28 grams) butter, melted
- 1 ¾ cups (210 grams) all-purpose flour
- ¾ teaspoon fine sea salt
Instructions
- Preheat the oven to 375°F with a rack in the center. Lightly grease two popover or muffin pans.
- In a large bowl, whisk together the eggs, milk, and water.
- Slowly drizzle in the melted butter while whisking.
- Add the flour and salt and mix until well combined but still slightly lumpy.
- Divide the batter evenly among the pans, filling each well only about 1/3 to 1/2 full.
- Bake for 45 minutes without opening the oven.
- At the 45 minute mark, cut a small slit in the top of each popover to release the steam.
- Bake for an additional 10 minutes. Serve immediately, or as close as possible.
Notes
- Popover pans aren’t necessary, but their tall shape and well-spaced cups help batter climb high as heat circulates around each one. You can make this recipe in standard muffin tins if that’s what you’ve got.
- These are best made shortly before serving to maximize the crisp outside, warm and tender inside vibe.
- That said, we love leftovers. Once completely cool, store loosely wrapped in foil or in paper lunch bags for up to about 24 hours. They’re great with eggs the morning after.
- If you feel like jazzing things up a bit from time to time, you can whisk any of the following into the batter after incorporating the flour: 1/4 cup of grated parmesan, pecorino, or any other hard cheese // 2 tablespoons fresh thyme, tarragon, rosemary, or other minced herbs // Swap in an herb, truffle, or other seasoned salt for the sea salt
Nutrition
Nutrition information is automatically calculated, so should only be used as an approximation.
Hungry for more?
Subscribe to Umami Girl’s email updates, and follow along on Instagram.


These turned out great! Mine were completely done at the 45 minute mark, so the puncturing did nothing as they were already crispy and done. They rose beautifully, had a crispy outside, and tender, hollow inside that was perfect for melting some butter. Soooo good. Thank you!
I’ve never made popovers before, but these look easy enough!
Your popovers look delicious and puffed! I’ve never tried making them because I can justify buying the special pan for it. Perhaps I could use a muffin tray?
You can absolutely use a muffin pan. Just grease it well. The recipe will yield 18 medium-sized popovers (from 1 1/2 muffin pans). Good luck!
These look wonderful and perfectly formed. Mine have great flavor but look no where as neat as yours. I hope you have a great weekend. Blessings…Mary
Thanks, Mary. A couple of mine in the other pan looked pretty crazy. It’s part of the fun!
Carolyn, This recipe contains very different proportions and baking process from what I’ve traditionally used. I have long used the Rombauer/Joy o C recipe, aka Yorkshire Pudding.
I ‘will’ try this one. Can you offer a comparison? and will it work in the traditional Yorkshire Pudding pan?
My now 20 something, college kids ask for it all the time.
Hi, Henry! I’m just looking at my Joy of Cooking (the 1997 edition). I hadn’t remembered making their popovers before, but in fact I think they’re the first ones I ever made. I remember being slightly terrified, and forgetting to puncture them, and them collapsing but still tasting delicious. So. (That’s their popover recipe, by the way, not the Yorkshire pudding. The recipes are similar, and I think you’re supposed to be able to use popover and Yorkshire Pudding batters interchangeably in general, but I must admit I’ve made nary a Yorkshire Pudding in my day.)
The first line of the JoC popover recipe headnotes says, “Baking advice for these high, crusty, hollow beauties varies widely.” And I would agree that the baking instructions are quite different, although they both have the crisping-the-outside phase and the drying-the-inside phase. The proportions aren’t so different, though, are they? A tad more liquid in the JoC, but nothing to write home about, I don’t think.
Which edition are you working from? Let’s make this faux-scientific!
It’s crazy but i dont think i’ve ever had a popover! Your pictures are gorgeous, and make me want to try them!
Thanks, Caitlin. They’re very photogenic!
Just stumbled upon your blog via tastespotting. This recipe looks lovely. I’ve never eaten popovers before so I might have to try and make them.
Thanks, Debbie! I’d never had popovers, or heard of them, until I met my husband. The experience is definitely worth the minimal effort!