
This post may contain affiliate links. Learn more.

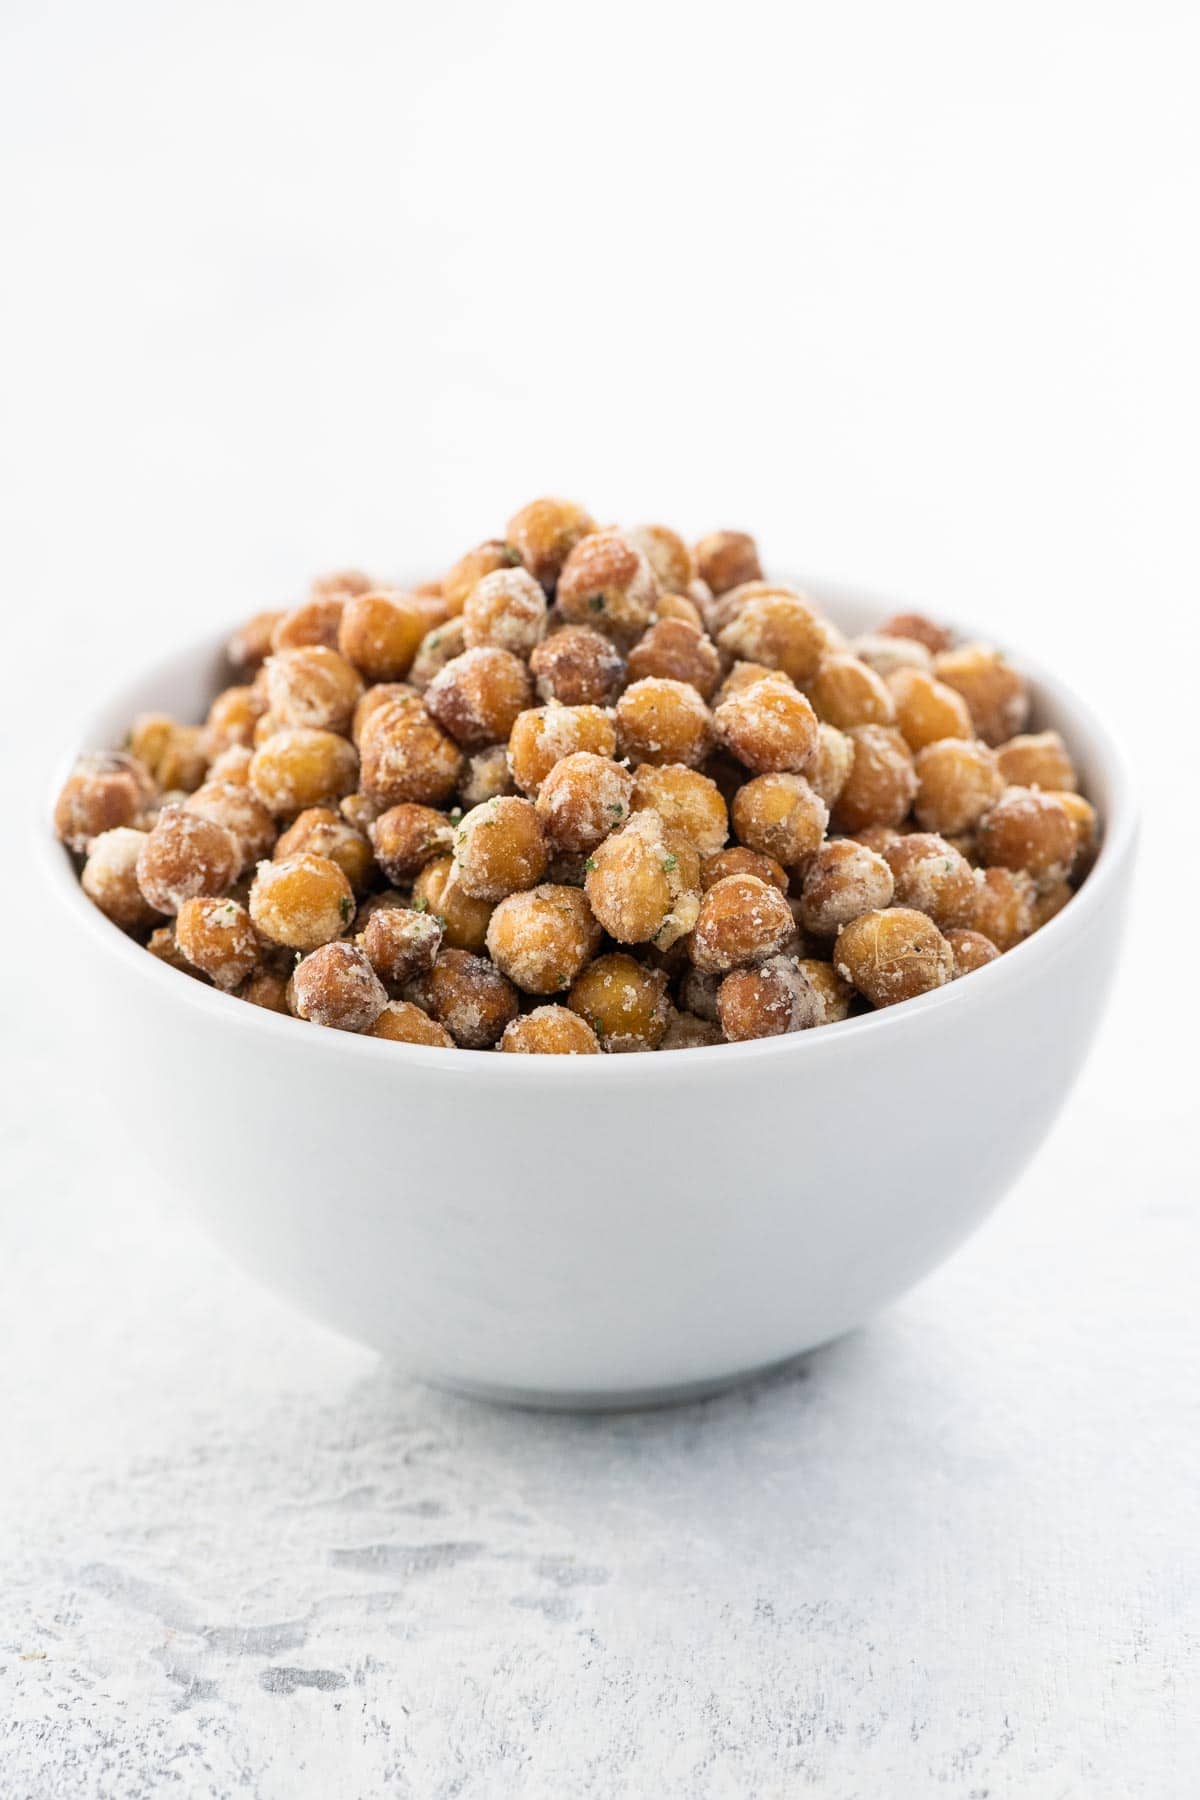
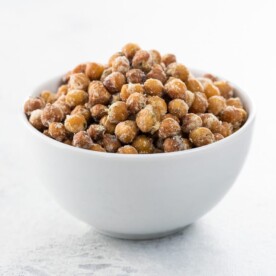
Oven roasted chickpeas make a great vegan, gluten-free bar snack (or snack snack) that just seems like fun, delicious food. Here’s how to make them in a variety of fabulous flavors.
Why we love this recipe
I sometimes think about what it would have been like to be human before the dawn of crunchy snacks. Let’s just say I’m grateful to have been born after that dark, dark time.
Oven roasted chickpeas are popular for a reason. They have all the crave-inducing qualities of a good chip, paired with the impeccable nutritional profile of a can of beans. This recipe:
- Comes together quickly and easily with common pantry ingredients
- Stays crispy for days, if you can get the batch to last that long
- Adapts to a wide variety of your favorite flavors
- Pairs beautifully with a good beer, if you’re into that sort of thing
I first published this recipe here way back in 2011. I’ve since updated the post for clarity and added some flavor options, but the basic recipe remains the same.
What you’ll need
Here’s a glance at the ingredients you’ll need to make this recipe.
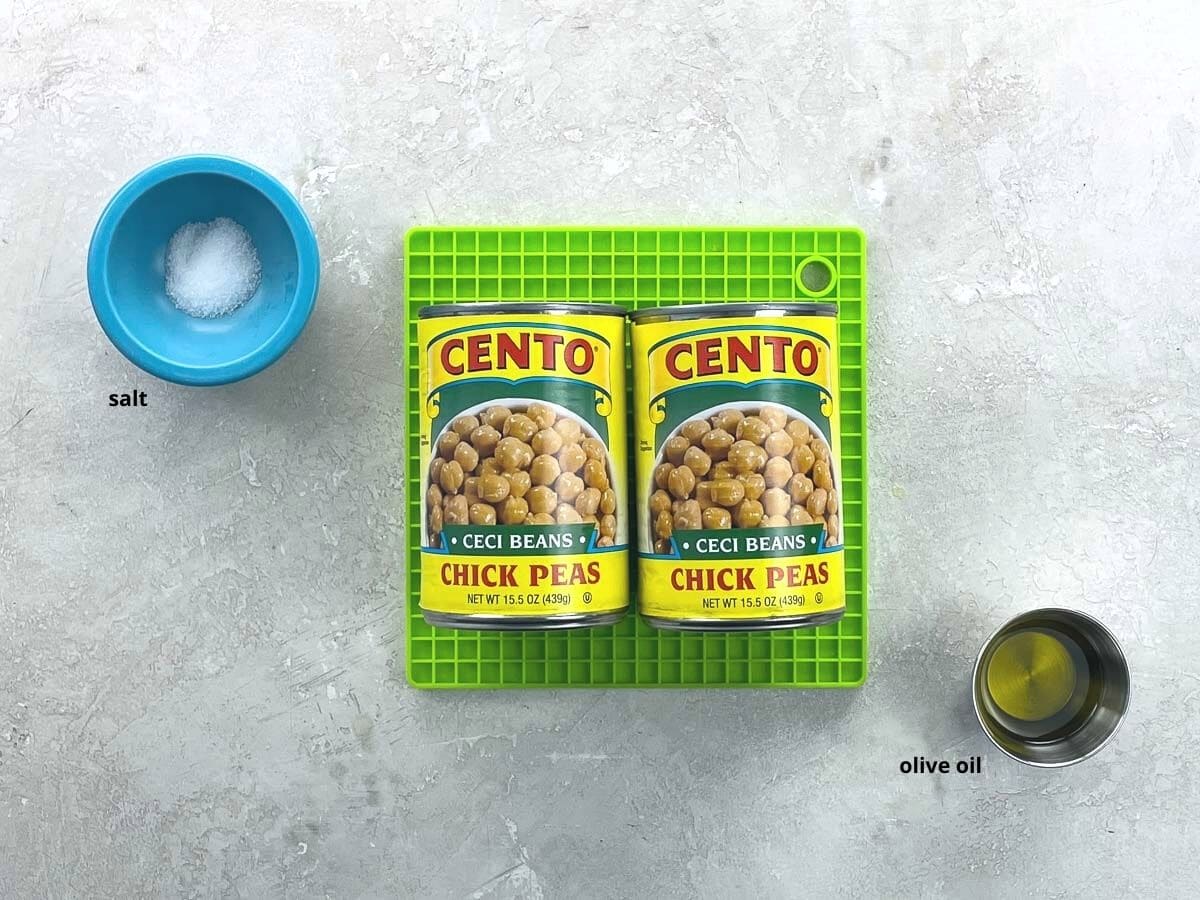
- You can make this recipe with canned chickpeas or ones you’ve cooked yourself. Although most chickpeas sold in the U.S. are of the same variety, they vary pretty substantially in size. Canned chickpeas also vary a lot in moisture content by brand. You may have to experiment a bit with cooking time to find the sweet spot for your type.
- Beyond chickpeas, the base recipe requires only olive oil and salt. I like to add additional seasonings — see the section below for lots of suggestions.
How to make it
Here’s an overview of what you’ll do to make a fabulous batch of crunchy roasted chickpeas. You can see the steps in action in the video that accompanies this post, and get all the details in the recipe card below.
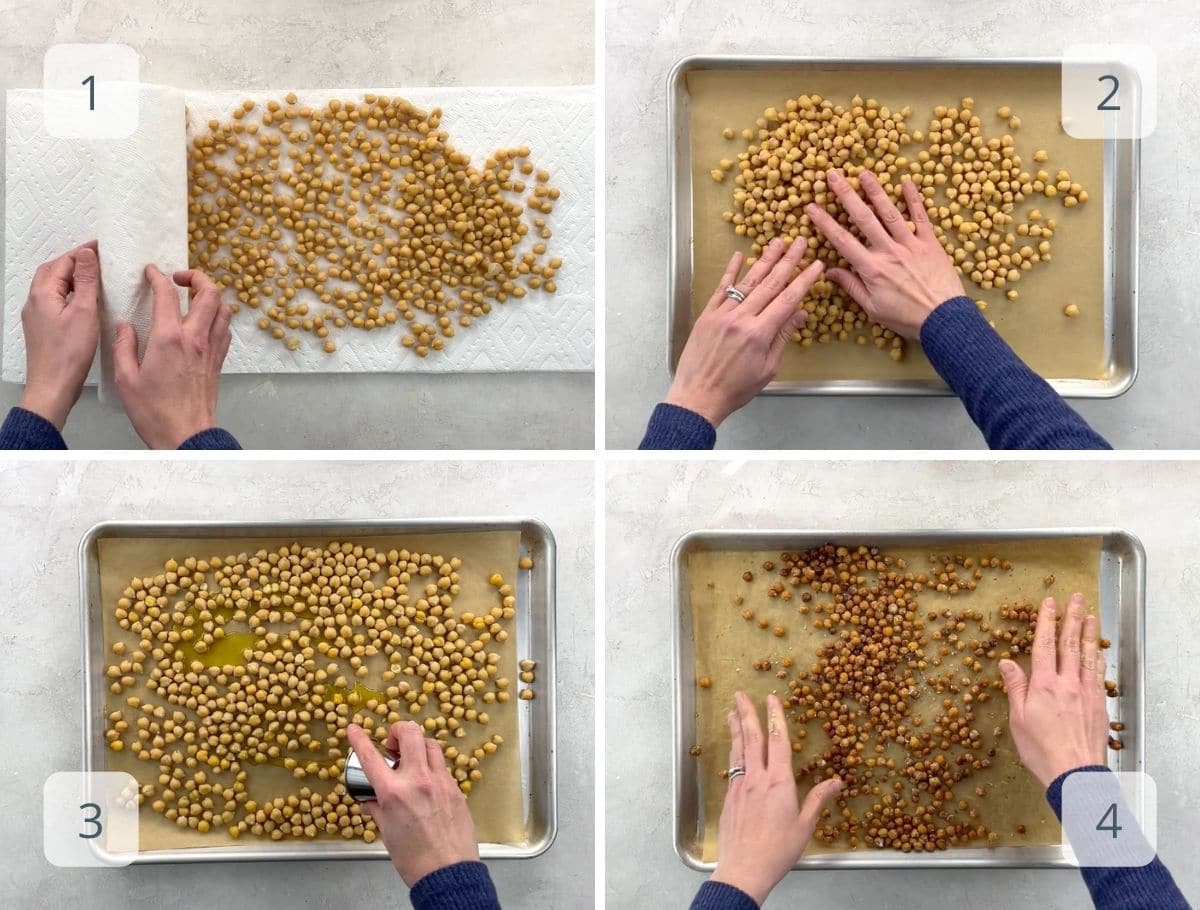
- The name of the game here is dry. First you’ll drain and rinse your chickpeas, shaking off any excess moisture. Then place them in a single layer between clean kitchen towels or multiple layers of paper towels. Gently press and roll them around to dry and loosen some of the skins. Remove and discard any loose skins that result from this process, but definitely don’t worry about getting rid of them all.
- Spread the beans in a single layer on a sheet pan lined with parchment or a silpat. Roast in the center of a 400°F oven for five minutes to give them a chance to dry out a little bit more.
- Remove from the oven, let cool until you can touch them, and then toss with olive oil and salt. Roast for about 40 minutes more, depending on size. Pull the batch out of the oven, remove a few and let cool to test for crunch. You can decide on your preferred level of crunch, keeping in mind: (1) they will continue to crisp up as they cool completely and (2) you may prefer a slight give in the very center of at least some of the beans, but know that they will not remain crisp for a period of days if you leave them this way.
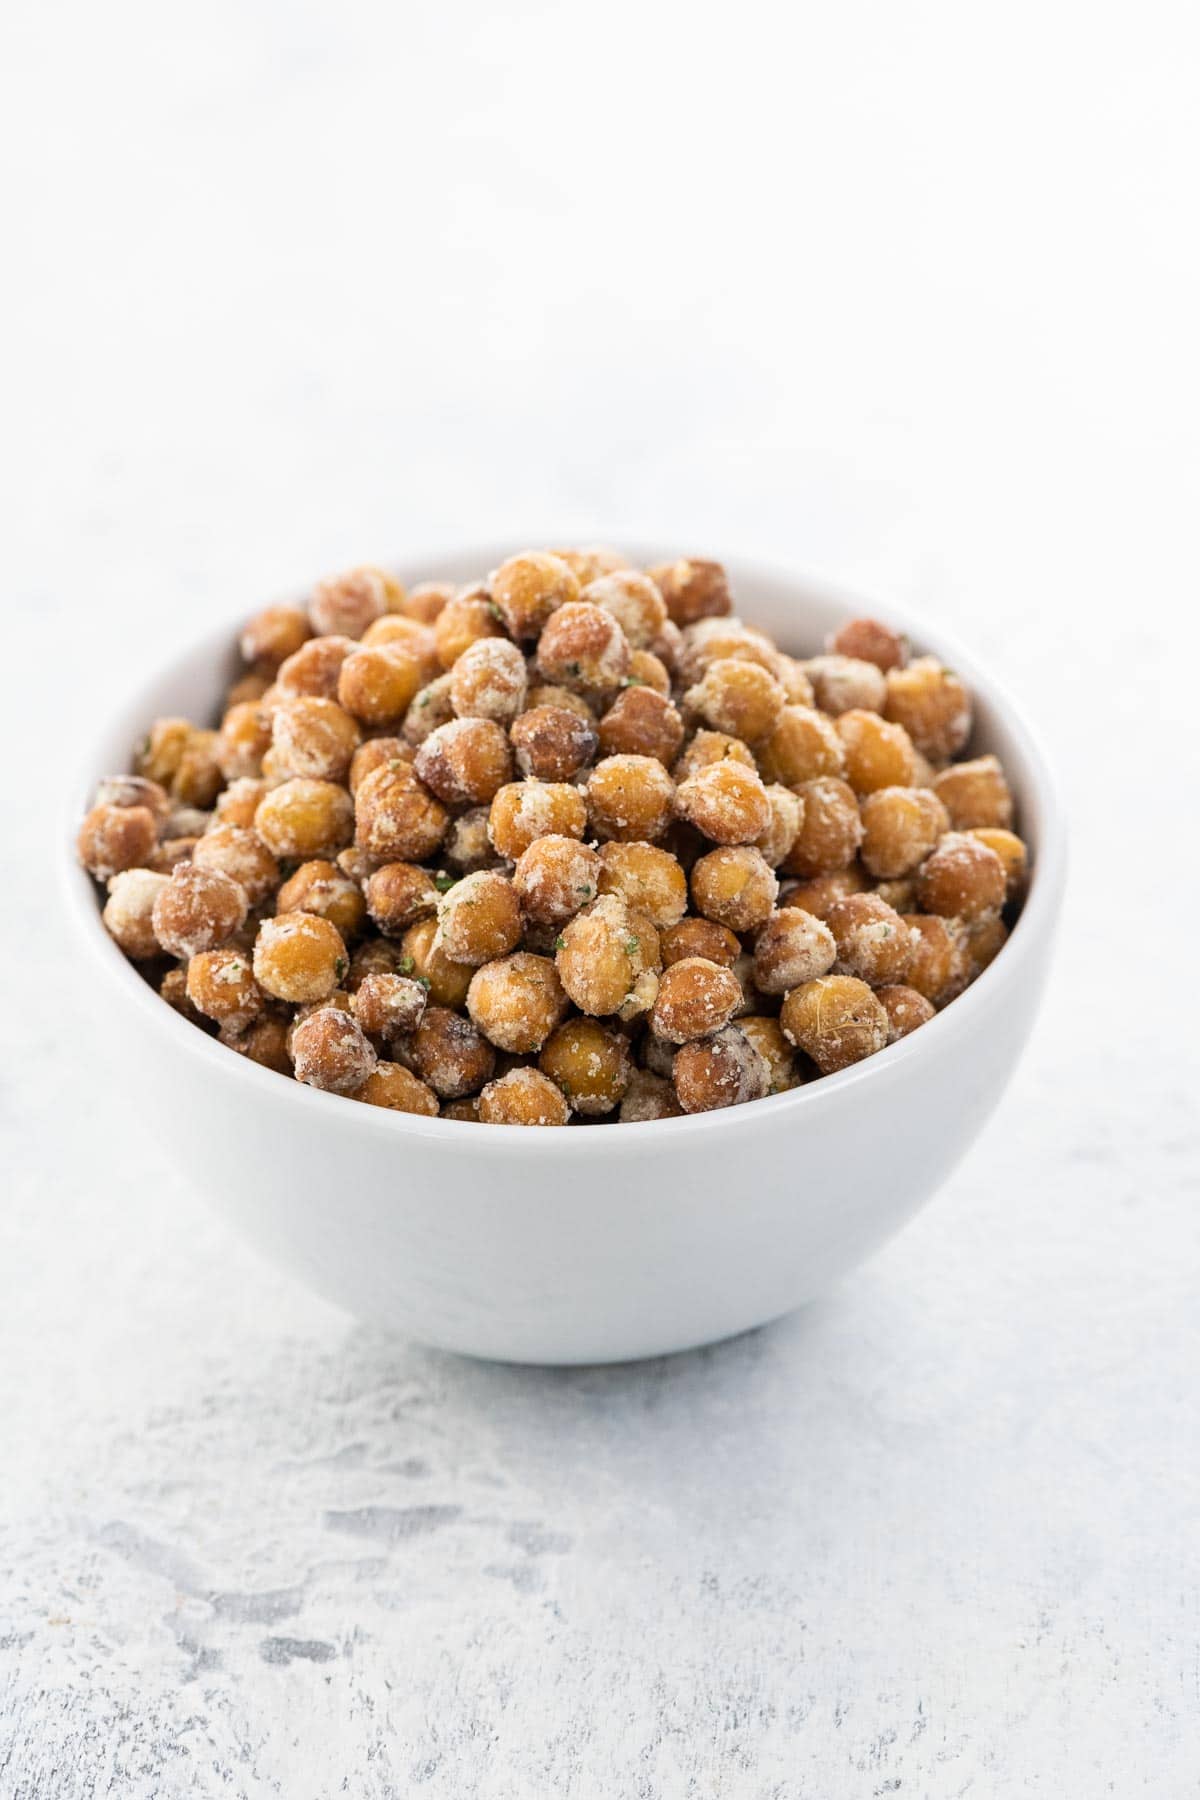
- Toss with additional seasonings and serve.
Recommended seasonings
Oven roasted chickpeas have a remarkably adaptable flavor profile that takes well to a variety of seasonings. Here are some of my favorites.
Toss with beans immediately after roasting:
- Ranch: 2 tablespoons packaged or homemade ranch seasoning
- Smoky garlic: 1/2 teaspoon smoked paprika + 1/2 teaspoon sweet paprika + 1/2 teaspoon garlic powder
- BBQ: 2 tablespoons rib rub
- Cinnamon sugar: 2 tablespoons granulated sugar + 2 teaspoons ground cinnamon
Toss with beans halfway through roasting:
- Soy and lime: 2 tablespoons soy sauce + 2 tablespoons freshly squeezed lime juice + zest of 1 lime after roasting
Before roasting:
- Salt & vinegar: Place the drained chickpeas in a pot along with 3 cups distilled white vinegar. Bring to a boil, then turn off the heat and let sit for 30 minutes. Drain and proceed as directed with the recipe, using 1 teaspoon fine sea salt.
Expert tips and FAQs
You can! If you’ve cooked them until they’re crunchy throughout, oven roasted chickpeas will keep well in an airtight container at room temperature for a week.
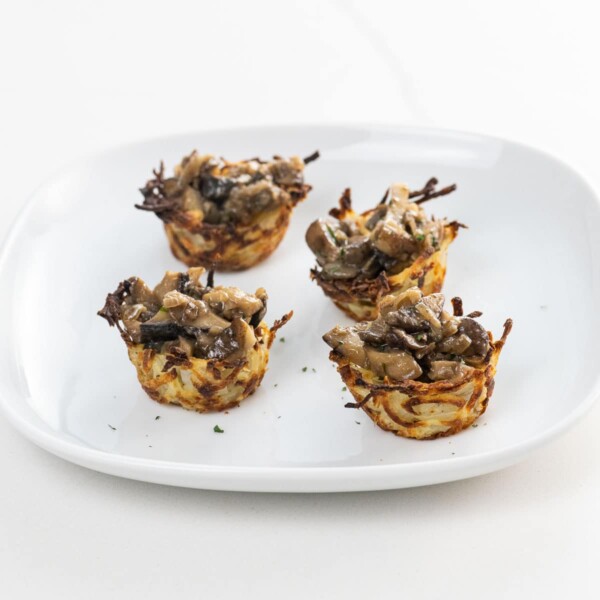
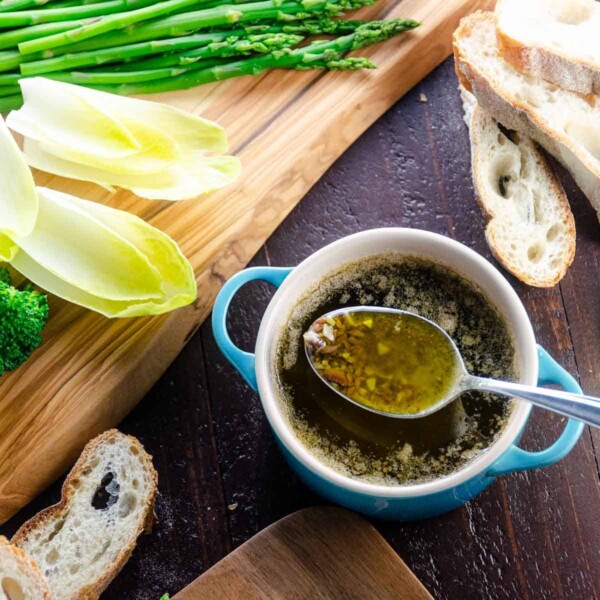
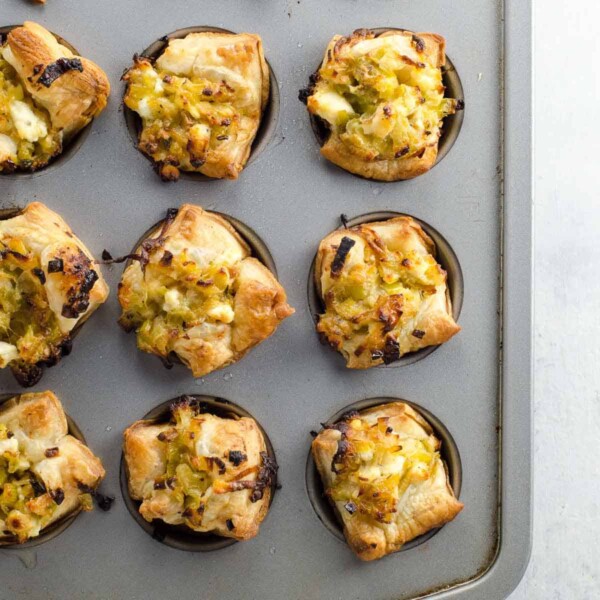
More favorite bar snacks
Hungry for more?
Subscribe to Umami Girl’s email updates, and follow along on Instagram.
Oven Roasted Chickpeas
Ingredients
- 3 cups cooked chickpeas, from two 15-ounce / 425-gram cans
- 2 tablespoons (30 ml) olive oil
- ½ teaspoon fine sea salt
- See notes below for additional seasoning recommendations
Instructions
- Preheat oven to 400°F with a rack in the center.
- Pour chickpeas into a colander, discarding liquid, and rinse thoroughly. Shake off any excess moisture.
- Arrange chickpeas in a single layer between clean kitchen towels or multiple layers of paper towels. Gently press and roll them around to dry thoroughly and loosen some of the skins. Remove and discard any loose skins that result from this process, but definitely don't worry about getting rid of them all.
- Line a rimmed baking sheet with parchment or a silpat, and spread chickpeas evenly over the surface.
- Roast for five minutes.
- Remove baking sheet from the oven and toss the chickpeas thoroughly with the oil and salt.
- Roast for about 40 minutes more, depending on size. Pull the batch out of the oven, remove a few beans from the baking sheet, and let cool to test for crunch. See note 2 below for more information.
- Toss with additional seasonings and serve.
Notes
- You can make this recipe with canned chickpeas or ones you've cooked yourself. Although most chickpeas sold in the U.S. are of the same variety, they vary pretty substantially in size. Canned chickpeas also vary a lot in moisture content by brand. You may have to experiment a bit with cooking time to find the sweet spot for your type.
- You can decide on your preferred level of crunch, keeping in mind that beans will continue to crisp up a bit as they cool completely. You may prefer them crisped all the way through, or you may prefer a slight give in the very center of at least some of the beans. Just keep in mind that only fully crisped beans will stay crunchy for multiple days. Softer beans need to be consumed within about 24 hours or stored in the fridge to add to salads.
- If you've cooked them until they're crunchy throughout, oven roasted chickpeas will keep well in an airtight container at room temperature for a week.
Additional recommended seasonings
Toss with beans immediately after roasting:- Ranch: 2 tablespoons packaged or homemade ranch seasoning
- Smoky garlic: ½ teaspoon smoked paprika + ½ teaspoon sweet paprika + ½ teaspoon garlic powder
- BBQ: 2 tablespoons rib rub
- Cinnamon sugar: 2 tablespoons granulated sugar + 2 teaspoons ground cinnamon
- Soy and lime: 2 tablespoons soy sauce + 2 tablespoons freshly squeezed lime juice + zest of 1 lime after roasting
- Salt & vinegar: Place the drained chickpeas in a pot along with 3 cups distilled white vinegar. Bring to a boil, then turn off the heat and let sit for 30 minutes. Drain and proceed as directed with the recipe, using 1 teaspoon fine sea salt.
Nutrition
Nutrition information is automatically calculated, so should only be used as an approximation.
Hungry for more?
Subscribe to Umami Girl’s email updates, and follow along on Instagram.


Oh man, these were so delicious! “Were” because they didn’t last long: even though I made double the recipe we ate about half as a “post-dinner snack”. I made the lemon+soy sauce variety, and then put some more salt (next time I’ll put 3x the amount of soy sauce I think) and ground some fresh pepper over them. You were right: they would’ve been fantastic with beer, but all we had on hand was wine.
Thanks so much!!