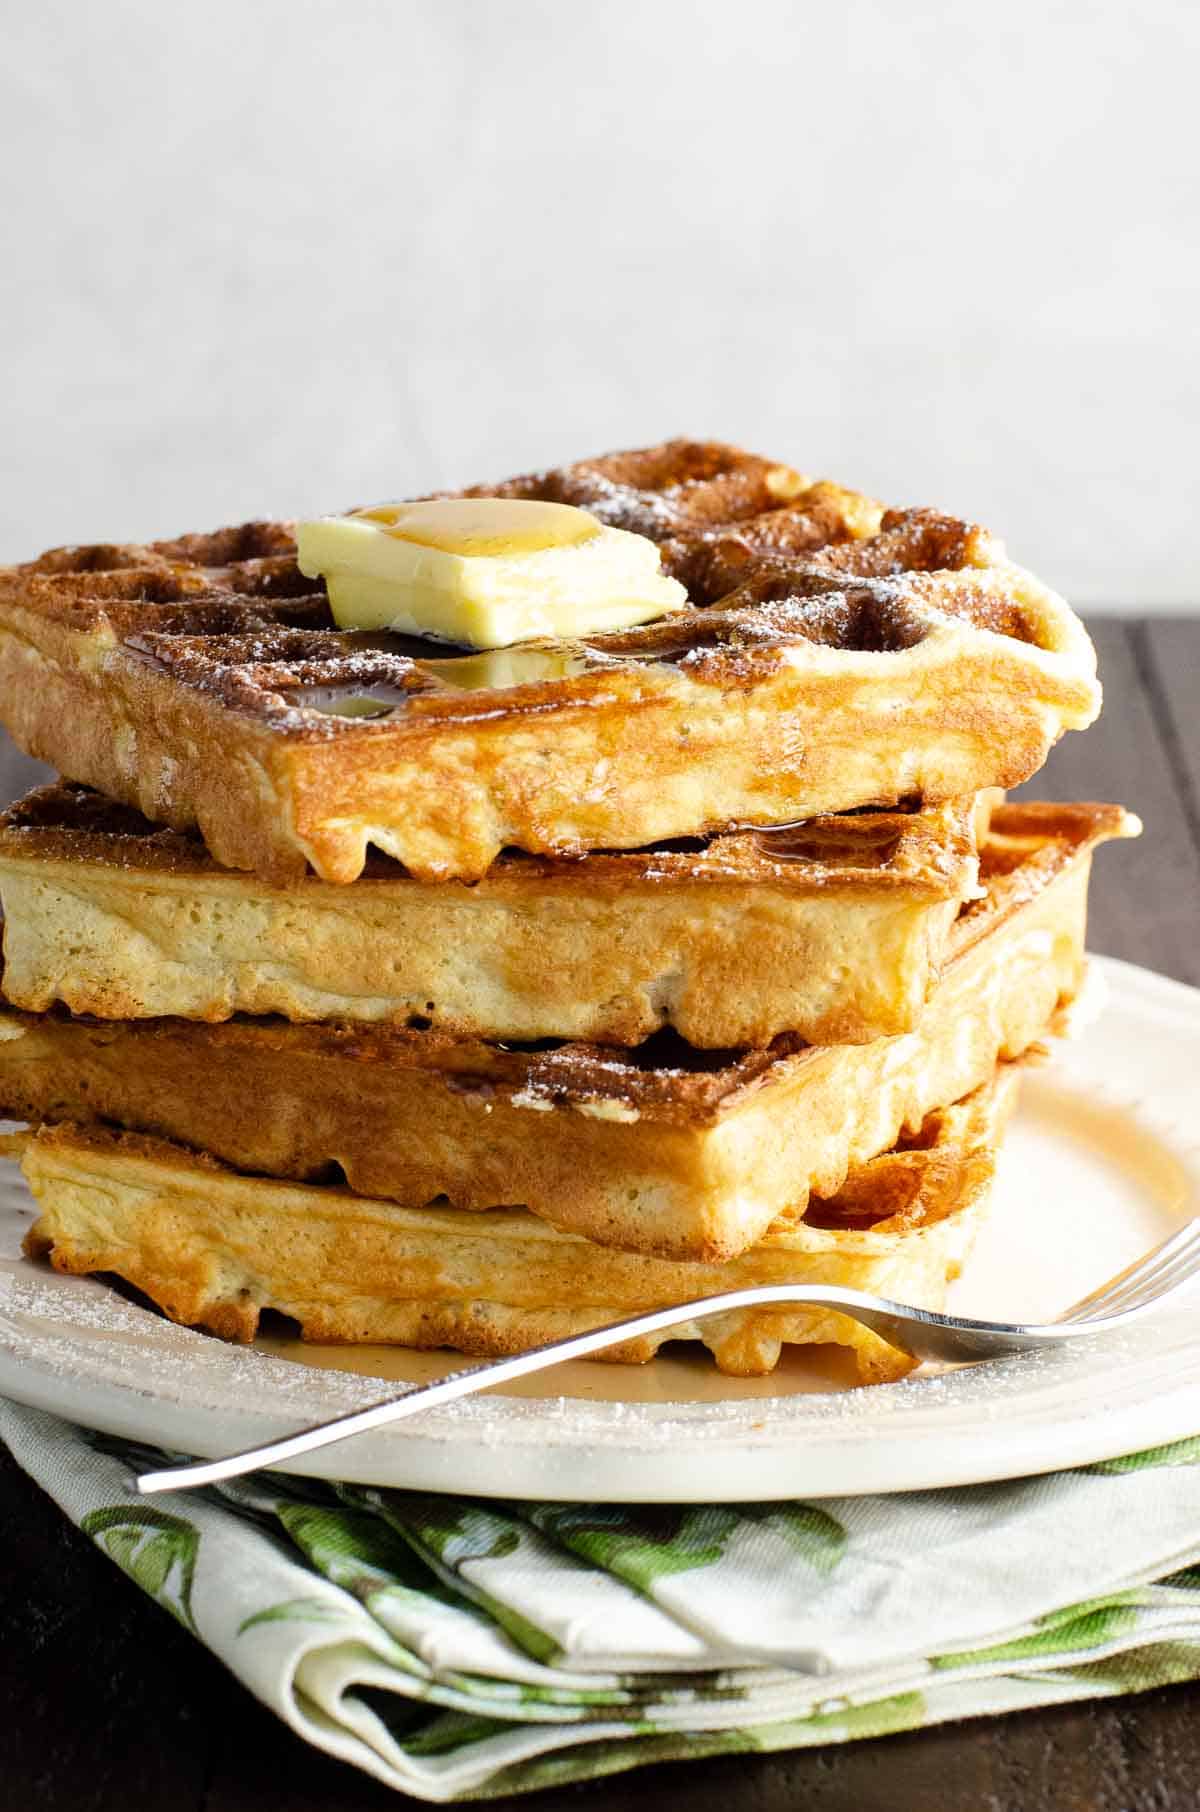
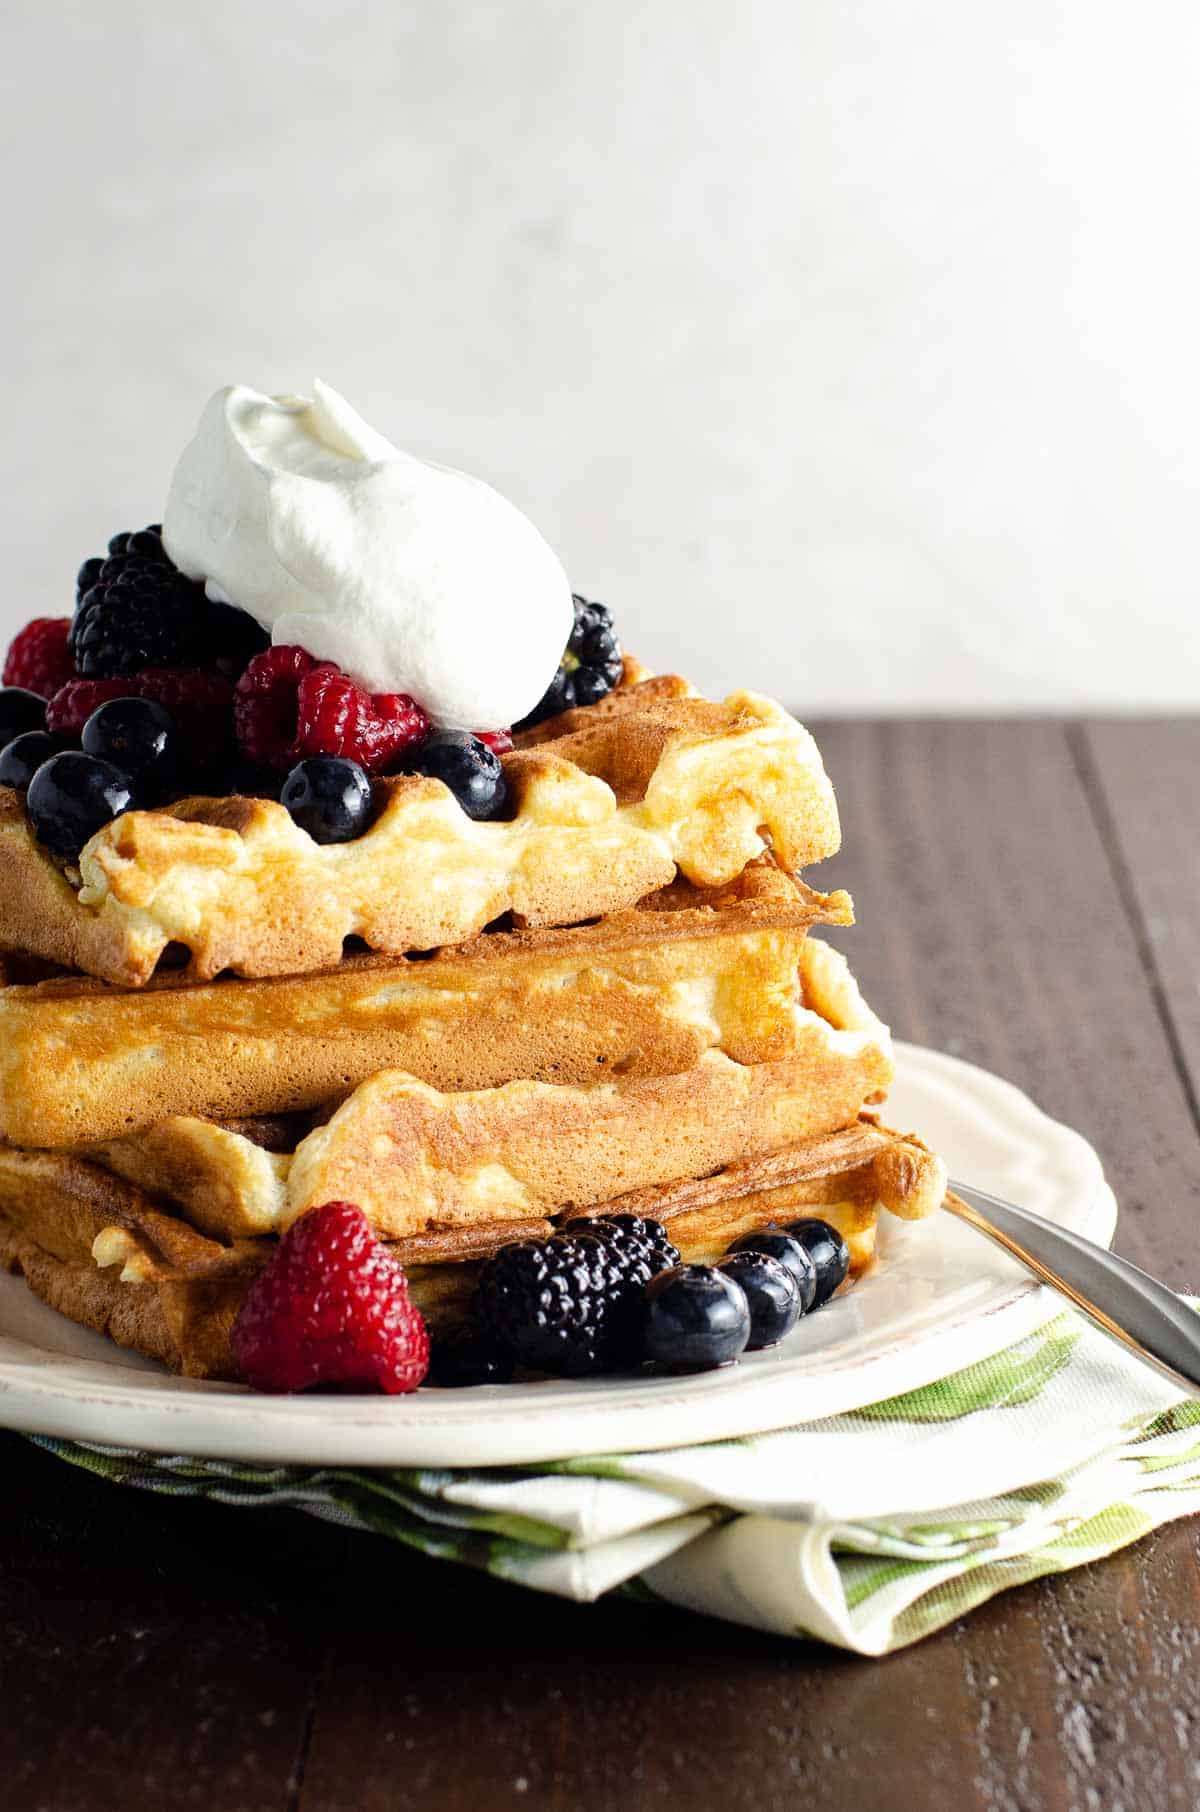
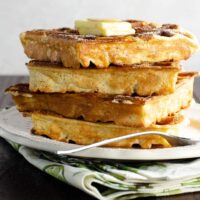
These classic vanilla waffles are fabulously crisp and perfectly fluffy. They're equally good served simply with butter and pure maple syrup or dressed up with whatever next-level toppings you dream up.
Why we love this recipe
I think every cook should have a compelling reason to bust out the waffle iron on a regular basis — a simple, and simply perfect, waffle recipe made from common ingredients and basic techniques.
Waffles should be special, but not because they’re complicated or crazy. They should be special because they’re comfortable, cozy, and exceptionally delicious. (Although, if you do want to get a little crazy from time to time, maybe try gingerbread waffles or savory cheddar and chive waffles, just sayin.)
This is the recipe I turn to again and again, plus all of my best tips and tricks for making great waffles.
What you'll need
Here's a glance at the ingredients you'll need to make this recipe.
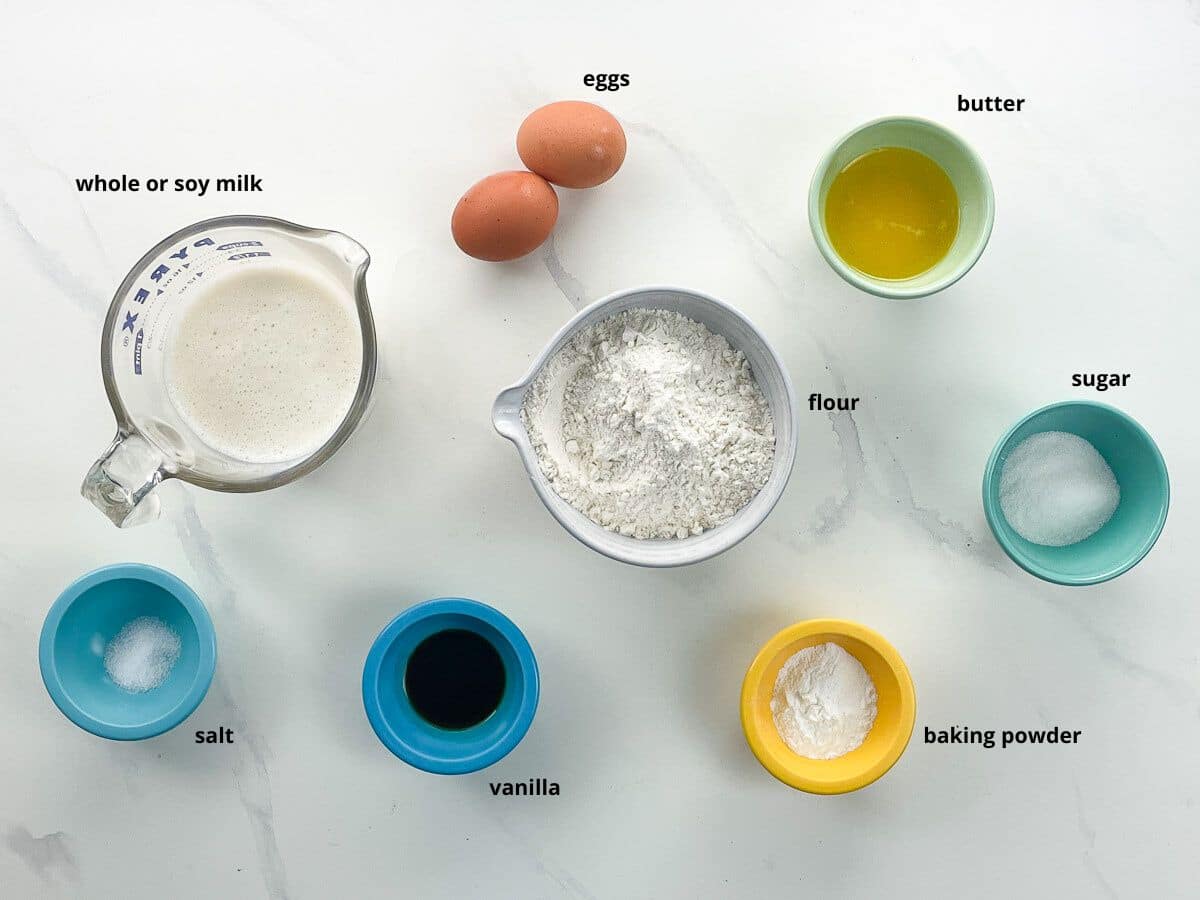
- Good old all-purpose flour makes these waffles easy and accessible so you can whip up a batch whenever the mood strikes. You don't need anything fancy.
- Whole milk creates just the right level of richness and the perfect texture. Soy milk makes a good alternative if you need to avoid cow's milk. The strong protein structure helps create crisp, fluffy waffles.
- Use a high-quality pure vanilla extract for the best flavor.
- Here and basically everywhere, I like to use a really good cultured butter from grass-fed cows. It sounds fancy but doesn't have to be. Kerrygold, for example, is widely available in U.S. grocery stores for a reasonable price.
How to make it
Here's an overview of what you'll do to make a dreamy batch of classic vanilla waffles. You can see the steps in action in the video that accompanies this post, and get all the details in the recipe card below.
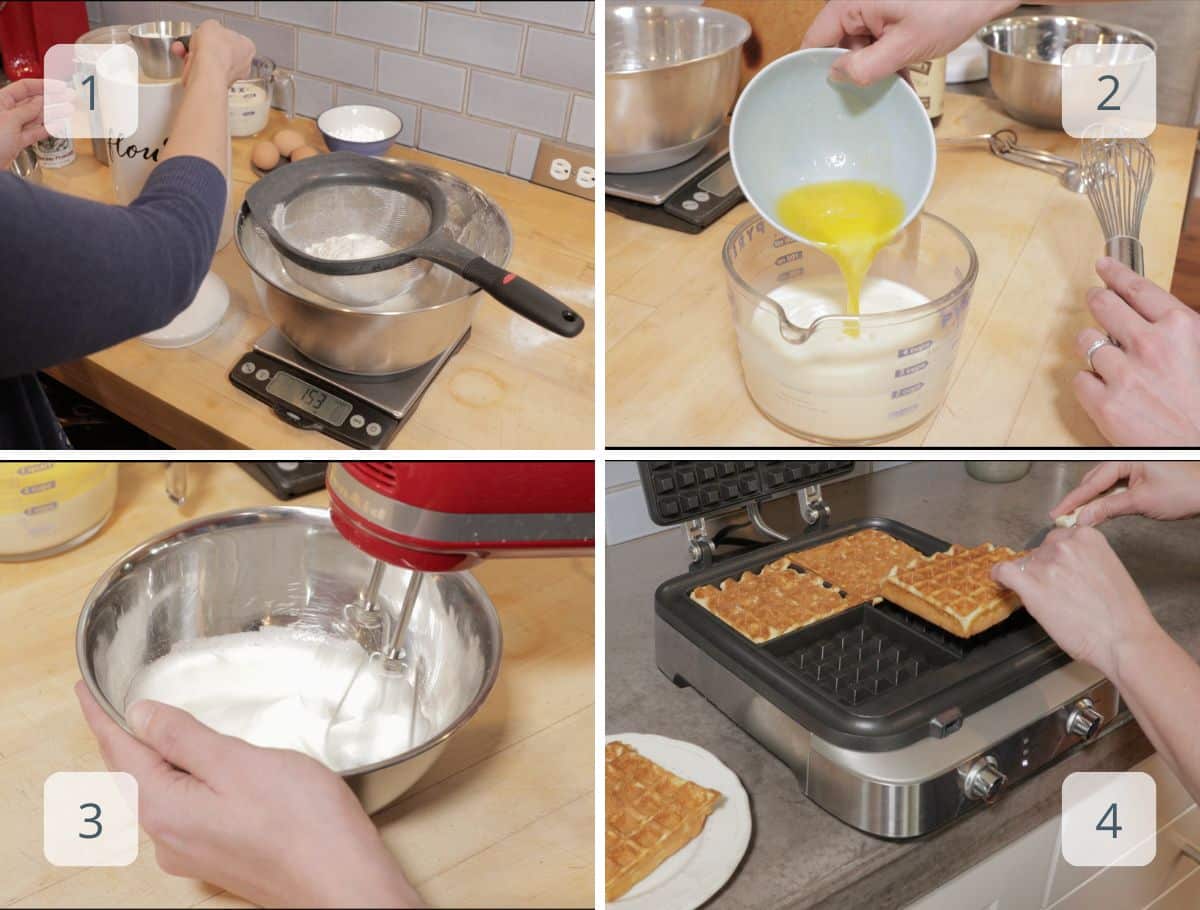
- First you'll sift together the dry ingredients.
- Separate the eggs and whisk the yolks together with the milk and vanilla. Whisk in the butter. Then pour wet ingredients over dry and stir together until just combined.
- Whip egg whites to stiff peaks and fold into batter.
- Cook until crisp and golden brown. That's it!
Expert tips and FAQs
Classic vanilla waffles are made with so few ingredients and so few techniques that it really pays to put a little care into each element. Here's how to get the best results.
Have ingredients at room temperature, seriously
I know, recipes always say to have your ingredients at room temperature. Maybe you’ve gotten used to brushing off that advice. With waffles, though, it matters.
Room-temperature eggs and milk will yield lighter waffles, and milk that isn’t freezing cold will also help the melted butter distribute better throughout the batter.
Hacks for room-temperature ingredients
I'll deny having said this if cross-examined, but in a lot of climates it's absolutely fine to leave your eggs and milk out on the counter when you go to bed the night before you plan to make waffles. Or, if you’re not thinking that far ahead, measure milk into a 2-cup glass measuring cup, separate the egg yolks right into the milk, and microwave on half power just until room temperature.
Use good-quality ingredients
Good eggs, good milk, good butter, and fresh (or at least not ancient) dry ingredients will make your waffles taste as great as they should. I know everyone has different priorities when selecting ingredients, so I won’t preach. Just know that in a recipe as simple as classic vanilla waffles, the better your ingredients, the better they’ll be.
Use fresh baking powder
Okay, I’ll preach a little bit about baking powder, actually. Baking powder tends to hang out in pantries for ages, since a little goes a long way, and what are you, a professional baker? It doesn't last forever, though, so make sure to buy a new container every six months or so. Otherwise your waffles, pancakes, and baked goods won’t rise properly.
Give melted butter a moment to cool before mixing it in
If melted butter is too hot, you’ll risk scrambling the egg yolks, which is definitely not the goal. A moment’s patience goes a long way here.
Whip those whites
I am not a fan of overcomplicating basic recipes. Our wildly popular pancake recipe, for that very reason, does not require any egg separating or white whipping.
However.
Waffles are a different story. To achieve the combination of crisp exterior and light, fluffy insides, it really pays to separate your eggs and whip the whites to the stiff peaks stage, then gently fold the whites in right before cooking.
What the heck is the stiff peaks stage?
Stiff peaks means you’ve beaten your egg whites with an electric mixer (or by hand with a whisk for like 18 minutes if you insist, She-Ra), until they’re white and shiny. If you turn off the mixer and pull the beaters out of the egg whites, the little points formed at the top of the whites will stand straight up. Those are the stiff peaks.
There is definitely such a thing as over-beating egg whites, at which point they’ll start to separate and turn grainy, so test early and often, and stop right away once you reach the stiff peak stage.
What the heck is folding?
Folding is a gentle mixing technique that allows you to incorporate the egg whites into the batter without deflating them too much. This method will ensure your waffles are nice and light.
To fold, drag the spatula through the center of the batter down to the bottom of the bowl, scoop up some batter with a sweeping motion, lift it up, and place it back down on top of the remaining batter. Repeat this motion, turning the bowl a quarter turn each time, until egg whites are streaked evenly and widely throughout but not fully mixed into the batter.
Don't over-mix waffle batter
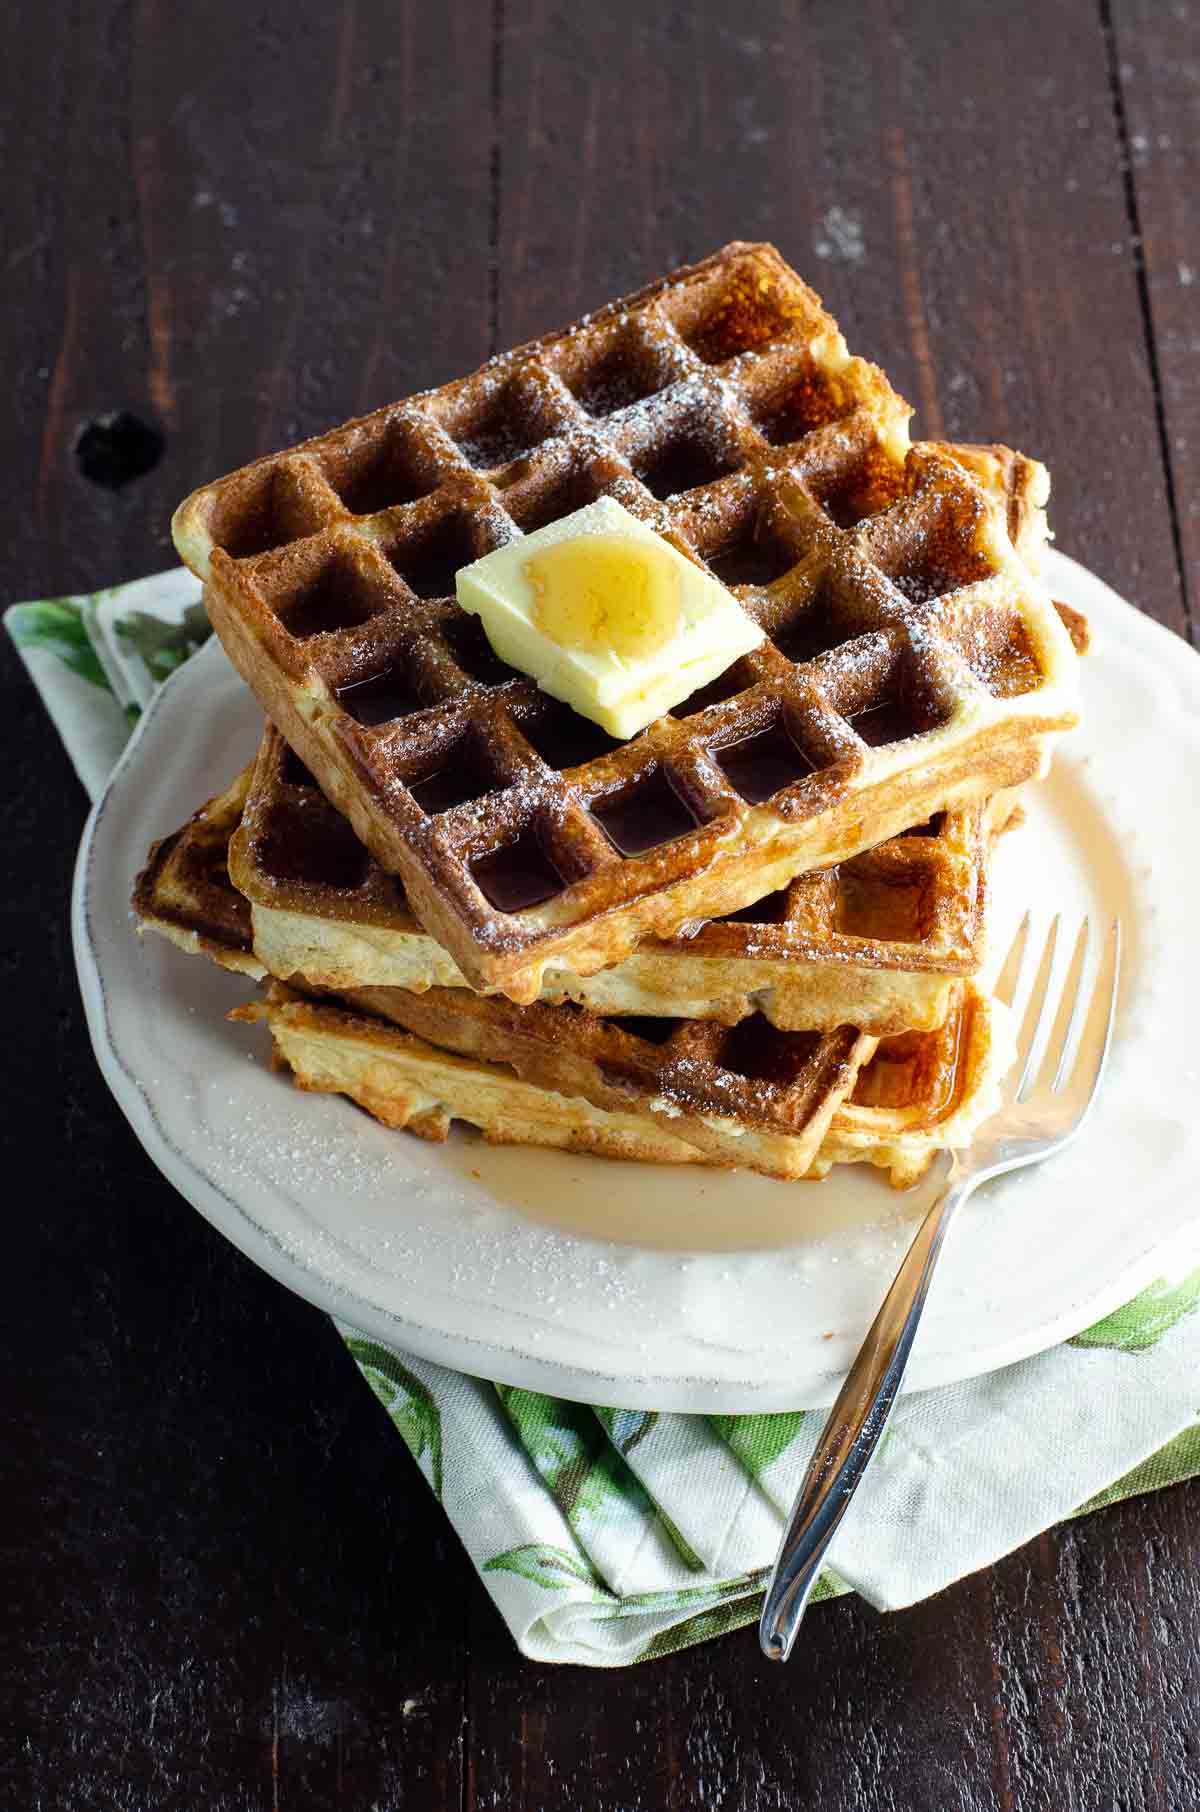
Waffle batter should be a little bit lumpy and streaked with whipped egg whites. Perfectly smooth batter is an indication you've mixed too much. If you over-mix at the first stage when combining the wet and dry ingredients, you’ll develop too much gluten in the flour and end up with tougher waffles. If you over-mix when folding in the egg whites, you’ll deflate them and defeat the purpose of having whipped them in the first place. Just be lazy. It's the best.
Speaking of patience, let the batter rest while you whip the eggs
A few minutes’ rest allows the flour an opportunity to soak up the liquids and gives the gluten a chance to relax a bit.
Nonstick-ify your waffle iron, even if it's nonstick
Give your waffle iron a quick spritz with nonstick cooking spray, or brush with a tiny bit of butter or neutral-tasting vegetable oil, between batches to prevent sticking. This waffle batter is well-behaved and easy to work with, but it never hurts to take a belt and suspenders approach to ensuring your waffles will release from the waffle iron easily.
Cook until golden brown
Waffle irons are individuals to be sure, but I find that ours cooks these waffles perfectly when I set the dial about three quarters of the way along the route from light to dark. Your mileage may vary, so have fun experimenting to identify your own preferences.
Here’s some good news: classic vanilla waffles freeze and reheat well. You can make a double batch, pop the extras in the freezer, and have a homemade breakfast on a busy weekday.
The best way to freeze waffles is to place them in a single layer on a baking sheet and freeze until solid. Then you can place in a zip-top freezer bag for up to about three months. If your freezer doesn’t accommodate a baking sheet, separate waffles with parchment paper so they won’t stick together and freeze in a zip-top freezer bag.
I adore our toaster oven and love to reheat waffles in it, whether from frozen or not. You can do this right on the rack on the toast setting or use a fancier mode depending on your toaster oven’s options. You can reheat frozen waffles in a regular toaster, too, or directly on the rack in a 350°F oven. It doesn’t take long regardless of which method you choose.
More favorite breakfast classics
- Bacon in the oven
- American or French scrambled eggs
- Everyday French toast
Hungry for more?
Subscribe to Umami Girl's email updates, and follow along on Instagram.
Classic Vanilla Waffles
Equipment
Ingredients
- 2 cups (240 grams) flour
- ¼ cup (50 grams) sugar
- 4 teaspoons (16 grams) baking powder
- ¼ teaspoon fine sea salt (if using unsalted butter)
- 1 ¾ cup (414 ml) whole milk
- 2 large eggs
- 2 teaspoons (10 grams) pure vanilla extract
- 4 tablespoons (56 grams) butter, melted and slightly cooled
Instructions
- Have eggs and milk at room temperature for optimum fluffiness.
- Preheat waffle iron. (If yours has multiple doneness settings, try about ¾ of the way from light to dark.)
- Sift together flour, sugar, baking powder, and salt into a large mixing bowl.
- Separate egg whites from yolks. Place whites into a medium mixing bowl and set aside for the moment. Add yolks to milk. (I like to use a 2-cup glass measuring cup to measure the milk and then mix together the wet ingredients right in the measuring cup.)
- Add vanilla to milk mixture and whisk together until well combined.
- Pour in slightly cooled melted butter and whisk to thoroughly.
- Pour wet ingredients over dry ingredients and stir together until just combined. Some lumps of flour are fine. Don’t over-mix.
- Let batter rest while you whip the egg whites.
- Whip egg whites with an electric mixer to the stiff peak stage. This means they are white and shiny, and if you turn off the mixer and pull it out of the egg whites, the little point at the top of the whites stands straight up. There is such a thing as overbeating egg whites, so stop once you reach this stage.
- Scrape egg whites into the bowl with the batter and use a silicone spatula to gently fold the whites into the batter. (See note 2 below.) Leave some streaks of whipped egg white throughout the batter. Don’t over-mix or the egg whites will deflate too much.
- Spray waffle iron with nonstick cooking spray, or brush very lightly with vegetable oil or melted butter.
- Add batter to waffle iron according to manufacturer’s instructions and cook until waffles are golden brown.
- Serve immediately, or keep warm in a 200°F oven while you finish cooking. You can place waffles directly on a clean oven rack or place them on a baking rack set into a rimmed baking sheet.
Notes
- Whole milk creates just the right level of richness and the perfect texture. Soy milk makes a good alternative if you need to avoid cow's milk. The strong protein structure helps create crisp, fluffy waffles.
- To fold egg whites into batter, drag the spatula through the center of the batter down to the bottom of the bowl, scoop up some batter with a sweeping motion, lift it up, and place it back down on top of the remaining batter. Repeat this motion, turning the bowl a quarter turn each time, until egg whites are streaked evenly and widely throughout but not fully mixed into the batter. Folding allows you to incorporate the egg whites into the batter without deflating them too much, so the waffles will be nice and light.
- Classic vanilla waffles freeze and reheat well. You can make a double batch, pop the extras in the freezer, and have a homemade breakfast on a busy weekday.
- The best way to freeze waffles is to place them in a single layer on a baking sheet and freeze until solid. Then you can place in a zip-top freezer bag for up to about three months. If your freezer doesn’t accommodate a baking sheet, separate waffles with parchment paper so they won’t stick together and freeze in a zip-top freezer bag.
- I adore my toaster oven and love to reheat waffles in it, whether from frozen or not. You can do this right on the rack on the toast setting or use a fancier mode depending on your toaster oven’s options. You can reheat frozen waffles in a regular toaster, too, or directly on the rack in a 350°F oven. It doesn’t take long regardless of which method you choose.
Nutrition
Hungry for more?
Subscribe to Umami Girl's email updates, and follow along on Instagram.






Charlie says
best waffles ever amazing recipe nice delicious and crispy
Kim says
For idiots like me, who expected this recipe to have the liquids listed in (ml):
-1 3/4 cup milk is 414 ml
As for the teaspoon stuff, i don’t even know where to begin. Each english speaking country has different measurements. You know, just cuz.
Carolyn Gratzer Cope says
Thank you, Kim! I am working on putting metric measurements into all my recipes. I'm using US teaspoons, so each one is 5mL. xx
Brianna says
I have never made waffles before and decided to give this recipe a try. I do not like breakfast foods. Um wow! They were delicious. I actually want to make them again because they are still on my mind! So fluffy, the perfect amount of vanilla essence and just enough sweetness that they feel like a treat. Love it!