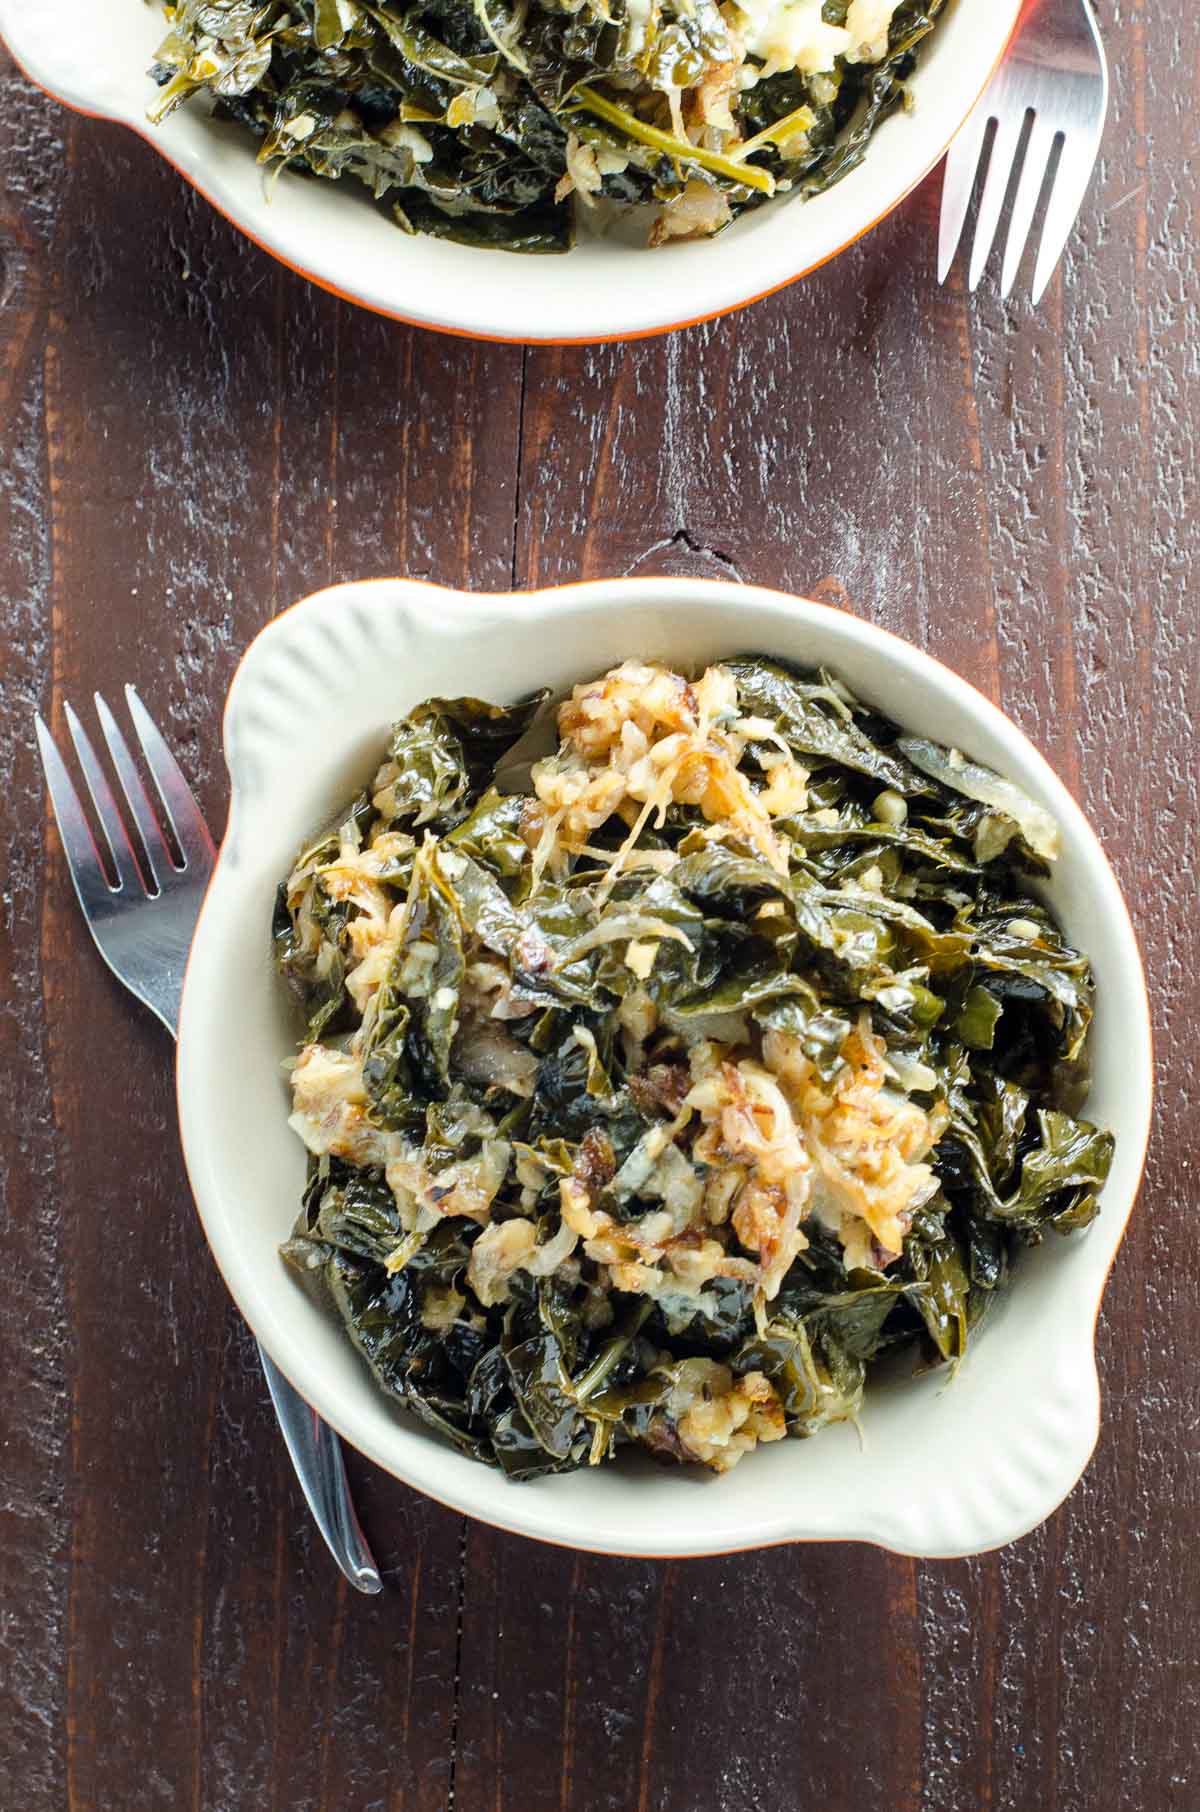
If braised kale doesn’t sound like something you’d run toward, may I have a moment to convince you otherwise? This dreamy, slightly indulgent method of preparing your leafy greens is particularly at home on the Thanksgiving or Christmas table — and it's just so good.
Why we love this recipe
Back in 2010 when the kids were wee and I first created this braised kale recipe, a four-year-old guest pushed one of the country’s classic stuffings to the side of his plate and asked, “Can I have more of that stuff?”
Well. He turned out to be quite the competent young chef and adventurous eater, so I'm not rushing to list this dish in the kid-friendly recipes category. But I have to say, I agree heartily with his enthusiasm for this side dish. It's:
- Positively packed with leafy greens
- Yet feels indulgent
- A symphony of savory, earthy flavors
- That pairs beautifully with many holiday meals (and dinner party classics)
- Make-ahead friendly, to boot
I first published this recipe here way back in 2010. I've since updated the post for clarity and streamlined the recipe's method a bit, but in essence it remains the same.
What you'll need
Here's a glance at the ingredients you'll need to make this recipe.
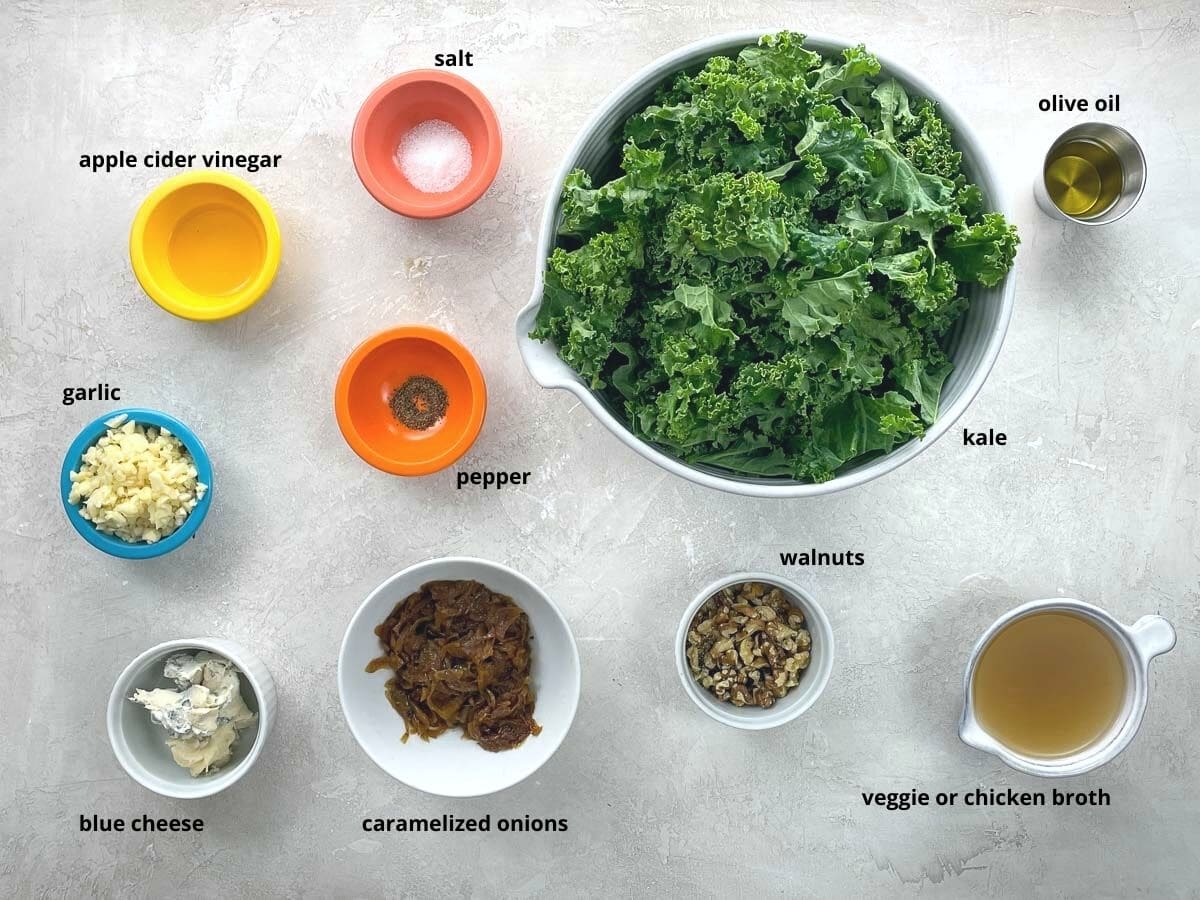
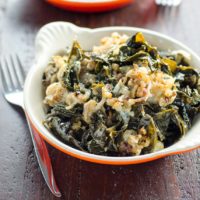
- I've pictured curly kale here and lacinato (a.k.a. dinosaur) kale in the photos of the finished dish. You can choose your favorite variety.
- The recipe card contains full instructions for caramelizing the onions you'll need for this dish, but I often like to make a big batch separately, well in advance, and add some to the kale. If you'd like to take that approach, here's how to make the best-ever batch of caramelized onions for use in a wide variety of recipes.
- For the blue cheese, I like to use gorgonzola dolce. It has a relatively mild flavor with a nice, rounding sweetness, and it's creamy enough to melt into the dish. This flavor combination is kinda magnificent just the way it is, but if you're not a blue cheese fan and otherwise like the sound of this dish, fresh goat cheese (chèvre) would work brilliantly, too.
How to make braised kale
Here's an overview of what you'll do to make a savory, satisfying batch of braised kale with caramelized onions, walnuts, and blue cheese. You can see the steps in action in the video that accompanies this post, and get all the details in the recipe card below.
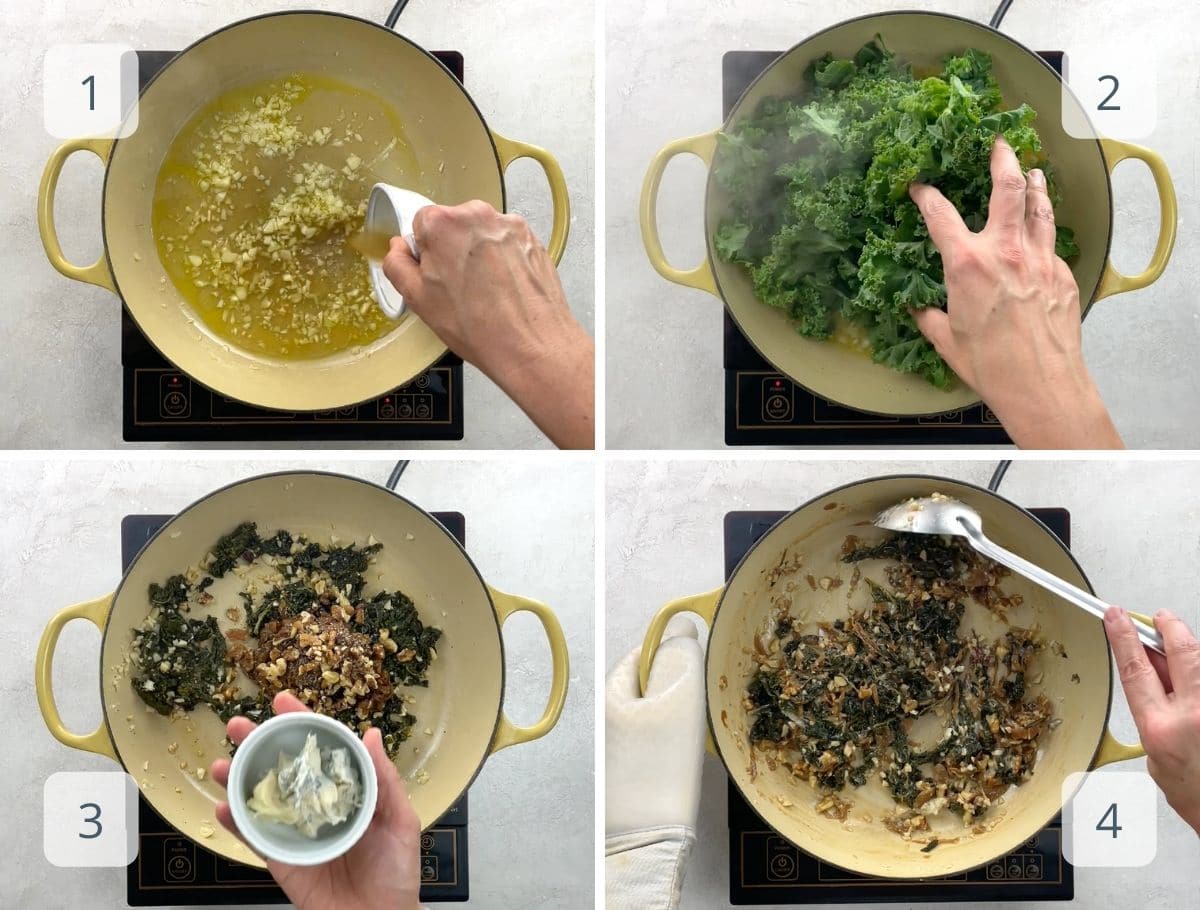
- First you'll sauté the garlic and create the braising liquid.
- Then you'll add kale, kale, and more kale. Cover and simmer until very tender.
- Meanwhile, you'll caramelize the onions and toast the walnuts.
- Stir the onions, walnuts, and blue cheese into the kale mixture. That's it!
Expert tips and FAQs
Good question. Braising is a combination of dry heat and moist cooking. Typically you brown the ingredients over relatively high heat first to develop flavor, and then you add a smallish amount of liquid, turn down the heat, and cook low and slow to tenderize.
When braising tough cuts of meat, this method applies directly. When braising vegetables, as in this recipe, the technique depends on the nature of the veggies. In this case, we don't want to brown the kale. So we sauté the aromatics first (in this case the garlic) and then add the liquid and the kale to cook low and slow.
You can! You've got a couple of options. First, you can make the whole dish up to a few days in advance and gently reheat it in the microwave, oven, or on the stovetop just before serving.
Or you can braise the kale and caramelize the onions in advance and finish the dish in about five minutes before serving. It's up to you — both methods work beautifully.
Leftovers will keep in an airtight container in the fridge for three to four days.
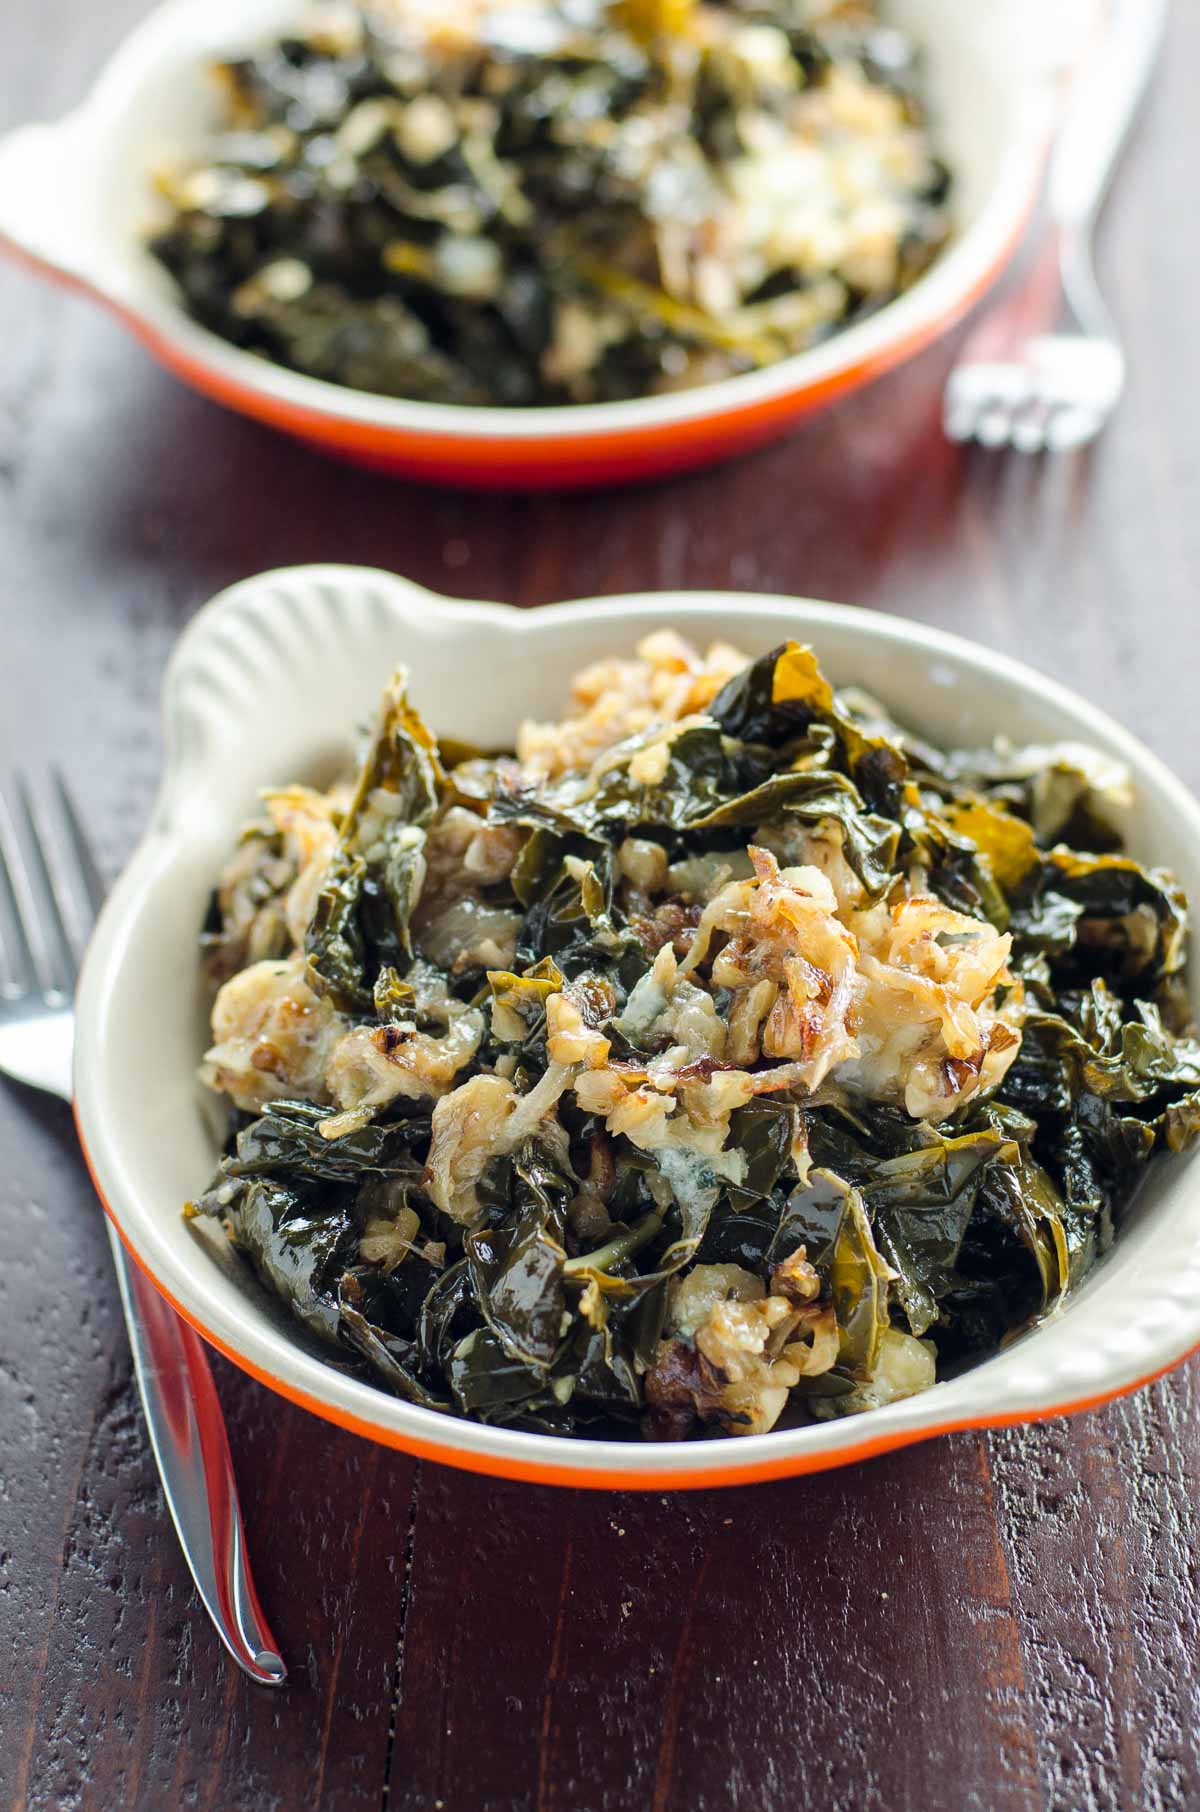
More favorite holiday veggies
Hungry for more?
Subscribe to Umami Girl's email updates, and follow along on Instagram.
Braised Kale Recipe with Caramelized Onions, Walnuts, and Blue Cheese
Ingredients
- 2 bunches kale (1 ½ to 2 pounds / 680 to (907 grams) total)
- 2 tablespoons (30 ml) olive oil
- 6 garlic cloves (minced (see note 2))
- ¾ teaspoon fine sea salt
- ½ teaspoon freshly ground black pepper
- 1 cup (235 ml) low-sodium vegetable broth
- 2 tablespoons (30 ml) apple cider vinegar
- ½ batch caramelized onions (see note 3)
- ¾ cup (90 grams) chopped walnuts
- 2 ounces (60 grams) blue cheese (about ½ cup crumbled)
Instructions
- Wash kale and shake to remove excess water, leaving some water clinging to leaves. Strip leaves from stems and discard stems. Tear or cut leaves into bite-sized pieces.
- In large pan that has a heavy bottom and a lid, heat the olive oil over medium-high heat until shimmering.
- Add garlic and cook, stirring frequently, until fragrant, about 1 minute.
- Add broth, vinegar, salt, and pepper, raise heat to high, and bring to a boil.
- Begin adding kale by the handful, pausing to let it wilt as necessary, until all the kale is in the pot.
- Cover and reduce heat to medium-low.
- Cook, stirring occasionally, until kale is very tender, about 15 to 20 minutes depending on type.
- Gently stir in caramelized onions, walnuts, and blue cheese until well-mixed and creamy.
Notes
- I've pictured lacinato (dinosaur) kale in the photos of the finished dish and curly kale in the video. You can use any variety that you like.
- I sometimes use a lot more garlic than called for. In the video I used about 4x as much. Since it cooks for a long time, it gets quite mild. You can choose your own adventure.
- I really recommend that if you're going to go through the process of caramelizing onions, you make a whole batch and save the other half for burgers, risotto, and more. That said, if you prefer to cook them just for this dish, here's what to do. Slice 1 pound yellow onions thinly from root to tip. In a 10-inch frying pan, melt 1 tablespoon butter along with 1 tablespoon olive oil. Add onions, ¼ teaspoon salt, 1 small sprig fresh rosemary and 1 generous sprig fresh thyme. Stir well to coat. For the first 20 minutes or so, the onions will sweat a lot and reduce in volume substantially. Stir occasionally during this time to keep them cooking evenly, and adjust the heat as necessary to prevent burning. Don't expect to see too much color on the onions during this time. During the next 20 to 40 minutes, the onions will really start to caramelize. Your job during this time is to stir the onions not too little but not too much. Allow them to get a little bit browned on the bottom without burning, and then scrape up the browned bits while stirring the onions with a metal spoon or spatula. Typically the heat should be in the medium to medium-low range, but your mileage may vary. Over time you'll learn exactly how dark you like your caramelized onions. Our favorite point to stop is when they're a gorgeous mahogany brown and just on the cusp of jammy. At this stage they're super sweet and savory and not at all burned. Remove any large herb stems before using.
- If you'd like to make this recipe in advance, you've got a couple of options. First, you can make the whole dish up to a few days in advance and gently reheat it in the microwave, oven, or on the stovetop just before serving. Or you can braise the kale and caramelize the onions in advance and finish the dish in about five minutes before serving. It's up to you — both methods work beautifully.
- Leftovers will keep well in an airtight container in the fridge for 3 to 4 days.
Nutrition
Hungry for more?
Subscribe to Umami Girl's email updates, and follow along on Instagram.




Anonymous says
Anonymous says
Anonymous says