This post may contain affiliate links. Learn more.
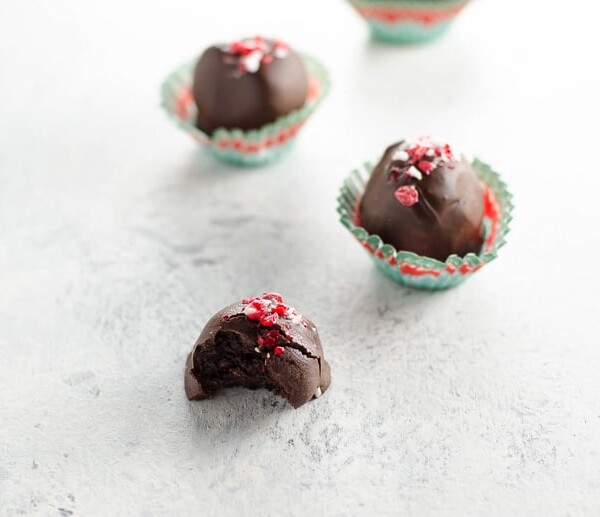
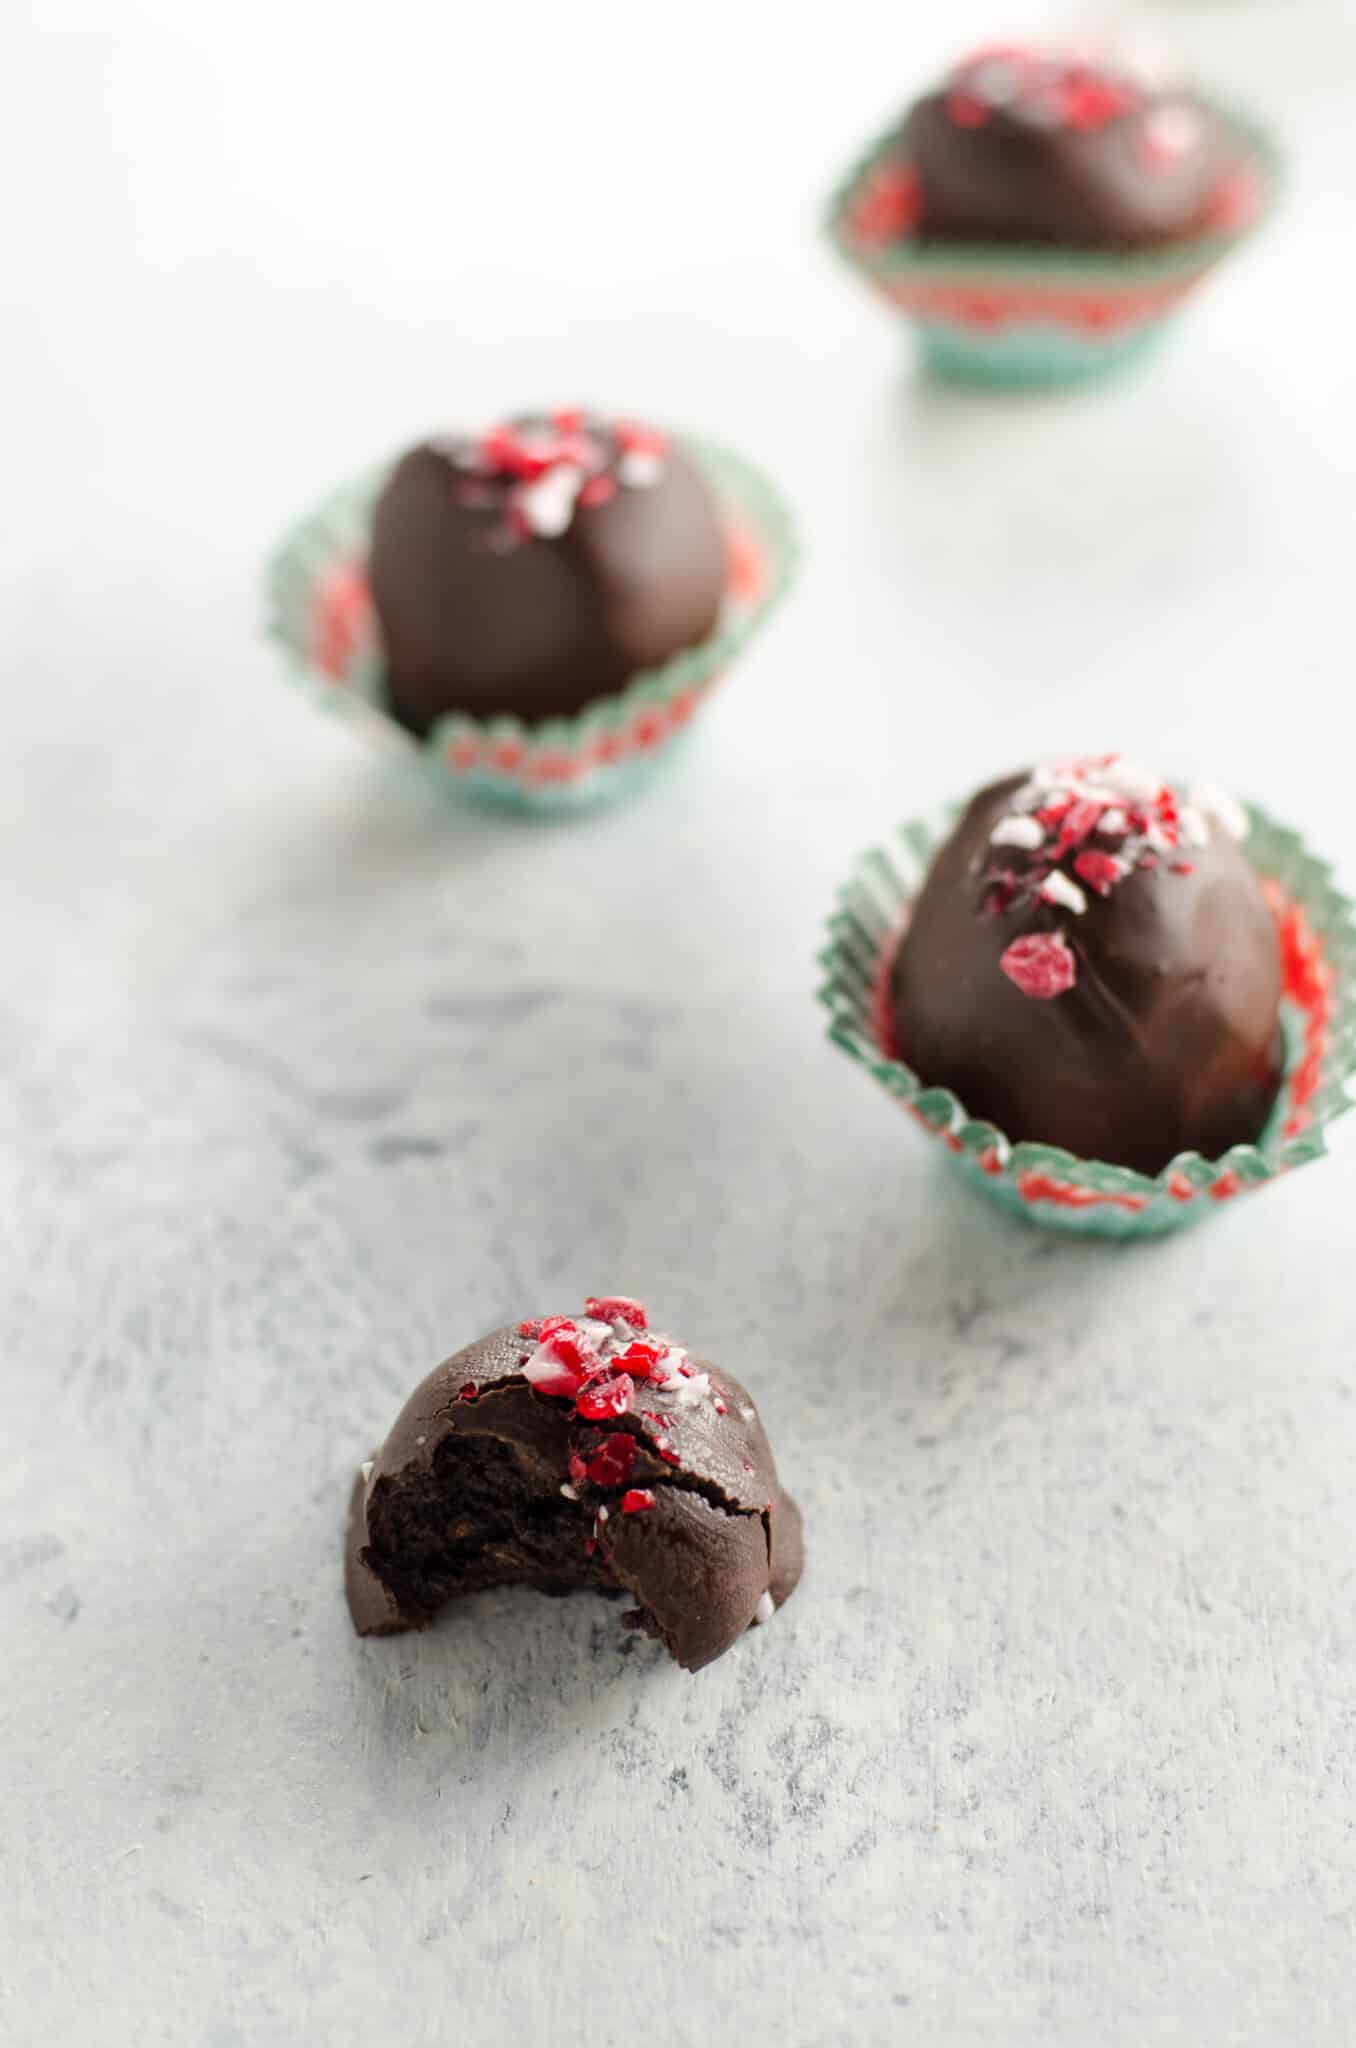
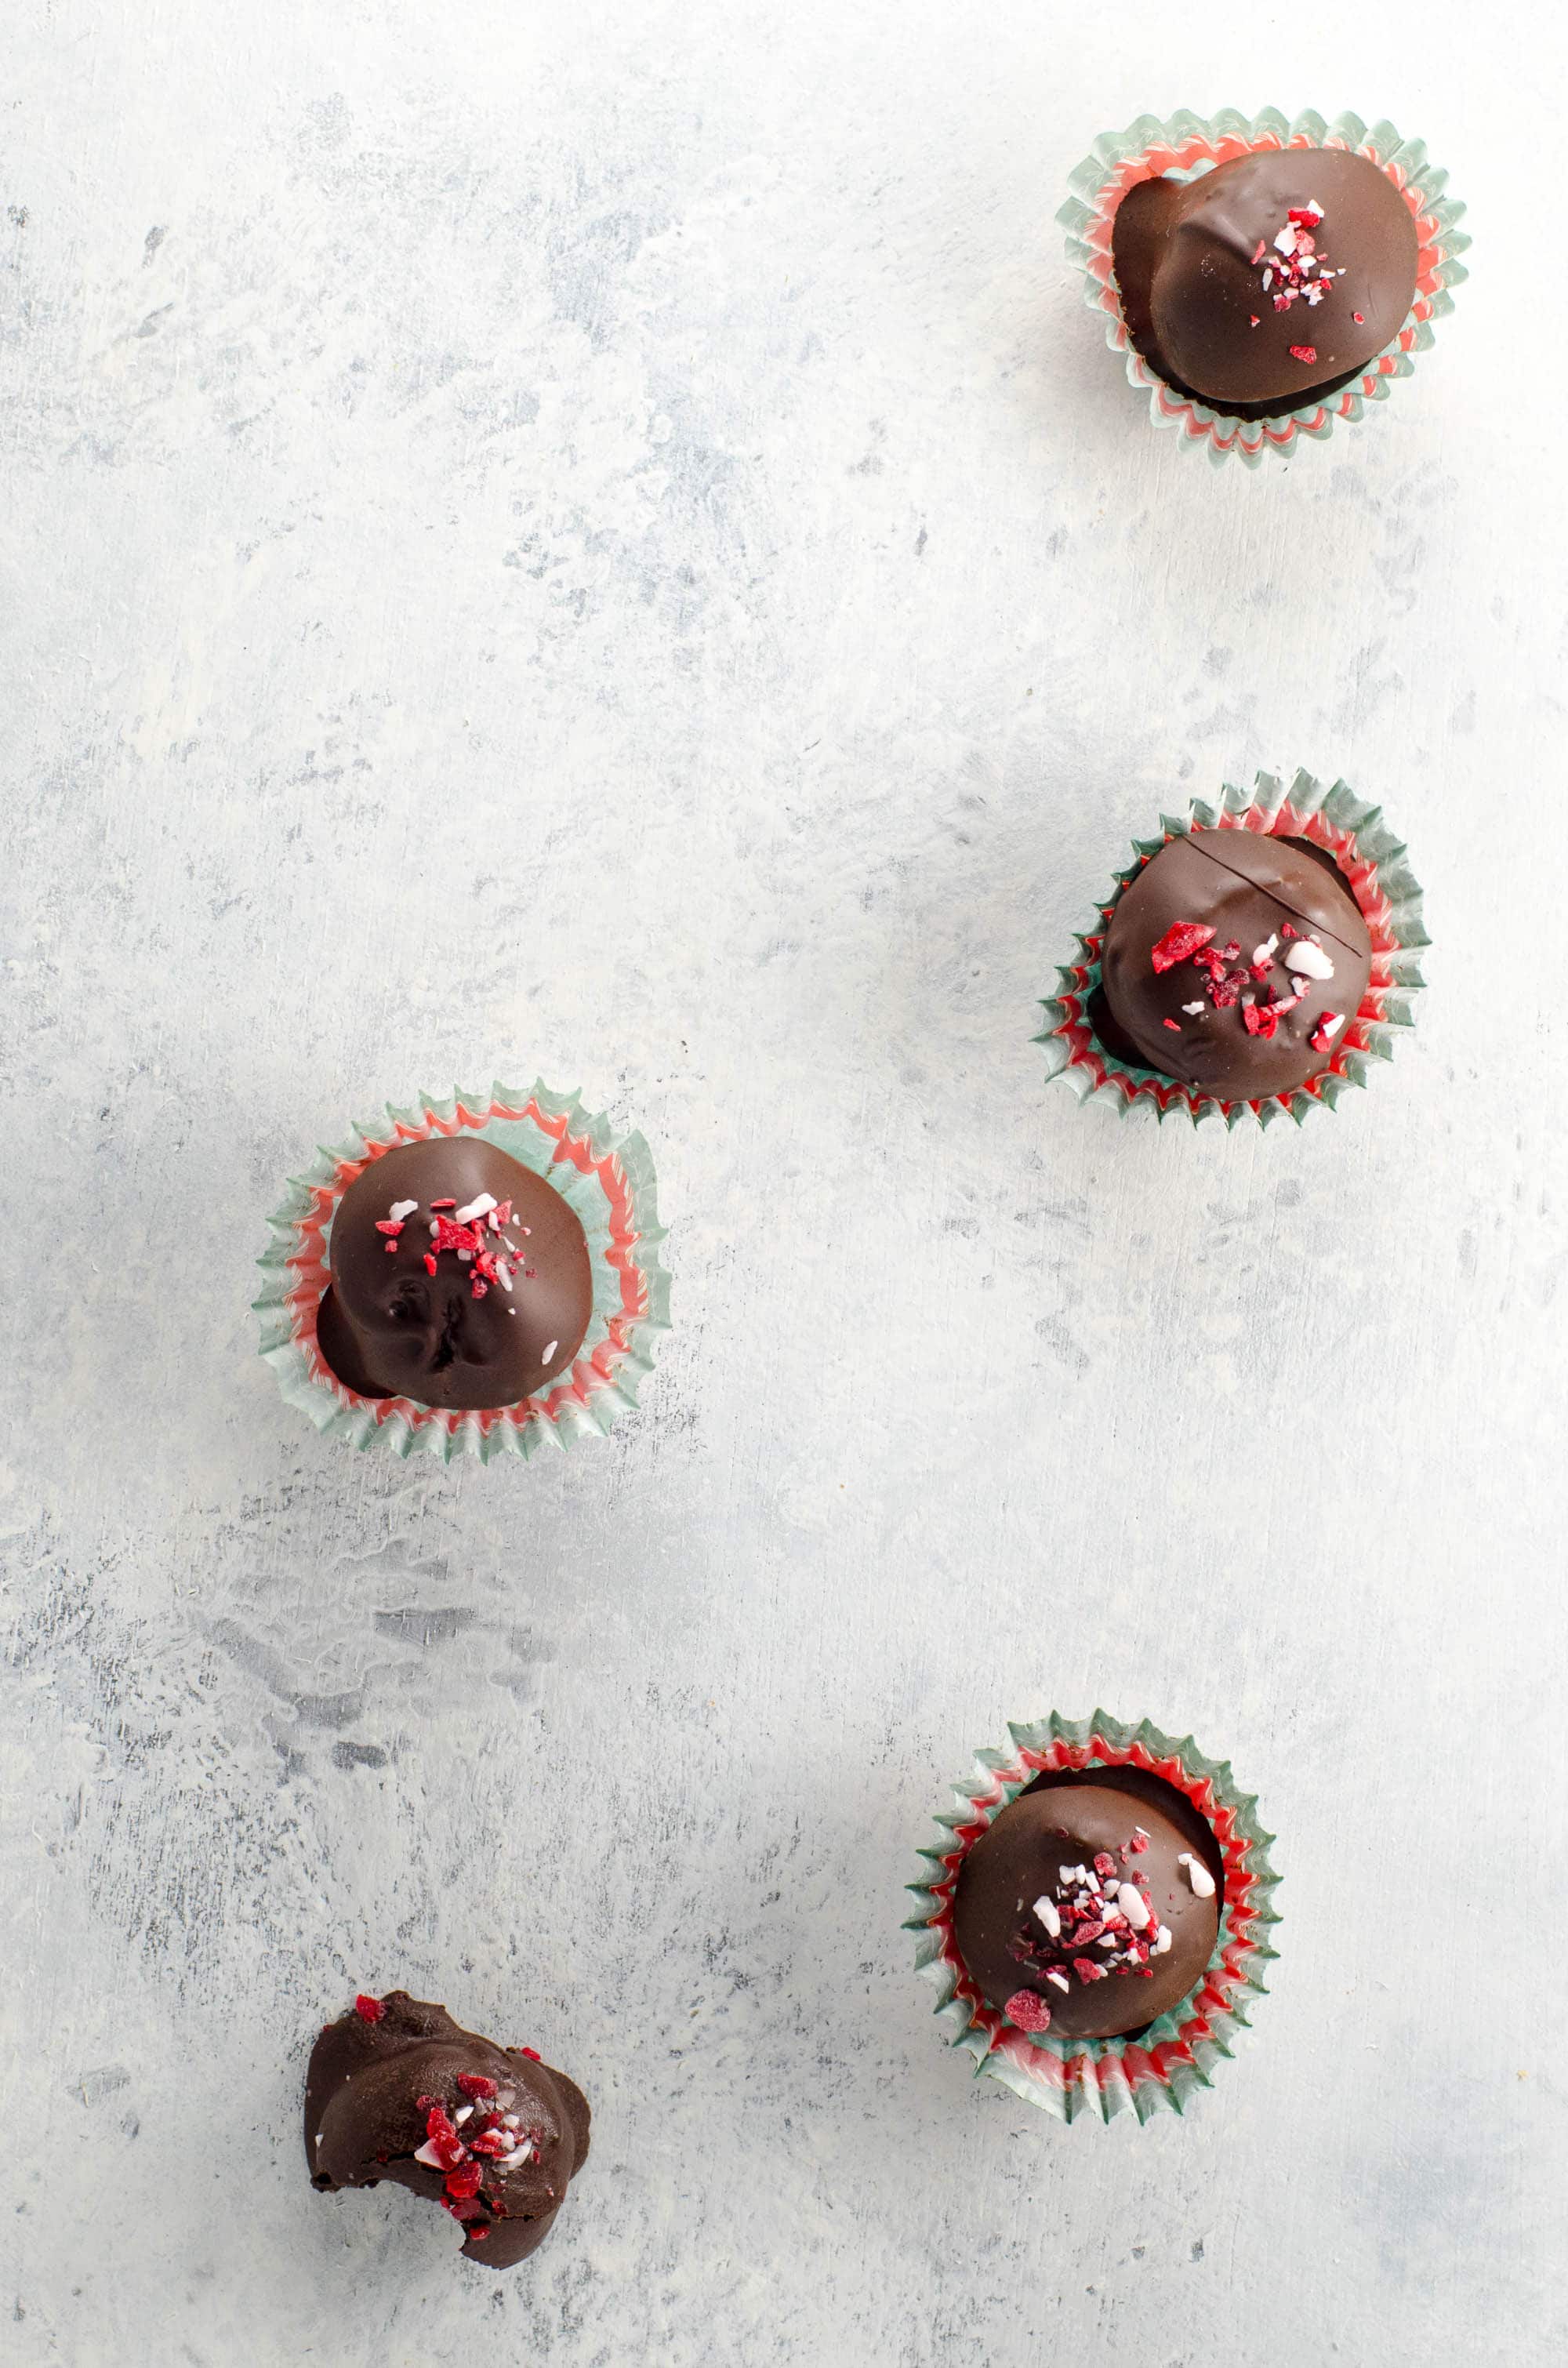
Peppermint Oreo truffles are easy, crowd-pleasing, and festive, if a little stupid. Here’s how to make them.
Why we love this recipe
I thought about starting this paragraph by saying, “These peppermint Oreo truffles are stupid-good.” But instead let’s go with this: They’re stupid (we’re basically making cookies out of cookies? I don’t know) — and they’re really very good.
They’re good because:
- Chocolate, peppermint, and cream are made for each other
- The texture of the creamy cookie crumb center is honestly magical
- You can make them look beautiful and festive with very little effort
- You don’t even have to bake them
- People LOVE these to a degree that makes me slightly uncomfortable about the state of the world
I first published this recipe here in 2016, when I called it MEDIUM-LEGIT. I’ve updated the post for clarity, but the recipe remains the same. If you’re a fan of old-school food blog narrative, you can scroll down past the recipe card to read more of the original post.
What you’ll need
Here’s a glance at the ingredients you’ll need to make this recipe.
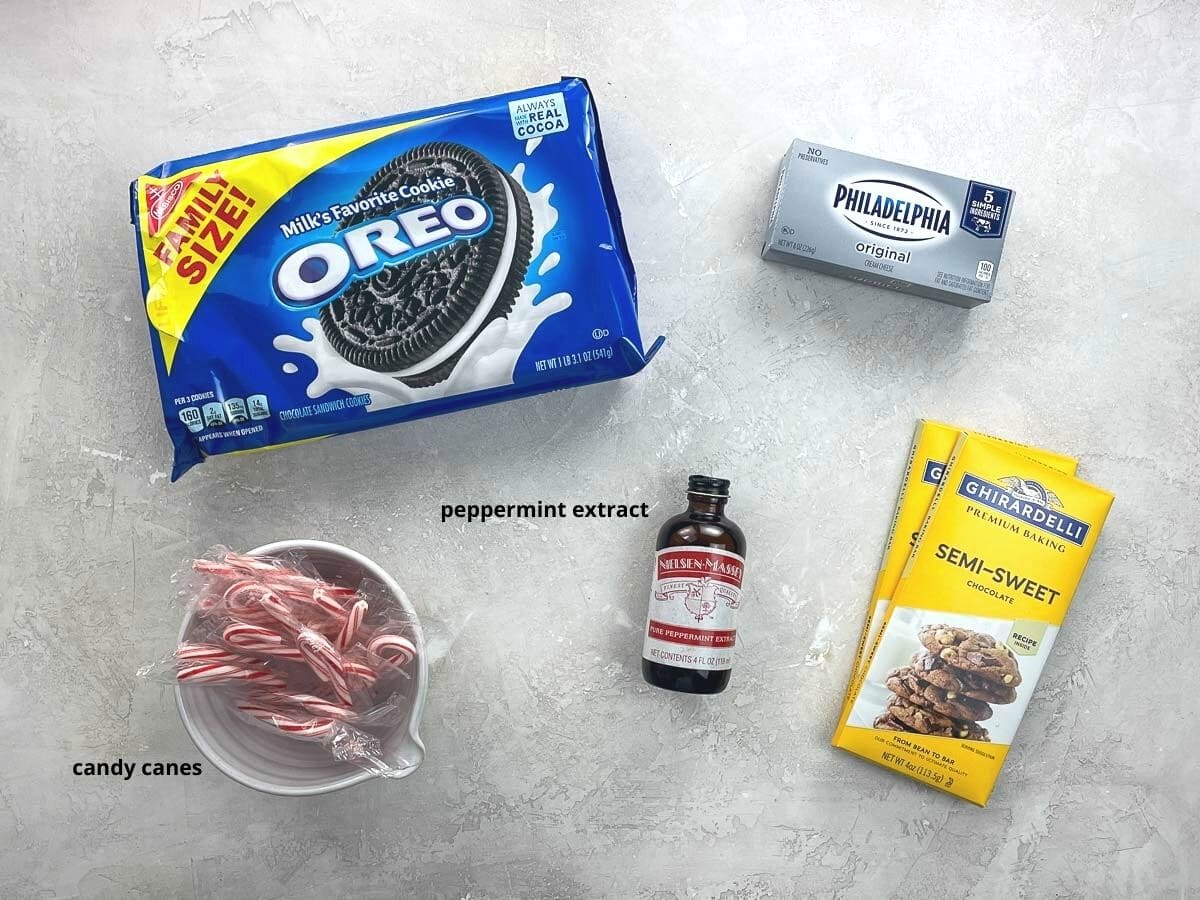
- Use regular Oreos since they have the right ratio of cookies to cream for this recipe. The photo here shows a family size package, but you’ll use a regular-size one (36 Oreos).
- Good-quality full-fat block cream cheese works best.
- Pure peppermint extract infuses beautiful mint flavor without overpowering. The candy canes contribute a bit of flavor and crunch, but mostly just look great.
- See the section below on chocolate to decide whether you’ll use melting wafers or baking bars.
How to make them
Here’s an overview of what you’ll do to make a fabulous batch of peppermint Oreo truffles. You can see the steps in action in the video that accompanies this post, and get all the details in the recipe card below.
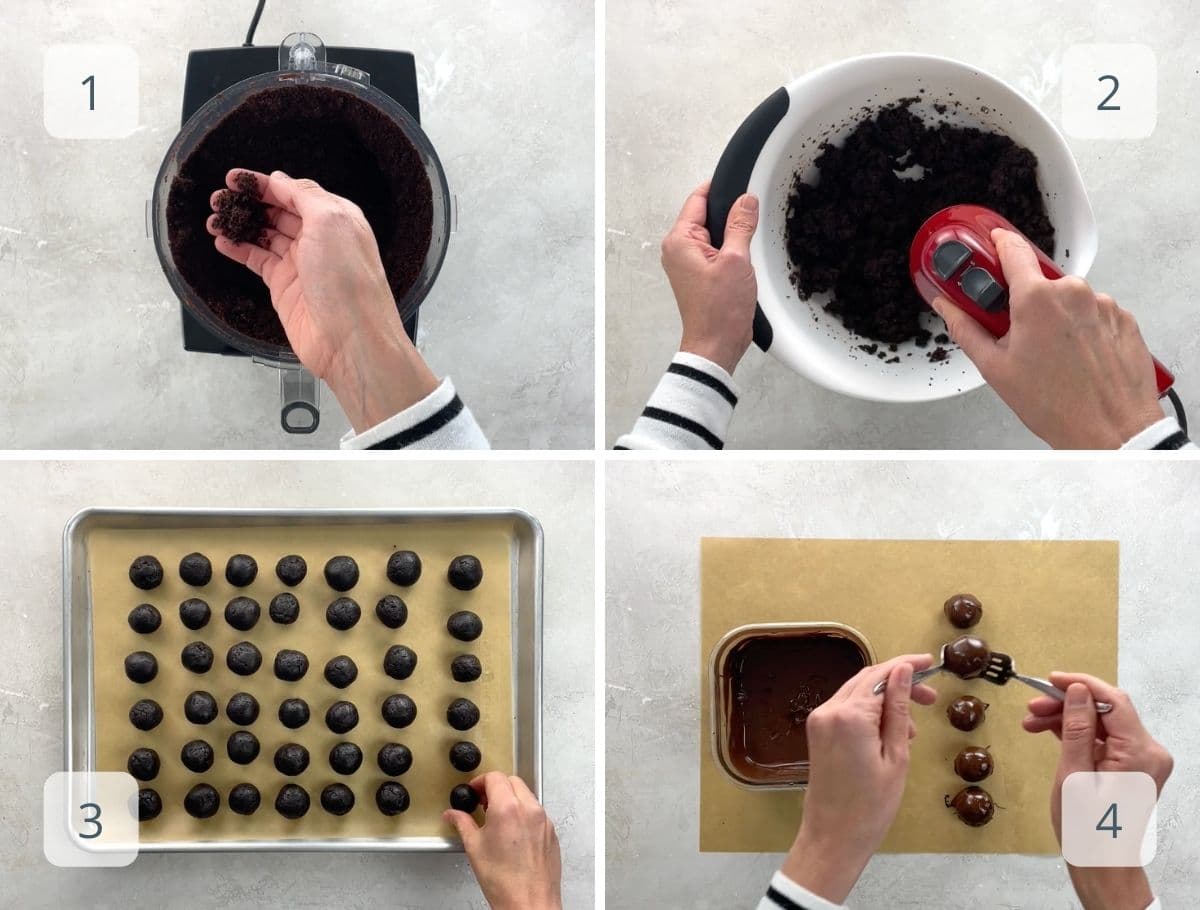
- Place the cookies into a food processor fitted with the blade and pulse until they turn to dust. You’ll be amazed how quickly this happens — it’ll make you wonder whether intact Oreos were ever really meant to be.
- In a large mixing bowl, beat the cream cheese and peppermint extract until smooth and fluffy. Stir in the cookie crumbs.
- Use a small cookie scoop or a spoon to scoop out 1-inch portions and roll them into balls with your hands. Chill for 15 minutes.
- Dip in melted chocolate to coat, sprinkle with crushed candy canes, and leave to set.
Choosing your chocolate coating
There is one medium-sophisticated decision to make when putting these truffles together, and it’s what kind of chocolate to use for the coating. Real-life actual candy making is both an art and a precise science, because if you want melted chocolate to be shiny and snappy and unlikely to leave schmutz all over your fingers when it sets, you have to temper it.
What is tempering?
Tempering means making sure the crystalline structure of your melted chocolate is such that it will harden properly, and magically, you can do this by “seeding” hot melted chocolate with solid chocolate, and the melted part will take on the proper crystal structure of solid chocolate. Whaaaat? Science, am I right?
Real talk: Tempering is something you have to do correctly or not at all, and it takes a little practice. It’s also not super-easy to do with small amounts of chocolate.
Chocolate choice 1: Wafers
The most foolproof choice would be to use something like these wafers, which have added stabilizers so you don’t have to worry about tempering. Totally legit choice, and one I’ll use from time to time, especially where white chocolate is concerned. (White chocolate is finicky to work with and is full of crap anyway.) But I usually prefer the taste and relative purity of darker chocolate without that extra stuff in it.
Chocolate choice 2: Chill out already
The second choice would be to use regular chocolate, melt it however you want, and just not really worry about whether it dries all shiny and leaves zero trace on people’s fingers. Licking a little chocolate off your fingers after eating a truffle is not the worst thing I’ve ever heard of.
Chocolate choice 3: Woman up and temper
The third choice is to woman up and temper your chocolate. You can do this in the microwave, and it doesn’t take all that long, but it does require an accurate candy or instant-read thermometer and a little practice.
Whichever method you choose, know this: Ho ho holy crap, you’re fabulous.
Expert tips and FAQs
Sure thing. You can experiment with different Oreo flavors and extracts. For coatings, swap in white or milk chocolate, and for sprinkling, your imagination is the only limit.
You can definitely make them in advance. I find that even if the chocolate coating isn’t tempered or otherwise stabilized, they’ll keep well at cool room temperature for a day. After that, they’ll keep in the fridge for at least a week, or in the freezer for a good few months.
More favorite chocolate & peppermint treats
Summarize & Save This Content On

Peppermint Oreo Truffles
Equipment
Ingredients
- 36 regular Oreos, one 14.3 ounce/405-gram package
- 8 ounces (227 grams) regular cream cheese, at room temperature
- 1 ½ teaspoons pure peppermint extract
- 12 ounces (340 grams) semi-sweet chocolate baking bars (see note 1)
- Crushed candy canes
Instructions
- In a standard food processor fitted with the blade, pulse the Oreos until reduced to dust.
- In a large mixing bowl or the bowl of a stand mixer fitted with the paddle, whip the cream cheese and peppermint extract until fluffy.
- Mix the cookie crumbs into the cream cheese until well combined.
- Chill for 10 minutes.
- Use a small cookie scoop or a spoon to divide mixture into 30 1-inch pieces
- Roll pieces into balls with your hands and place on a parchment-lined baking sheet.
- Chill thoroughly. (I usually pop them in the fridge for an hour or the freezer for 20 minutes.)
- Use two forks to dip into melted chocolate, then place back on baking sheet. (See below for tempering instructions if you like.)
- Sprinkle with crushed candy cane. Allow chocolate to set before serving.
How to temper chocolate
There are several methods for tempering chocolate. I find that the seeding method, using the microwave to heat the chocolate, is the easiest to deal with in a home kitchen and when tempering a relatively small amount of chocolate.- Chop the chocolate and place 2/3 of it in a large microwave-safe bowl.
- Microwave in bursts (starting with one minute and following with 30 seconds), stirring in between, until chocolate is melted and reaches 122°F (for dark chocolate).
- Then place the remaining chocolate into the bowl and stir until it is melted and the temperature of the melted chocolate is between 82° and 84°F. This can take a while, but it's key.
- Finally, reheat the chocolate to working temperature in 5-second bursts, stirring in between. When the chocolate reaches 88°-90°F, it is ready to use.
Notes
- If you prefer, you can use dark chocolate melting wafers, which do not need to be tempered.
- When coating the truffles in chocolate, you can set a baking rack over the parchment-lined baking sheet for cleaner bottoms on the finished truffles, and even reuse the chocolate that drips off, but I don't usually bother.
- You can make these truffles in advance. I find that even if the chocolate coating isn't tempered or otherwise stabilized, they'll keep well at cool room temperature for a day. After that, they'll keep in the fridge for at least a week, or in the freezer for a good few months.
- You can experiment with different Oreo flavors and extracts. For coatings, swap in white or milk chocolate, and for sprinkling, your imagination is the only limit.
Nutrition
Nutrition information is automatically calculated, so should only be used as an approximation.
Excerpts from 2016
The problem with truffles
This is not the kind of recipe I would have tried basically ever. But I got it into my head that I wanted to make truffles for our annual teachers’ holiday cookie exchanges at the girls’ schools. And the problem with classic truffles, if there is one, is that they’re not great at sitting out at room temperature.
Cake balls? Come on. Cake is definitely not a guy.
So I started down a bit of a scary path on Pinterest and Google that led to some things that frightened me. Things called surprising cream cheese truffles and things called cake balls. (I mean, come on, cake is definitely not a guy, right?)
“Truffles” (whoops, there are those quotes again) made with a box of cake mix blended together with a tub of frosting and dipped in something called Almond Bark, which is neither almond nor bark. (Discuss.) Those things are fine at room temperature but not really fine in any other way.
Coming to terms with Oreo truffles
Pinterest is full of Oreo truffles. And like I said, I would’ve ignored them all. Even though I won’t turn down an Oreo from time to time. But then I read The Ultimate Chocolate Truffle Guide, where the author did all the science on all the truffles and ended up liking the Oreo ones best of all. She called them “almost grainy, but in a pleasant way,” and for some reason that sold me.
Well, I wouldn’t say these are better than regular truffles. But they’re good enough that I might need to reevaluate my worldview a little bit.
Also, I added peppermint, because (1) Christmas and (2) it’s simply the right thing to do.

