This post may contain affiliate links. Learn more.
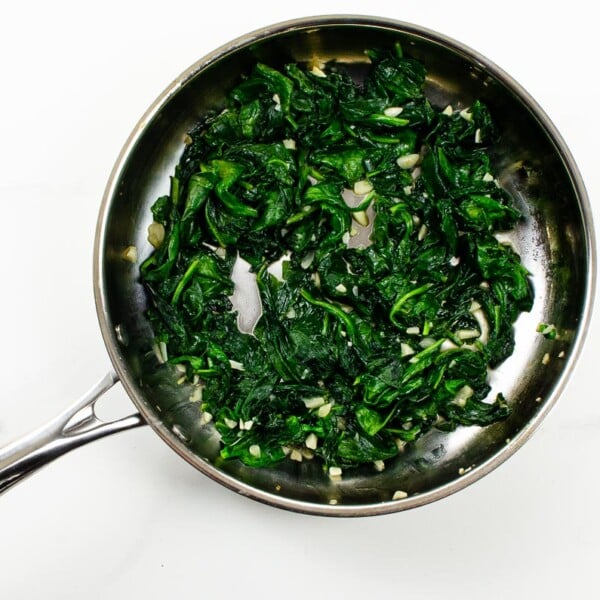
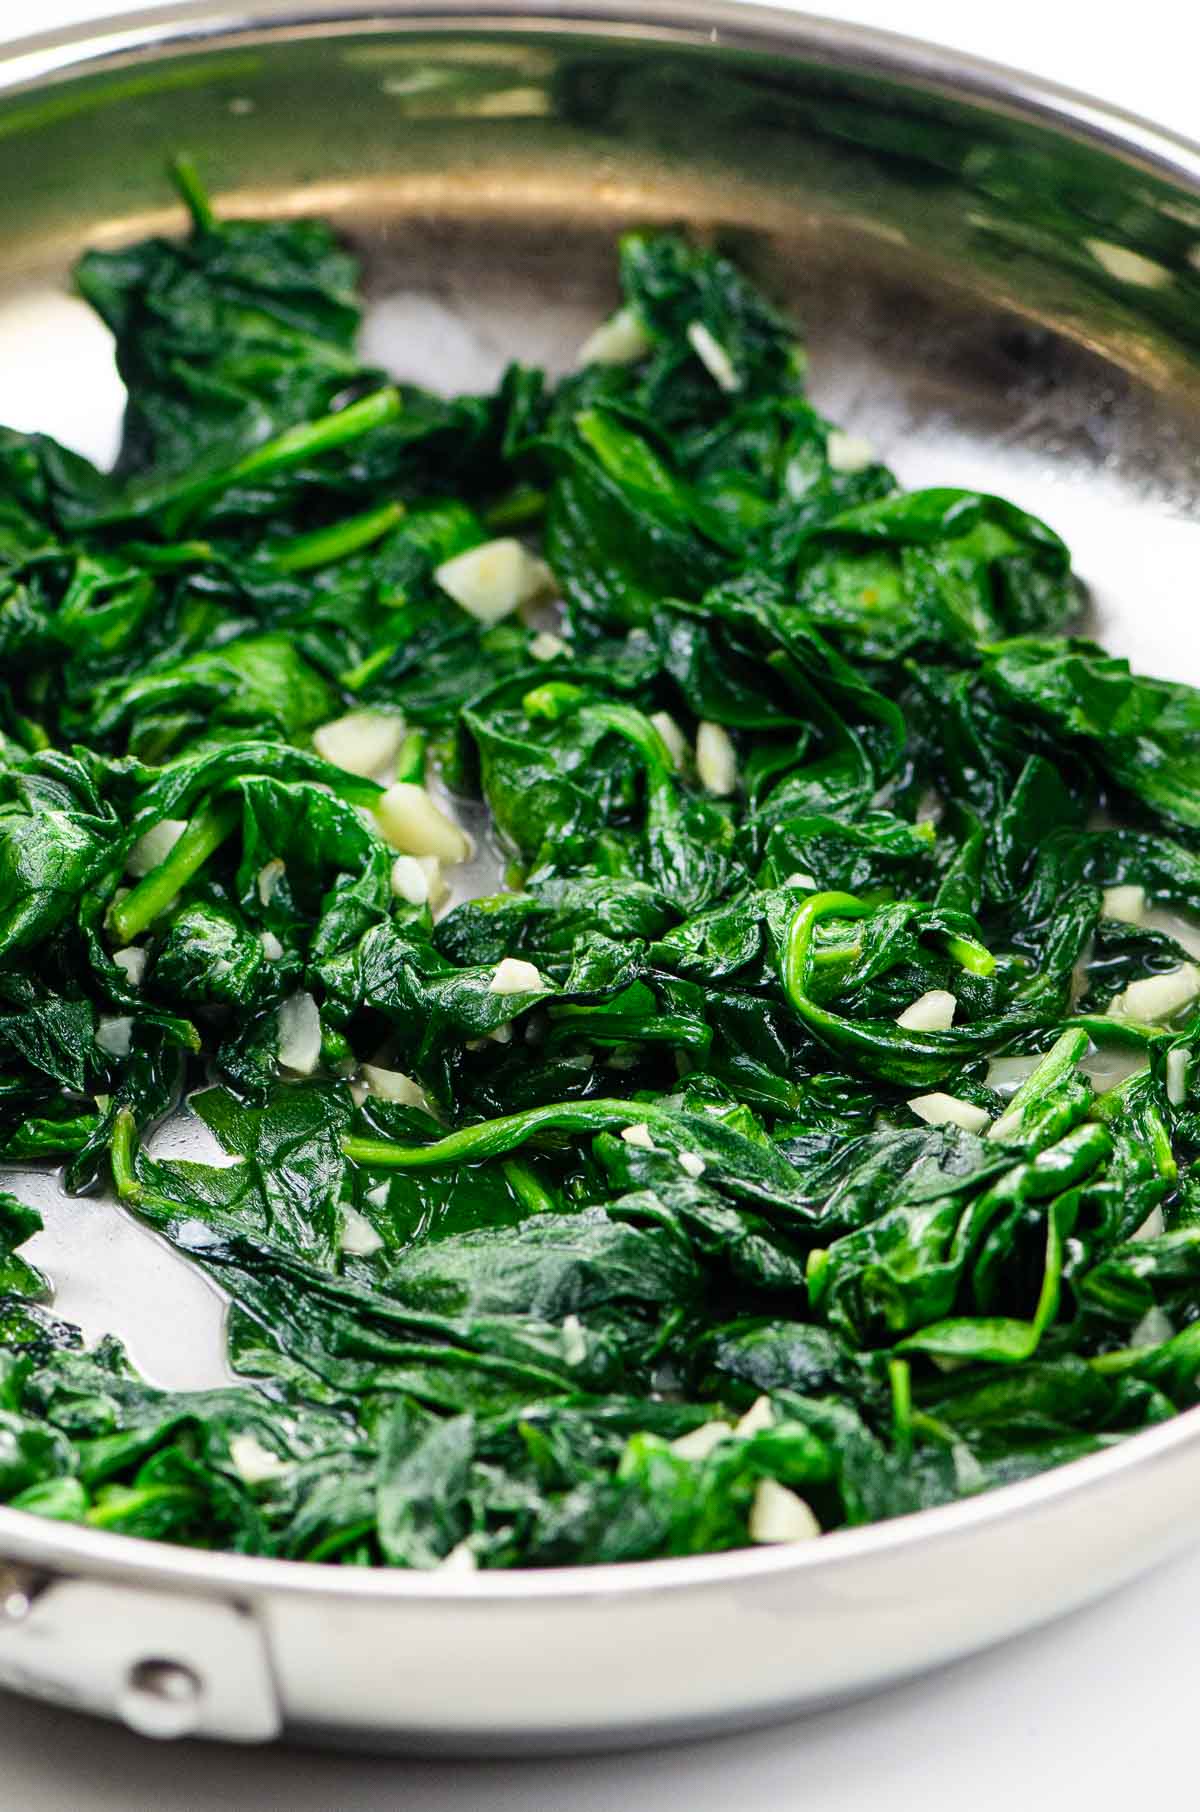
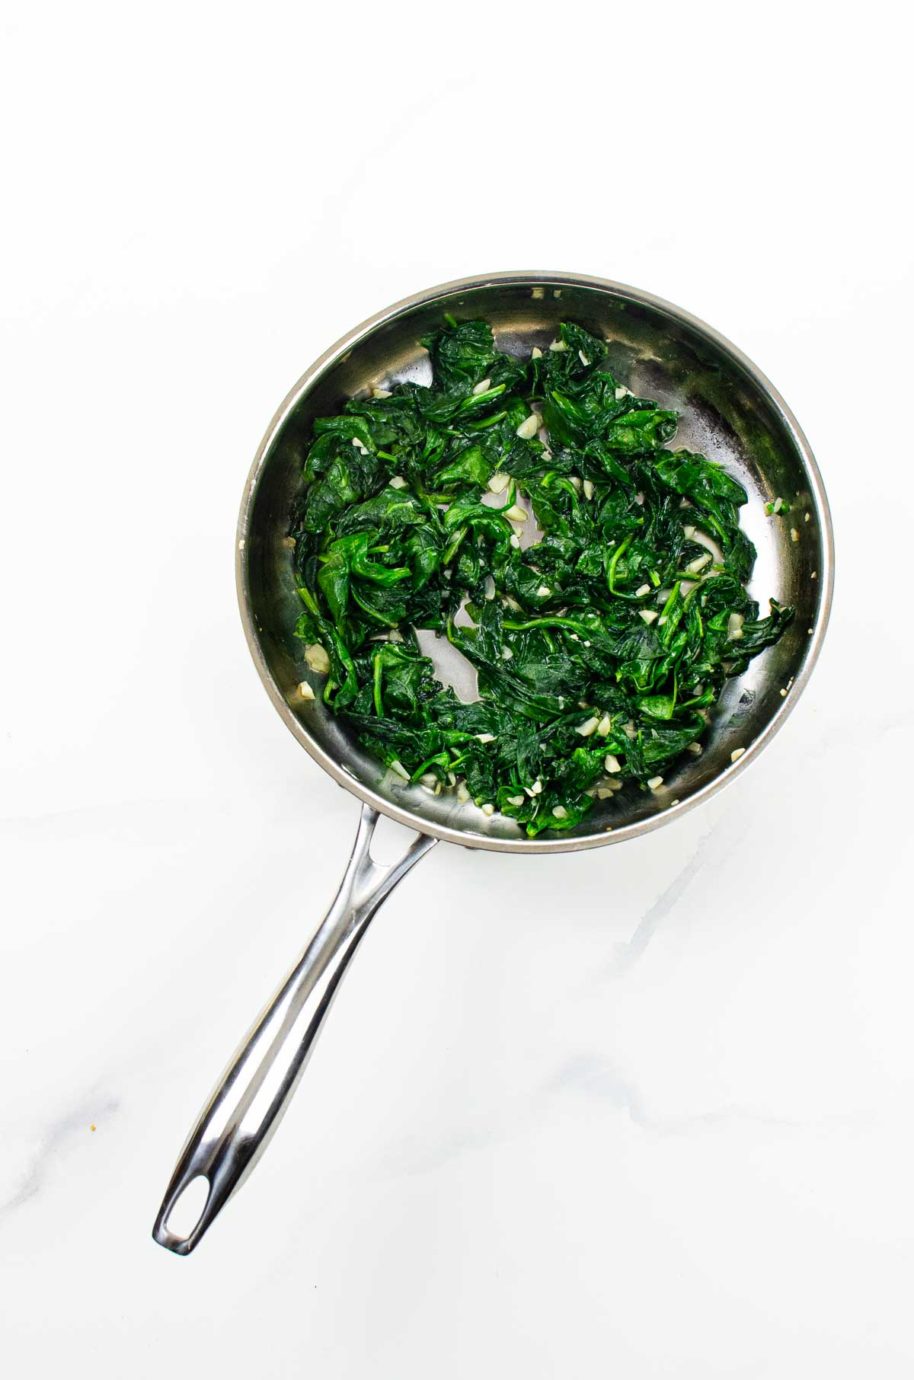
Garlicky sautéed spinach is a super-versatile 5-minute side dish. Serve it with everything from scrambled eggs to linguine to filet mignon.
Why we love this recipe
This classic side dish rounds out a wide variety of meals, from breakfast to dinner. It’s:
- Full of fiber and micronutrients
- Ready in about 5 minutes
- Simple yet super-flavorful
- Almost too good to be true
It’s such a regular part of our routine that I hadn’t thought to share it, which is silly. That changes now.
What you’ll need
Here’s a glance at the ingredients you’ll need to make this recipe.
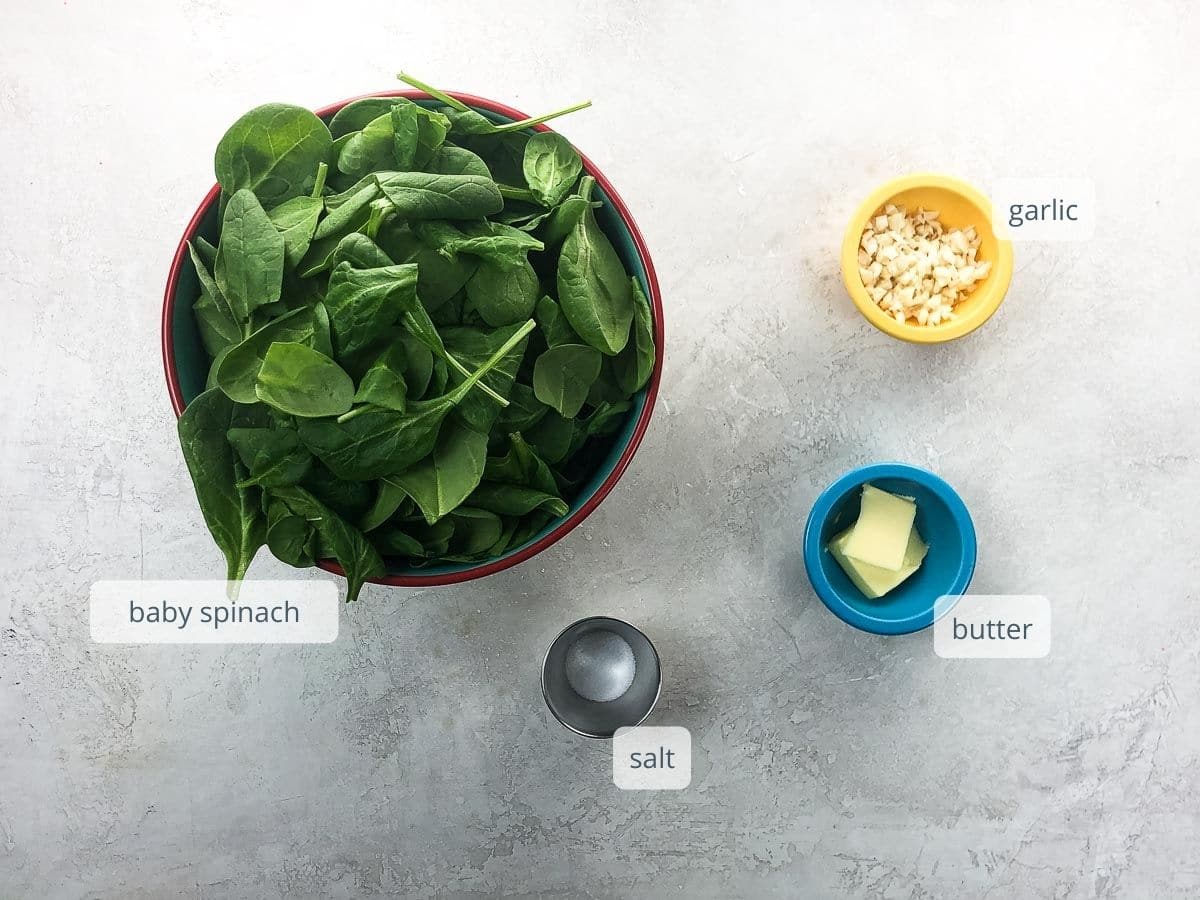
- As ever, you’ll need more raw baby spinach than you’d think to end up with a reasonable amount when cooked. Baby spinach is sweeter and less fibrous than more mature leaves, but you can use whatever type you like. If using full-grown leaves, remove any tough pieces of stem and roughly chop leaves before cooking.
- Here and pretty much everywhere, I like to use a really good cultured, salted butter from grass-fed cows. (I tend to use Kerrygold.) With just a few ingredients in this recipe, great taste and quality really make a difference. To make this recipe vegan and dairy-free, substitute olive oil for the butter.
How to make it
Here’s what you’ll do to make a great batch of sautéed spinach. You can see the steps in action in the video that accompanies this post, and get ll the details in the recipe card below.
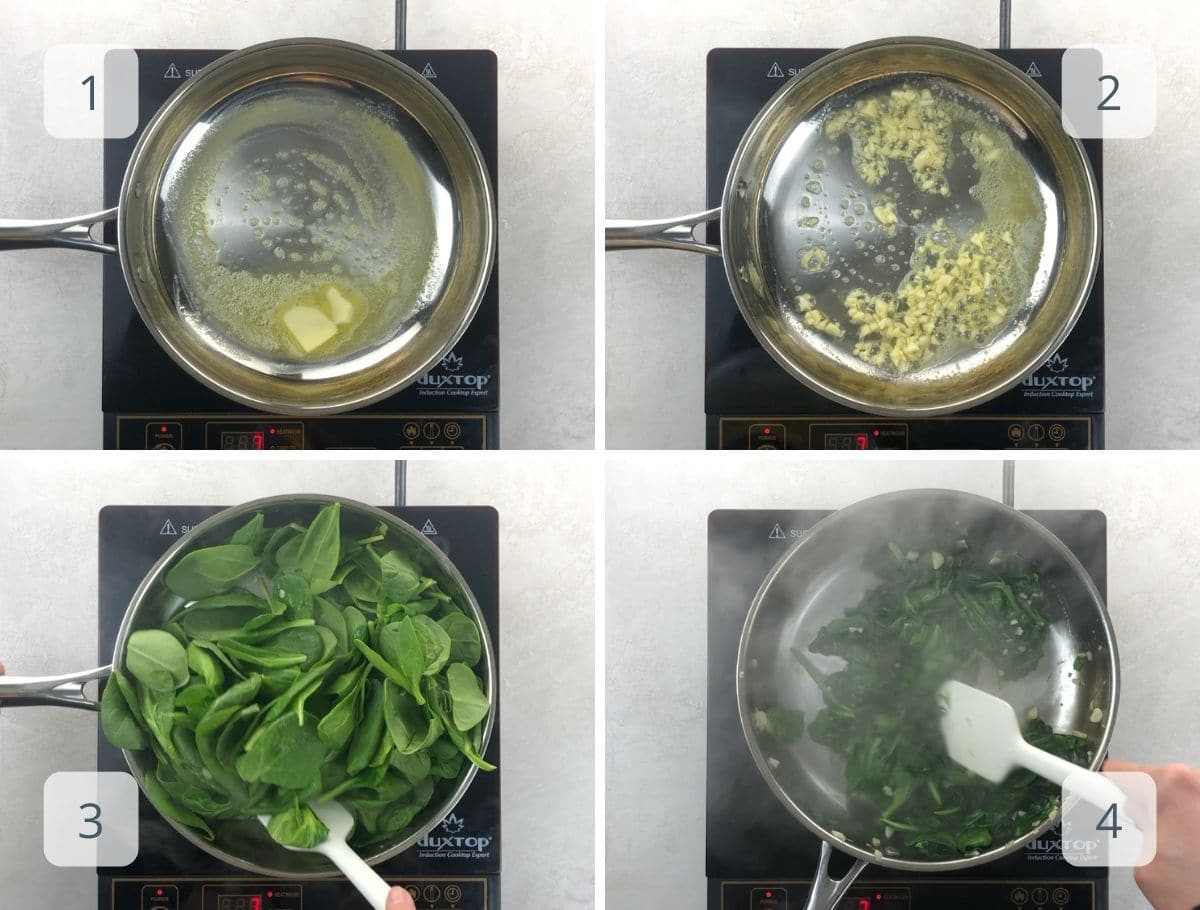
- Melt the butter or warm the olive oil.
- Add the garlic and cook for a minute or so, stirring frequently, until very fragrant and starting to soften.
- Place the spinach in to the pan by the handful, adding more as it fits in the pan. Keep things moving around the pan so all the spinach wilts and the garlic doesn’t burn.
- Less is more when cooking spinach. It’s done as soon as it’s all wilted, and before it starts to release too much liquid.
Expert tips and FAQs
Less is more when sautéeing baby spinach. As soon as every piece is wilted, remove it from the heat. That way it will retain its vibrant green color and most of its moisture.
If you’d like to jazz up your sautéed spinach, add any of the following: A pinch of nutmeg, a pinch of red pepper flakes or ground cayenne, a big squeeze of lemon juice, and/or a couple of tablespoons of grated parmesan or pecorino.
Yes, you can. Reheat briefly on the stovetop or in the microwave. Leftovers keep well in an airtight container in the fridge for up to a week.
What to serve it with
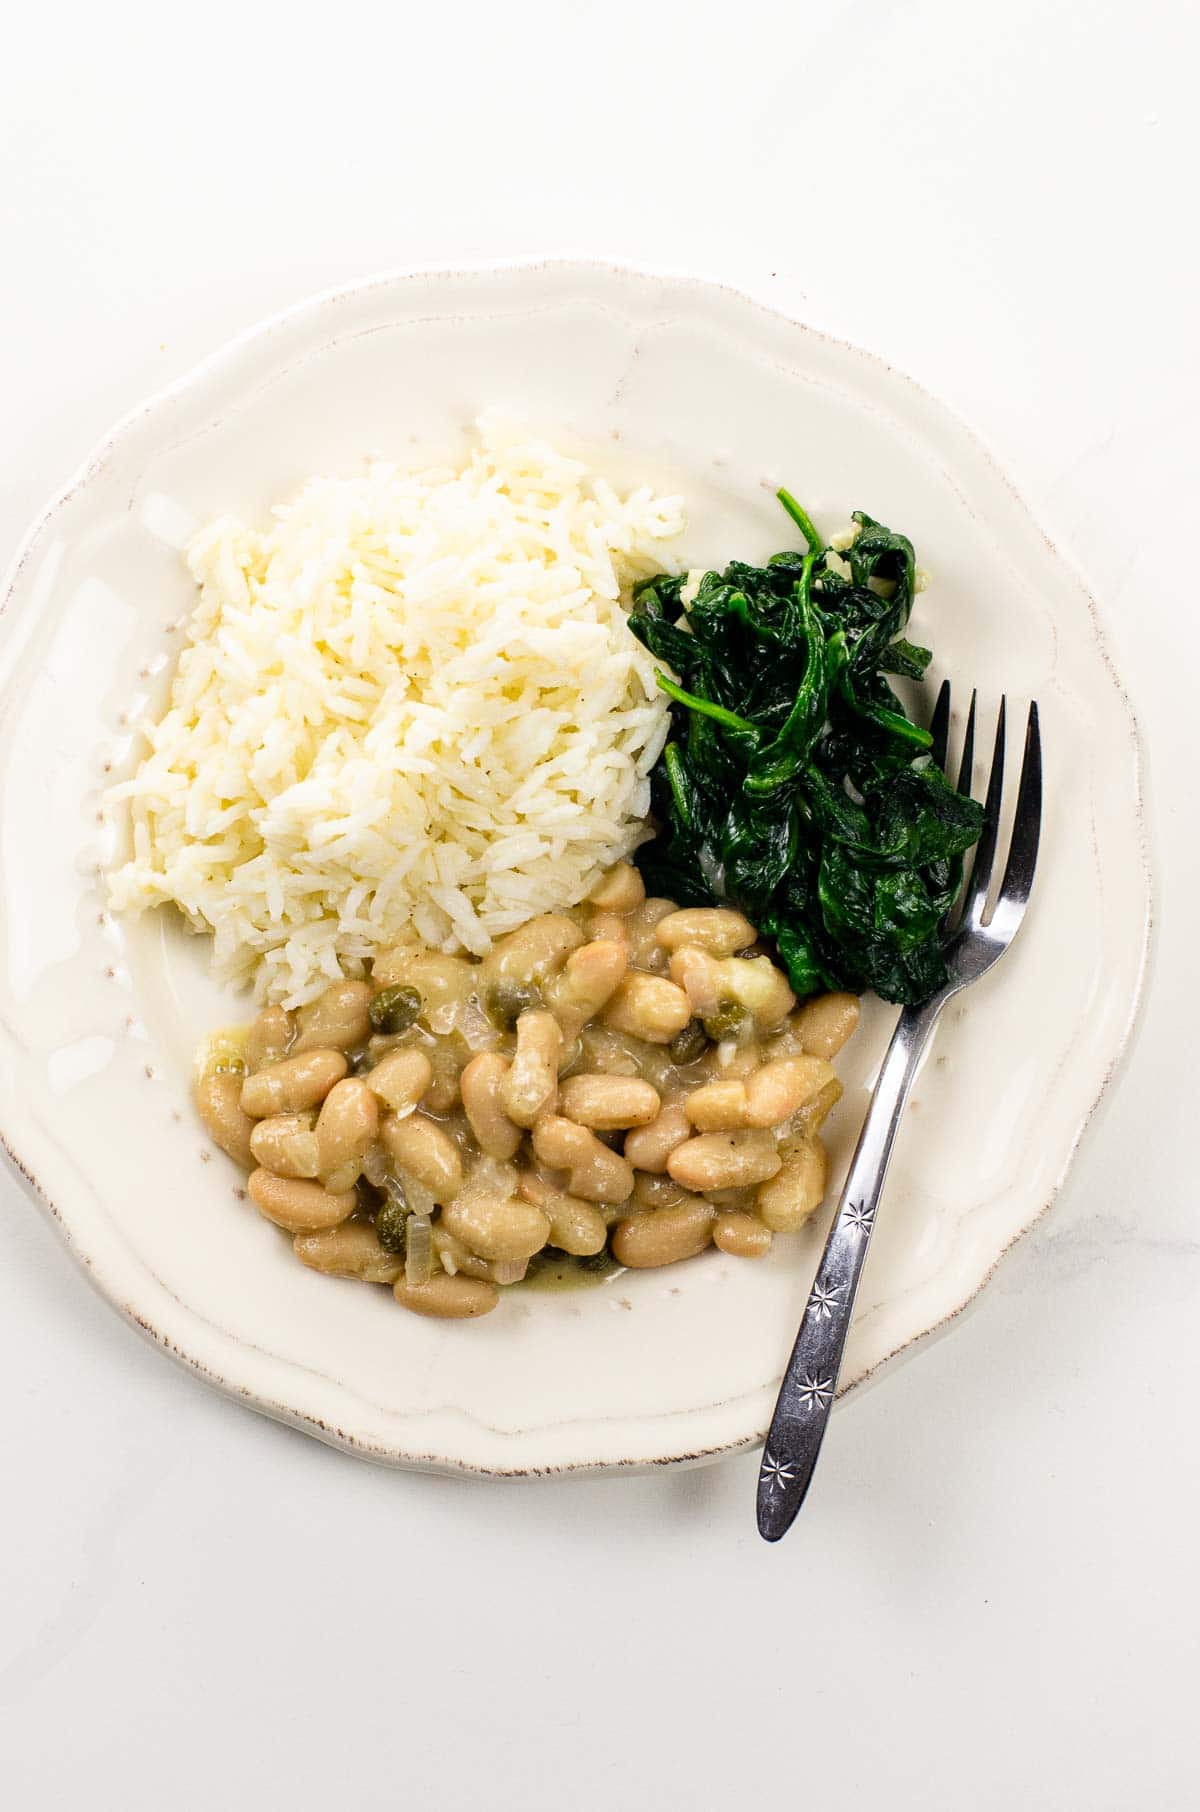
This is truly one of the most versatile elements of a meal. I’d estimate we’ve been eating it twice a week for two decades without ever getting bored.
- Spinach pairs beautifully with eggs. Try it with American– or French-style scrambled eggs or in Eggs Florentine.
- As a straight-up side dish, try it with chicken, beans, filet or sirloin, scallops, shrimp, or lobster.
- Stir it into pasta or rice.
Summarize & Save This Content On

Garlicky Sautéed Spinach
Ingredients
- 1 tablespoon (14 grams) butter or olive oil
- 8 garlic cloves, chopped
- 10 ounces (283 grams) baby spinach
- ¼ teaspoon fine sea salt
Instructions
- Melt the butter (or warm the olive oil) in a 12-inch skillet over medium heat.
- Add the garlic and cook, stirring frequently, until slightly softened and very fragrant, about a minute.
- Place the spinach into the pan by the handful, adding more as it fits. Sprinkle with the salt. Keep things moving around the pan so that all the spinach wilts and the garlic doesn’t burn.
- As soon as all the spinach is all wilted, it’s done. Remove from the heat right away, before it starts to release too much liquid.
Notes
- Use olive oil instead of butter to make this recipe vegan and dairy-free. Either way, choose a good-quality product for the best flavor. With so few ingredients, quality really matters.
- I don’t like to mince the garlic too finely for this recipe. Slightly larger pieces give you lots more leeway so you don’t have to stress about burning the garlic while the spinach wilts.
- This recipe is so quick that it’s easy to make right before serving. That said, you’re welcome to make it in advance and reheat quickly on the stovetop or in the microwave.
- Once completely cooled, leftovers keep well in an airtight container in the fridge for up to a week.
Nutrition
Nutrition information is automatically calculated, so should only be used as an approximation.

