This post may contain affiliate links. Learn more.
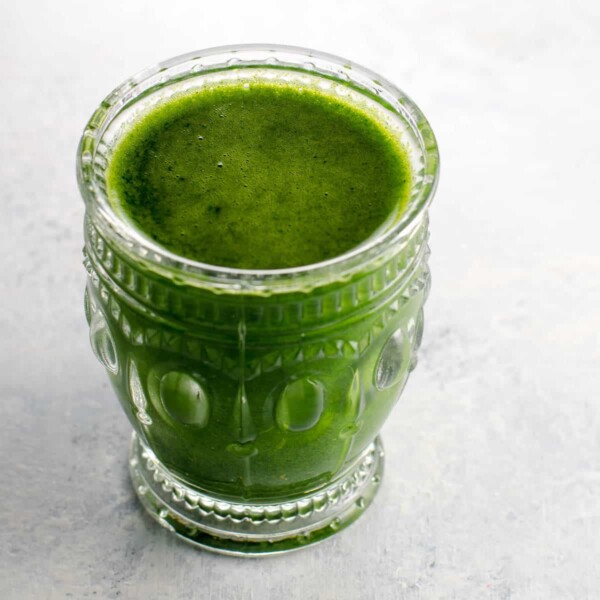
Making fresh juice at home can be a wonderful addition to your routine. Our guide to juicing for beginners will help you get the most out of your juicer, whether or not you’ve got a recipe. Plus, grab an easy-drinking, super-delicious green juice recipe for beginners.
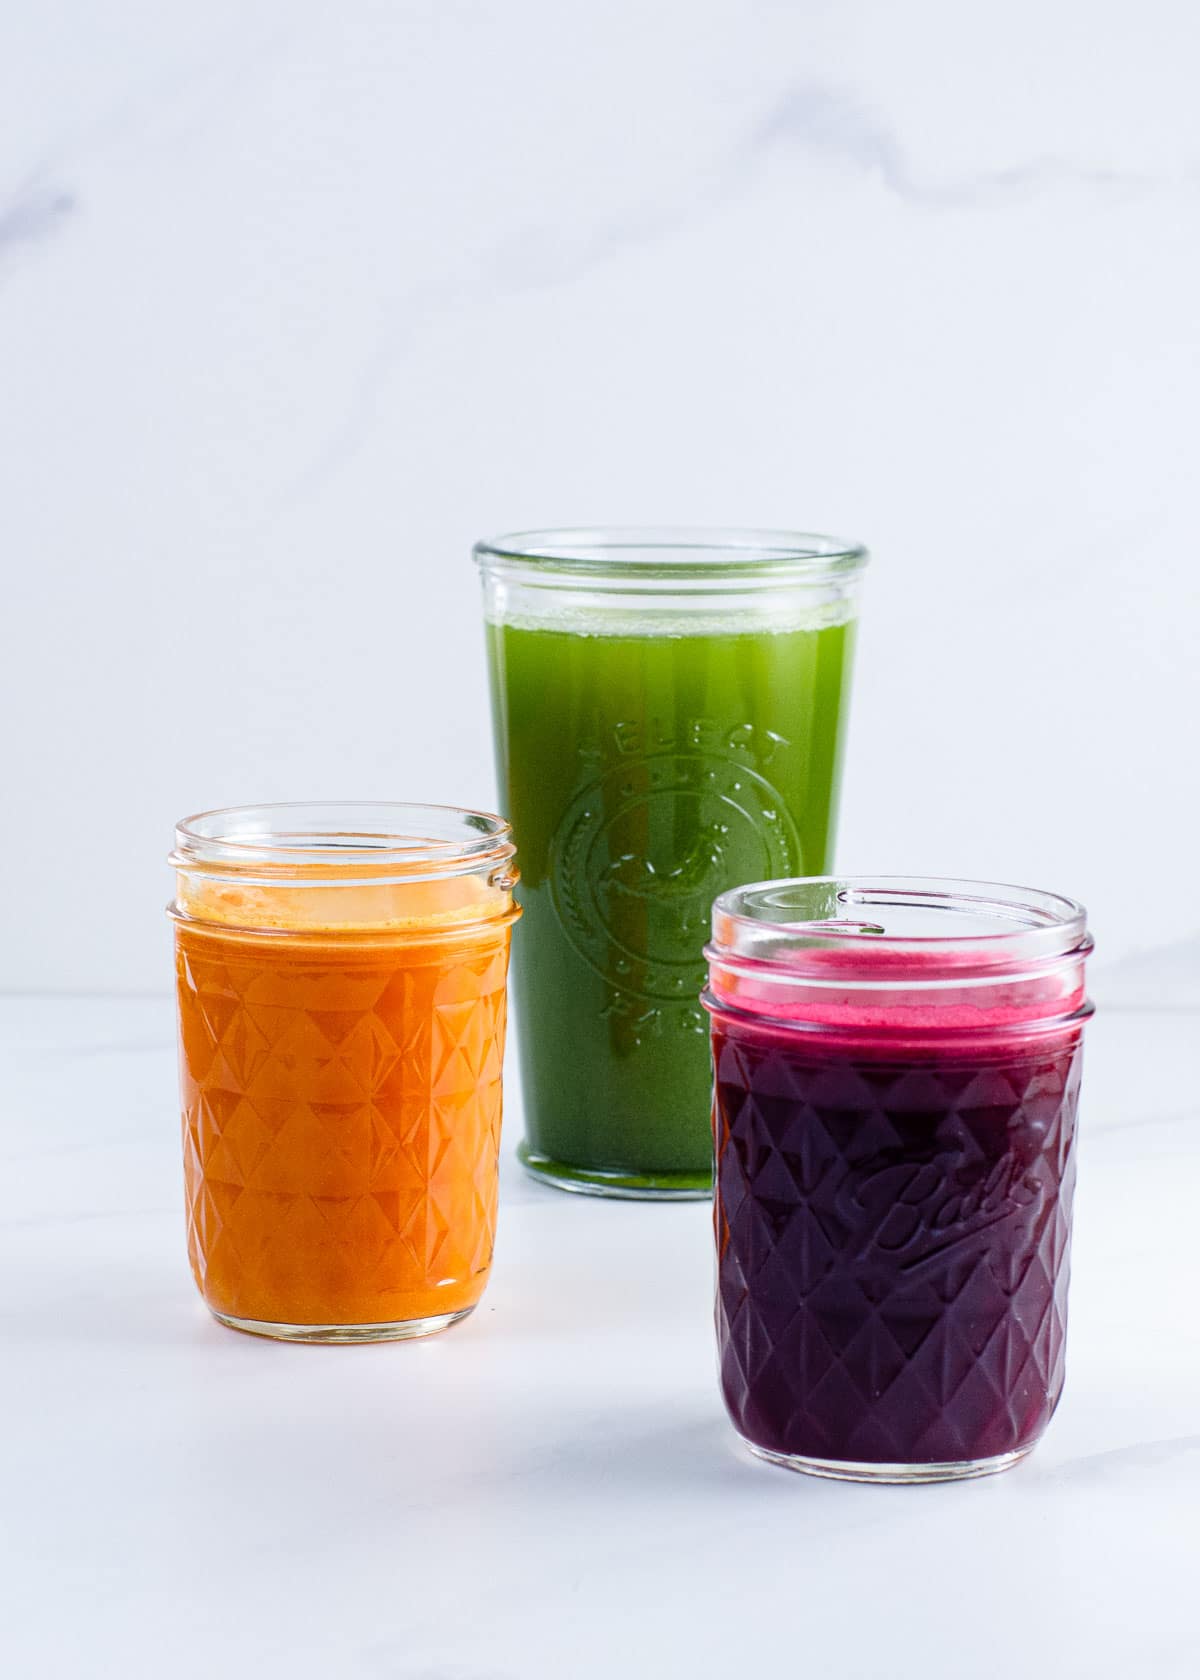
This is a guide to help you squeeze the most possible deliciousness out of your juicer, even without using recipes. We’ll talk:
- Flavor balance
- Texture
- Tips for getting the most out of your equipment and ingredients
I first published this juicing for beginners post as part of my regular juices and smoothies column on Serious Eats way back in 2013.
Juice vs. smoothies
First things first: juices and smoothies are different beasts. That may seem obvious, but lots of juicer-less folks have asked whether they can whiz up a juice recipe’s ingredients in their blender and get a similar but thicker result. The answer, unfortunately, is a definitive no.
- First, texture is critical in smoothies and requires some attention that’s absent from juicing guidelines.
- And equally important, juicing extracts a relatively small amount of liquid and flavor from certain ingredients, especially leafy greens and herbs. Blending an equal amount of those ingredients could seriously overpower your earnest attempts at a mellow smoothie.
So it’s best to consider juices and smoothies in their own separate ways. (Don’t worry, we have tips for smoothie-makers too.)
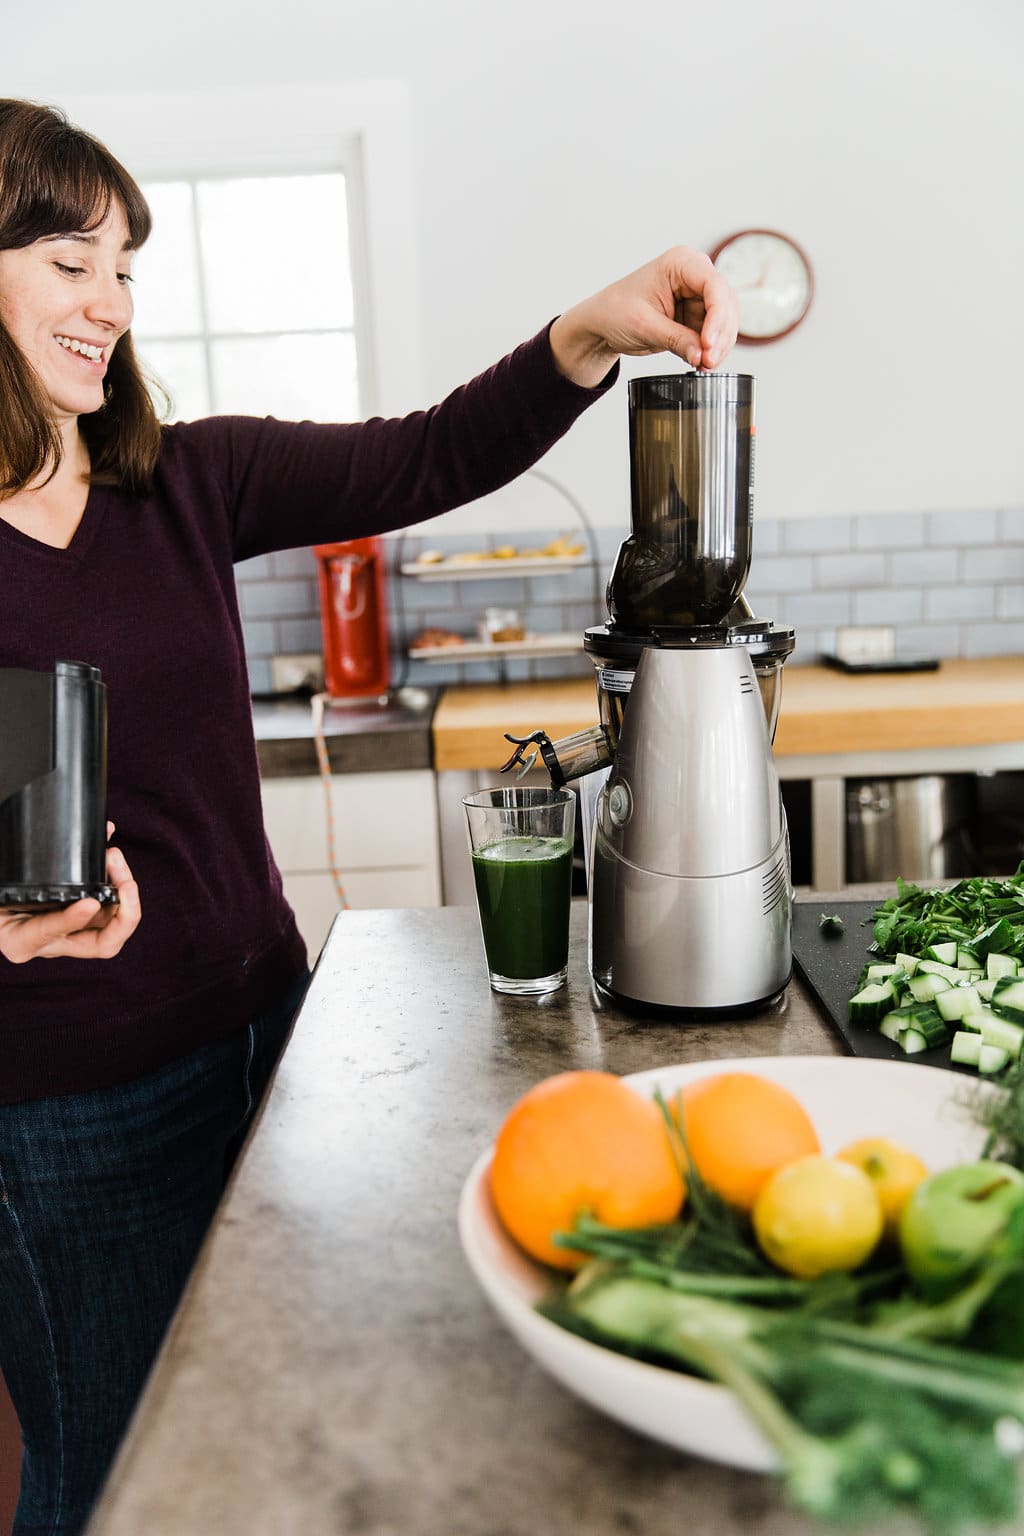
Juice: A question of taste
Since texture doesn’t become an issue in juicing unless something’s gone fairly horribly wrong, flavor balance is where it’s at in creating delightful juices. Custom-making your own fresh juices gives you ultimate control over how sweet and how complex you like your flavors. You’ll find your own optimal balance with experimentation and practice, but there are a few overarching principles to guide you in your search.
1. A formula for tasty juice
I’ve found that a really good juice contains the following: something sweet, something tart, something high-yield (which produces a lot of juice for its size), something earthy, and maybe something herbaceous or spicy. Earthy flavors include root vegetables as well as greens like kale, spinach, and beet greens. With a general formula like this one, the variations are endless; but here are some of my favorite ingredients from each category.
- Sweet: apples, pears, grapes, melons, pineapples, oranges, kiwis, mangoes, berries, grapes
- Tart: lemons, limes
- Roots: beets, carrots, turnips, parsnips
- Greens: Kale, spinach, lettuce, chard, arugula, mustard greens, beet greens, dandelion, sorrel, broccoli
- Herbs: Basil, parsley, cilantro, mint
- High-yield: Cucumbers, celery, fennel, tomatoes, melons
- Spicy: Ginger, hot peppers (use judiciously)
2. Juice things together that you would want to eat together
That sounds like common sense, but for some reason it isn’t always. I think a lot of people consider juicing to be a whole different realm, but remember, a juicer is just another appliance in your much-loved kitchen.
If it makes a good salad, chances are it makes a pretty good-tasting juice, too. Just keep in mind that you’ll likely have to alter the quantities and add a high-yield ingredient like cucumber or celery to fill your glass.
3. Balance high-yield ingredients with high-potency ingredients
Cucumbers, celery, and apples are juicing tsunamis; but a little bit of ginger or mint goes a long way. Be aware of the behavior of each ingredient in the juicer (which will be immediately apparent when you’ve juiced it once), and try to maintain a reasonable balance between flexible, mellow ingredients and more intense ones.
4. Taste as you go and adjust accordingly
Just as with a soup or a stew, you’ve got the flexibility to add and adjust as you juice. Stir up the juice you’ve got and sip. Need a little more lemon? Go for it. Or balance out too much lemon with an extra chunk of apple. It’s all good.
5. To peel or not to peel?
In many cases, leaving the skin on the produce you juice is just fine — even pineapple skin can roll just fine through most decent juicers. Especially if you’re using the skin, do be sure to buy produce grown with organic practices when possible. A few exceptions, where you should peel:
- Kiwis
- Produce that’s been waxed*
- Citrus fruits, if you want the pure taste of the juice without the skin’s oil and the pith’s bitterness (it’s fine to juice the whole thing, but it really does change the flavor)
- Any other ingredient where you’re concerned the skin will affect the taste (for example, you might do a taste test with melons, though it’s technically fine to juice the skins)
- And, if you’re visually astute or serving to a crowd, any peel that might negatively affect the color of the final juice (say, cucumber skin in a cucumber watermelon juice)
* Hairy kiwis and produce that’s been waxed sort of sound like opposites, but you know what I mean.
6. A special note on leafy greens
Where juicing is concerned, there are essentially three flavors of leafy greens:
- Neutral ones like lettuce
- Earthy ones like kale, beet greens , and chard
- Peppery ones like dandelion, mustard, and arugula
Neutral greens are easy to work with. Peppery ones are nearly impossible to hide, so you should make them one of the stars of the show (or avoid them if you don’t enjoy them). Earthy greens require a little more cajoling.
Whether or not you think kale is a four-letter word for a reason, you’ll find it and other earthy greens in many a juice (and smoothie). The bad news is that too much or too lonely liquid kale can taste like the wrath of an angry mob. The good news is that, used judiciously and paired intelligently, kale can be as good for your recipes as they say it is for your bod.
Here’s a great juicing for beginners tip: Acid and herbs (or spice) are kale’s friends. Use lemon. Use cilantro. It’s the juicing equivalent of an “assertive dressing” on a raw kale salad. It works wonders, and you’ll never look back.
7. Finally, consider color
The way food looks affects our perception of the way it tastes. The same applies at least equally to juices (and smoothies). Don’t make a grey juice or a brown one unless you have an opaque cup with a lid or a penchant for the grotesque.
Pair intelligently. In a green juice, for example, apples and pears make better sweeteners than strawberries. If you’re really stuck, just juice a beet. It’s the ultimate color trump card and will override almost anything.
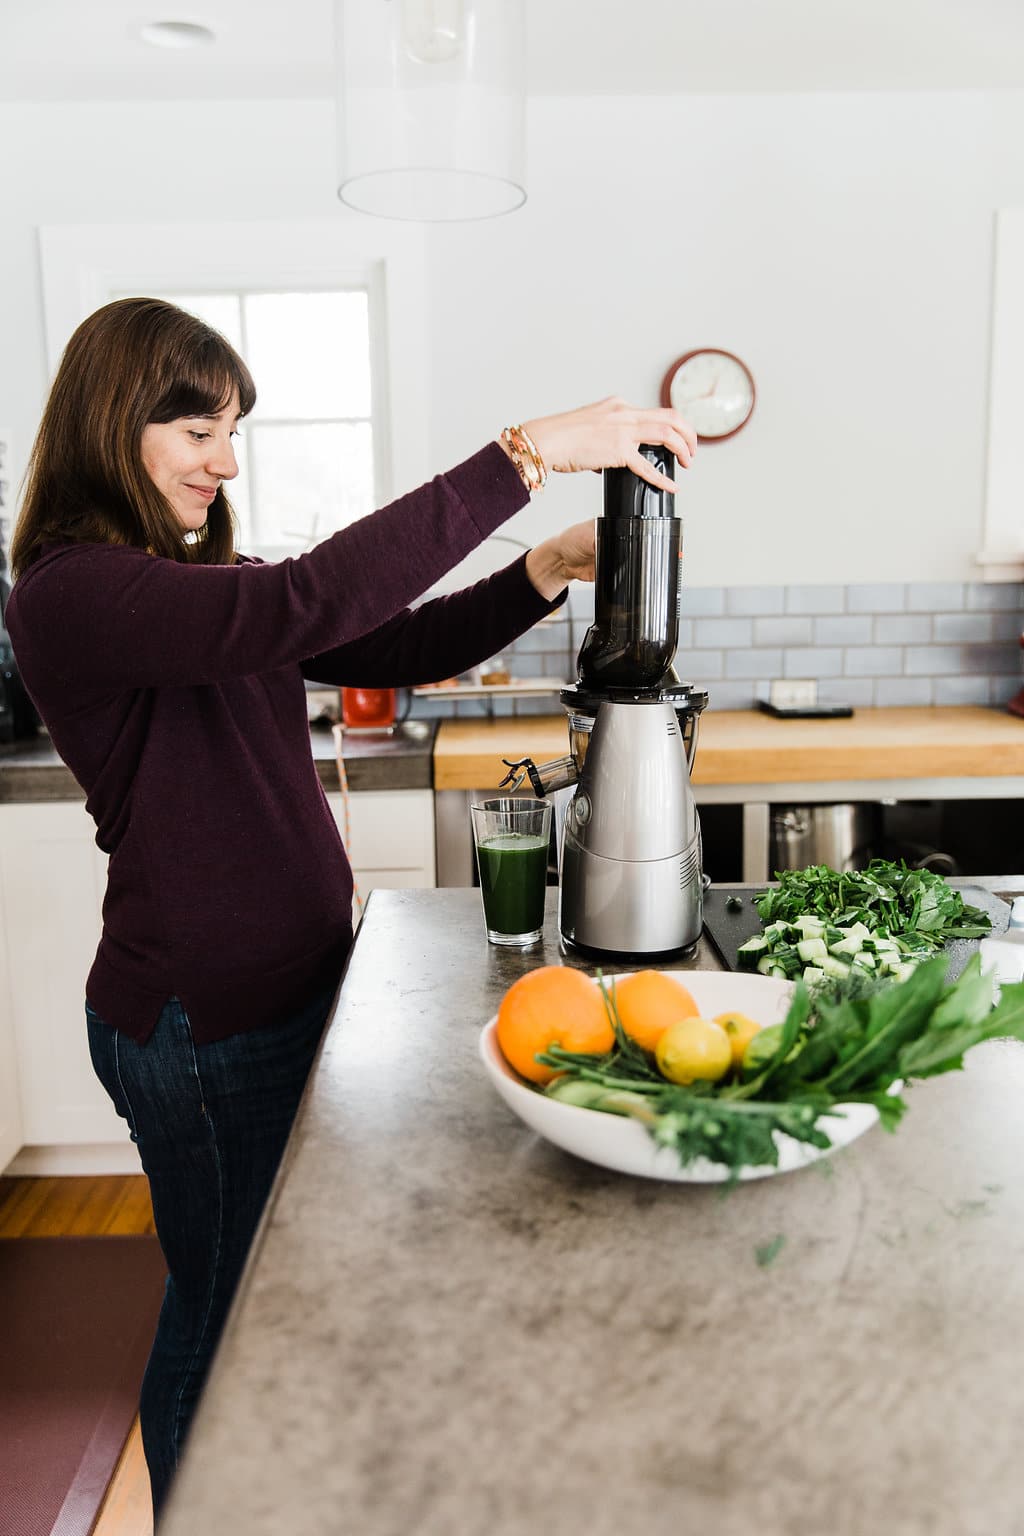
A word on juicing equipment
Here’s how to think about what juicer to buy and how best to use it.
Centrifugal vs. masticating juicers
There are several types of juicers out there, some of which run in the thousands of dollars. For those of us in the earthly realm, there are basically two choices: centrifugal and masticating juicers. Everyone and their sister-in-law has something to say about which juicer you should buy, but here’s my 30-second view:
Centrifugal juicers shred ingredients with a rapidly spinning disk of blades and then strain the bits through a very fine strainer.
- Pros: They tend to be less expensive and, if you’re 12 at heart like me, are much less awkward to talk about than their masticating counterpart. I tend to think they’re the best bet when juicing for beginners.
- Cons: They tend to extract a little less juice, especially from leafy greens; and the juice oxidizes more quickly, so it doesn’t stay fresh as long.
Masticating juicers essentially chew up the ingredients and spit out the juice.
- Pros: Since their extraction process doesn’t cause as much oxidation, optimal taste can last more like a day compared to the centrifugal juicer’s 30 minutes. Masticating juicers can also be used for a wider variety of kitchen needs, from juicing wheatgrass to grinding grains and nuts.
- Cons: They tend to be more expensive, and can be even more of a pain than centrifugal juicers to clean.
For years, I had a centrifugal juicer even though I made juice almost daily, and honestly it worked out perfectly well. I recommend the Breville Juice fountain from Amazon or Williams-Sonoma.
Then, when we moved back to the States from London and I needed a new juicer anyway, I invested in a masticating one for the increased flexibility with timing and the possibility of retaining more nutrients. I recommend the Kuvings Whole Slow Juicer from Amazon or Williams-Sonoma.
Juicers: Cleaning and shopping tips
A word of advice about cleaning your juicer, regardless of which type you have: Do it early, and do it often. If you clean that baby right after you juice, a simple rinse under warm water, maybe with a little soap, will do the trick. (Scrub a juicer’s filter with a stiff-bristled brush, too.) If you wait, though, it’s amazing how quickly those evil little fibrous bits will weld themselves to your machine.
And finally, when shopping for a machine of either type, keep in mind that juicers vary a lot in terms of design and yield. If you’re reading reviews, pay particular attention to how much juice they produce and how wonderful or horrible they are to clean.
Getting the most juice
You can maximize the yield from your ingredients by paying attention to the order and speed at which you juice them.
Leafy greens and herbs are the most noticeable case, where a little good technique will go a long way. You’ll get a much better yield if you tightly pack the greens (roll them up before adding to the feed tube of your juicer) and place them between two harder, juicier ingredients (such as cucumber and apple). Then nudge the greens through the juicer one small push at a time.
For leafy greens and herbs and also for all softer ingredients (citrus, melons, stone fruit, berries, etc.), use a slower speed if your juicer has one.
Try to alternate high-yield ingredients like celery with more stubborn ones like ginger, and definitely juice a high-yield ingredient last. It will help to flush everything else through the juicer before you turn it off.
Designate a juicing drawer
If you live in a household with other people and think you may want to make juice often, it can be helpful to designate a juicing drawer (one of the crisper drawers) or a juicing section of your fridge.
The more you make juice, the more you’ll develop your preferences and be disappointed if one of your perfectly balanced ingredients is missing. (I’m sure everyone is like this and not just control freaks, correct?) Even if it’s just you in the house and/or you trust your housemates, it helps to organize your ingredients for juicing vs. eating.
Juice it if you’ve got it
And finally, to balance out the control-freakishness of the juicing drawer, don’t forget the key strategy of “juice it if you’ve got it.” There are times, like the day before a long vacation, or when you’ve got produce on the edge of getting old, or the last day before your next CSA delivery, that you realize just about anything can be juiced. (These moments never fail to remind me of the old Fokkerism, “Oh yeah, you can milk anything with nipples.” “I have nipples, Greg, could you milk me?”)
One of juicing’s great fringe benefits is that you’ll rarely have to waste a fruit or vegetable again. Consider it nose-to-tail juicing if you like. It’s great when a juice tastes perfect, but it’s also pretty terrific when you can clean out the fridge into a pint-sized mason jar. Who knows? You might discover a new combination you wouldn’t have thought of otherwise.
Do you have any other tips about juicing for beginners? Let us hear ’em in the comments below!
Got a blender but no juicer? Head over to our post on smoothies guide.
More resources on smoothies and juicing for beginners
- DIY juice cleanse (coming soon)
- Smoothie basics
- Green Juice for beginners and experts alike
- Turmeric shots
- Green smoothie for beginners
- SmoothieBox review
Summarize & Save This Content On
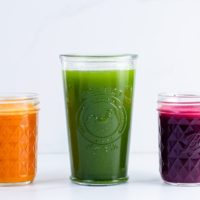
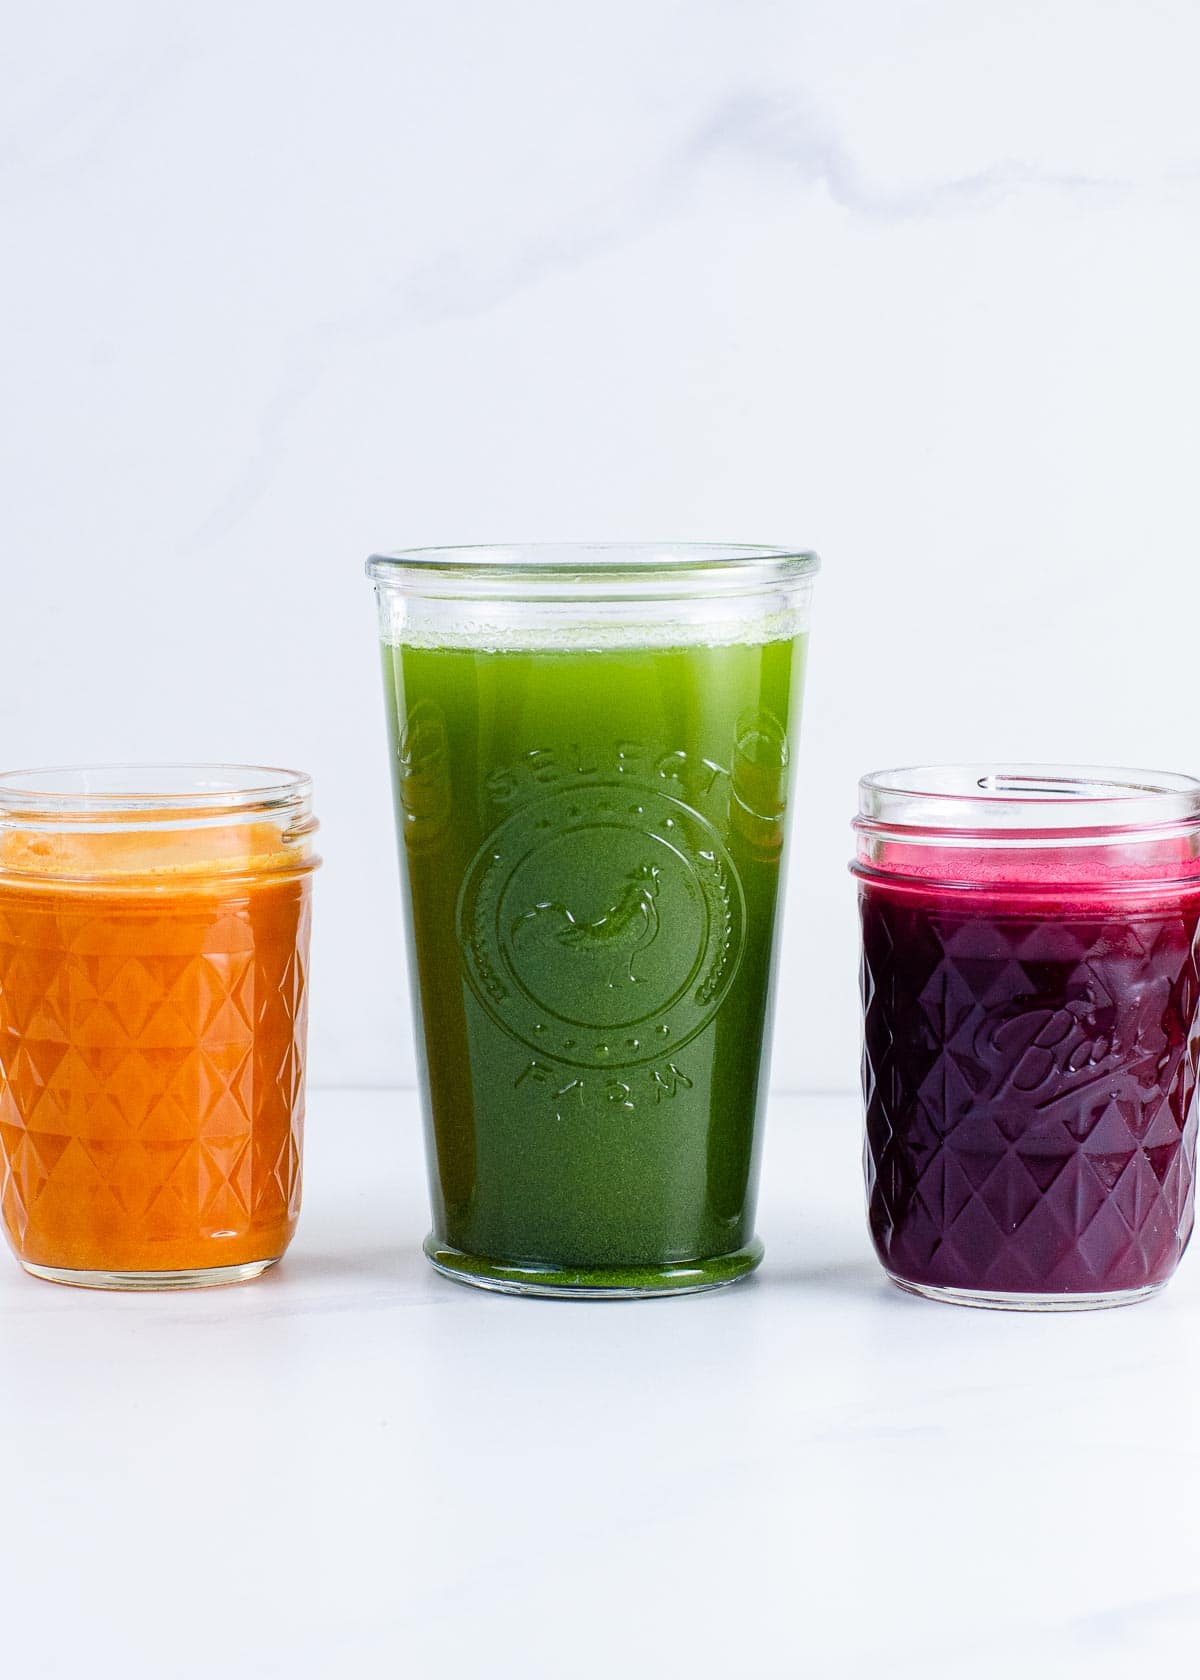
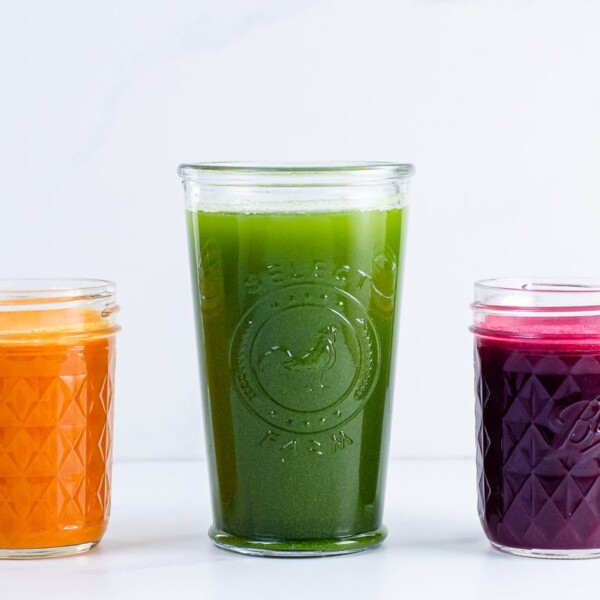
Green Juice Recipe for Beginners
Ingredients
- 1 handful flat-leaf parsley, about 1 ounce/(30 grams) , including stems
- 1 3- inch piece cucumber, about 3.5 ounces/100 grams, including skin
- ½ lemon, peel and white pith removed
- 1 small green apple, about 5 ounces/142 grams, cored and quartered
- ¼ large fennel bulb, about 5 ounces/150 grams, including stems and fronds
- 3 large ribs celery, about 5 ounces/150 grams, including leaves
Instructions
- Juice all ingredients in the order listed to maximize yield.
- If you like, strain through a fine-mesh sieve to remove any remaining pulp. (I usually do this.)
- Pour into a glass and serve.
Notes
- Some juicers can handle very large pieces of fruit and vegetables. Others need you to cut produce into smaller pieces before feeding it through. For ingredients with long stems or fibers like parsley, it’s a good idea to cut them into a few shorter segments. Follow the instructions and guidelines on your individual juicer.
- Juicing the ingredients in the order listed helps you get the most juice out of them. Leafy greens like parsley sometimes need to be encouraged through the juicer by following them with sturdy ingredients. And there’s nothing better than celery to flush out a juicer at the end of its run.
- Feel free to use this recipe as a basic formula and add or substitute other ingredients as you learn your personal preferences.
- If you’re using a centrifugal juicer, it’s a good idea to serve your green juice right away. If using a masticating juicer, the nutrients will stay intact for a while longer — up to two or three days in the fridge. Either way, you can freeze green juice in a sealed container for up to three months. The flavors and texture will change a bit, but the nutrients content won’t deteriorate too much.
Nutrition
Nutrition information is automatically calculated, so should only be used as an approximation.




I have a question….I bought a nutribullet slow masticating juicer from amazon. I wanted to make some juice to last for a day or 2 but here’s the question. I juiced 20oz plus ounces of baby spinach, with about 4 big carrots and it yielded a little under 20 oz of juice….is that about normal?
Hi Robert, it’s really hard to say, since juicers vary wildly in yield. I’ve never used that juicer — maybe someone else who has can weigh in.
This juice looks recipe looks great! I have never tried to juice fennel. I can’t wait to try it out. I will post it on Instagram and tag you as soon as I do. Thanks for the detailed recipe.
Something I don’t see discussed much is how much “juicing” is too much. I started 3weeks ago and do a daily juice fruit/veggie mix. I’ve broken out in acne this week (which is new) and my ahem stools are off :/ sorry but I wonder if I should cut back to only a couple times a week or is this normal and is my body regulating itself? I have added fiber powder hoping that helps.