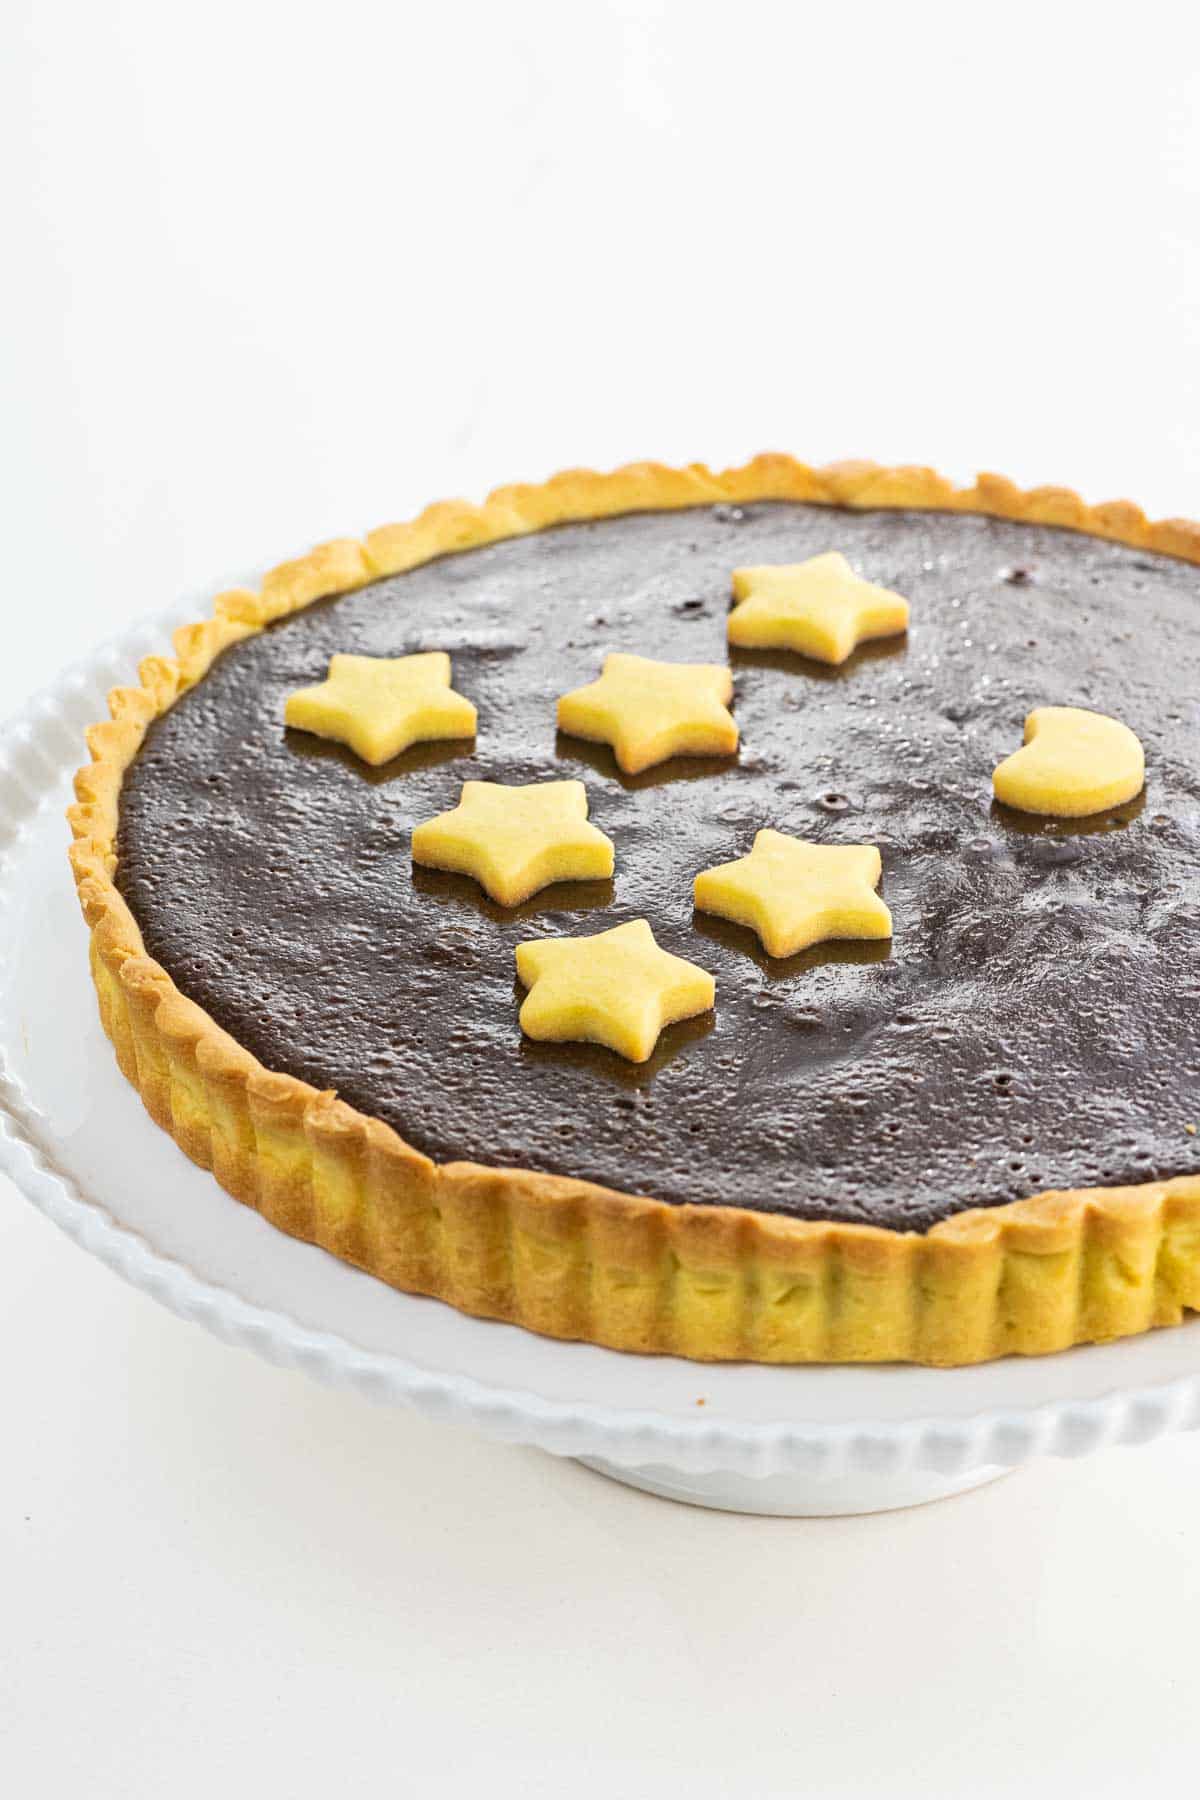
This bittersweet chocolate ganache tart with shortbread crust is rich and wonderful and not overly sweet. It's been a favorite in our family for decades, and its simple elegance never gets old.
Why we love this recipe
I can't remember who gave me the lovely little cookbook The Art of the Tart by Tamasin Day-Lewis shortly after its publication in the U.S. in 2001, but I quickly alit on Simon Hopkinson's chocolate tart recipe. I've made very minimal adaptations to the original over the years, because I know a good thing when I taste it.
This bittersweet chocolate ganache tart with shortbread crust has it all:
- A deep, dark, sultry chocolate vibe
- Smooth, just-set, intensely rich filling, which stops just shy of absurdity
- A spare sweetness that acts almost as penance for the tart's textural opulence
- A crisp, buttery shortbread shell that isn't one bit harder to make than it needs to be
I first published this recipe here way back in 2009. I've since updated the post for clarity, but the recipe remains the same.
What you'll need
Here's a glance at the ingredients you'll need to make this recipe.
For the shortbread crust
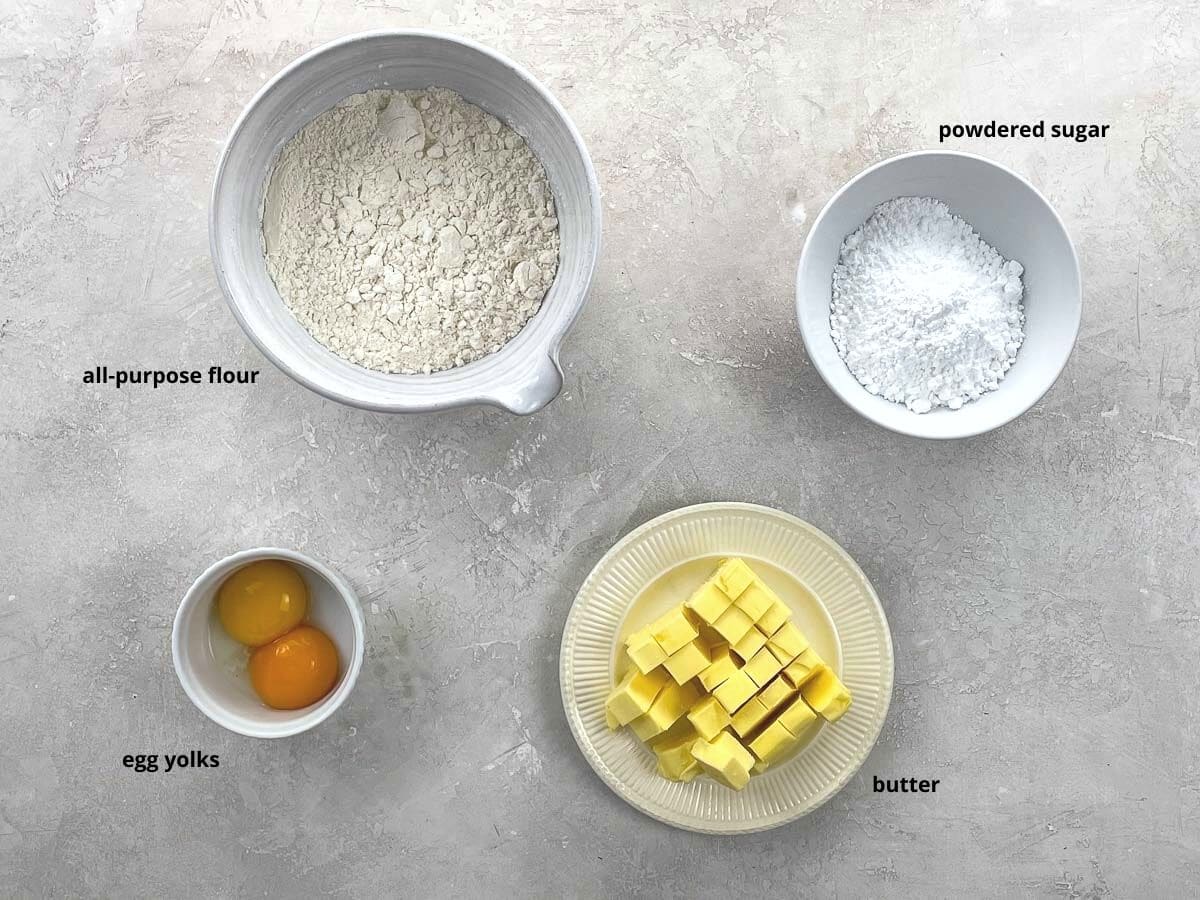
- All-purpose flour gets the job done without a fuss. As long as you don't overwork it, this crust is beautifully tender with no need for special pastry flour.
- You don't even need to sift the powdered sugar (also called confectioners sugar and 10x sugar) ahead of time, since you'll be blitzing it in the food processor.
- You can use salted or unsalted butter. I like to use a good cultured, salted butter for the vastly superior flavor. It sounds fancy but doesn't have to be. Kerrygold, for example, is widely sold in supermarkets for a reasonable price.
For the bittersweet chocolate ganache
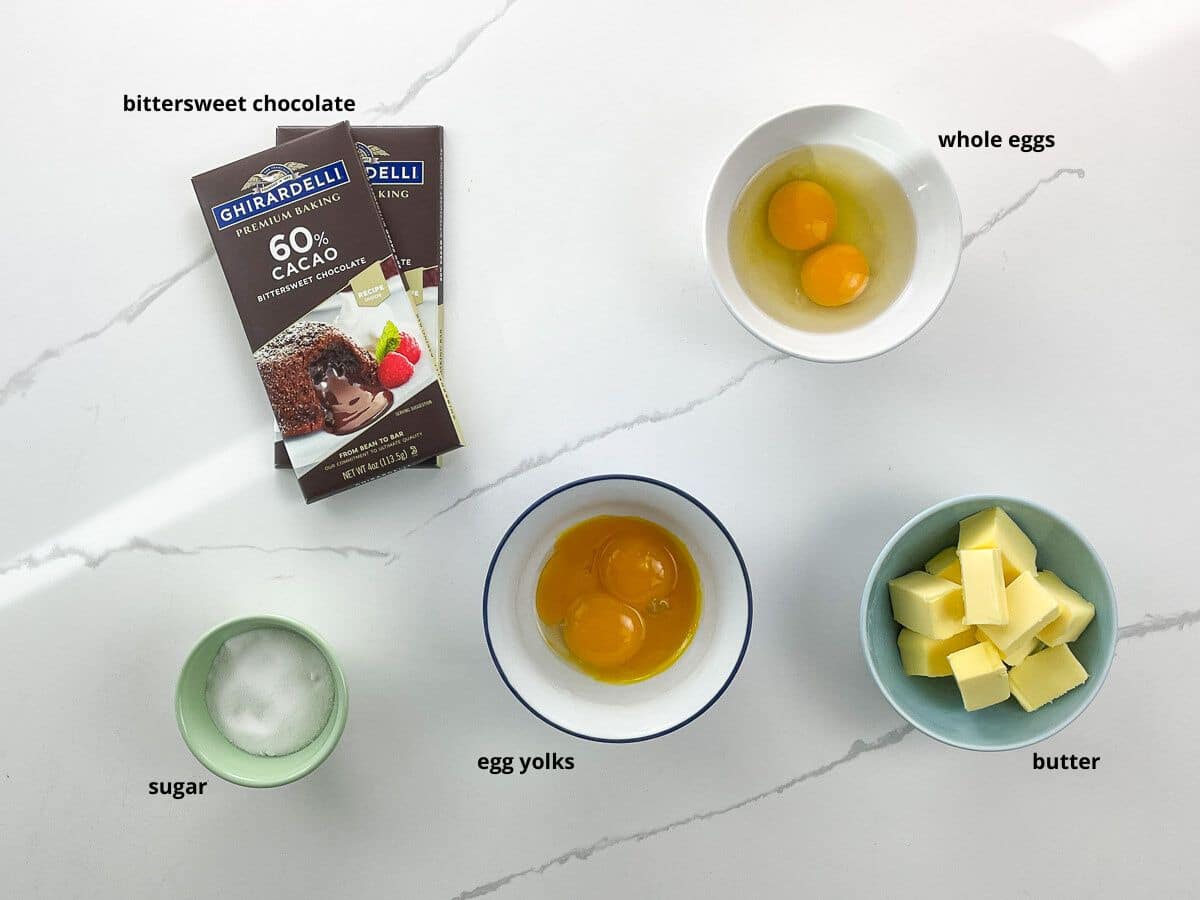
- According to most guidance, bittersweet chocolate tends to contain about 70% cacao, and semi-sweet has about 60% (meaning it's a bit sweeter and less intensely chocolatey). However, you'll see above that at least one common brand of baking chocolate with 60% cacao is labeled bittersweet. The good news is, these two products will meet with equal success in this recipe, so you can choose your favorite bittersweet or semisweet bars and just go ahead and use them. Good-quality chips will also work just fine.
- The sugar in the filling is regular granulated sugar.
How to make it
Here's an overview of what you'll do to make a beautiful bittersweet chocolate ganache tart with shortbread crust. You can see the steps in action in the video that accompanies this post, and get all the details in the recipe card below.
For the crust
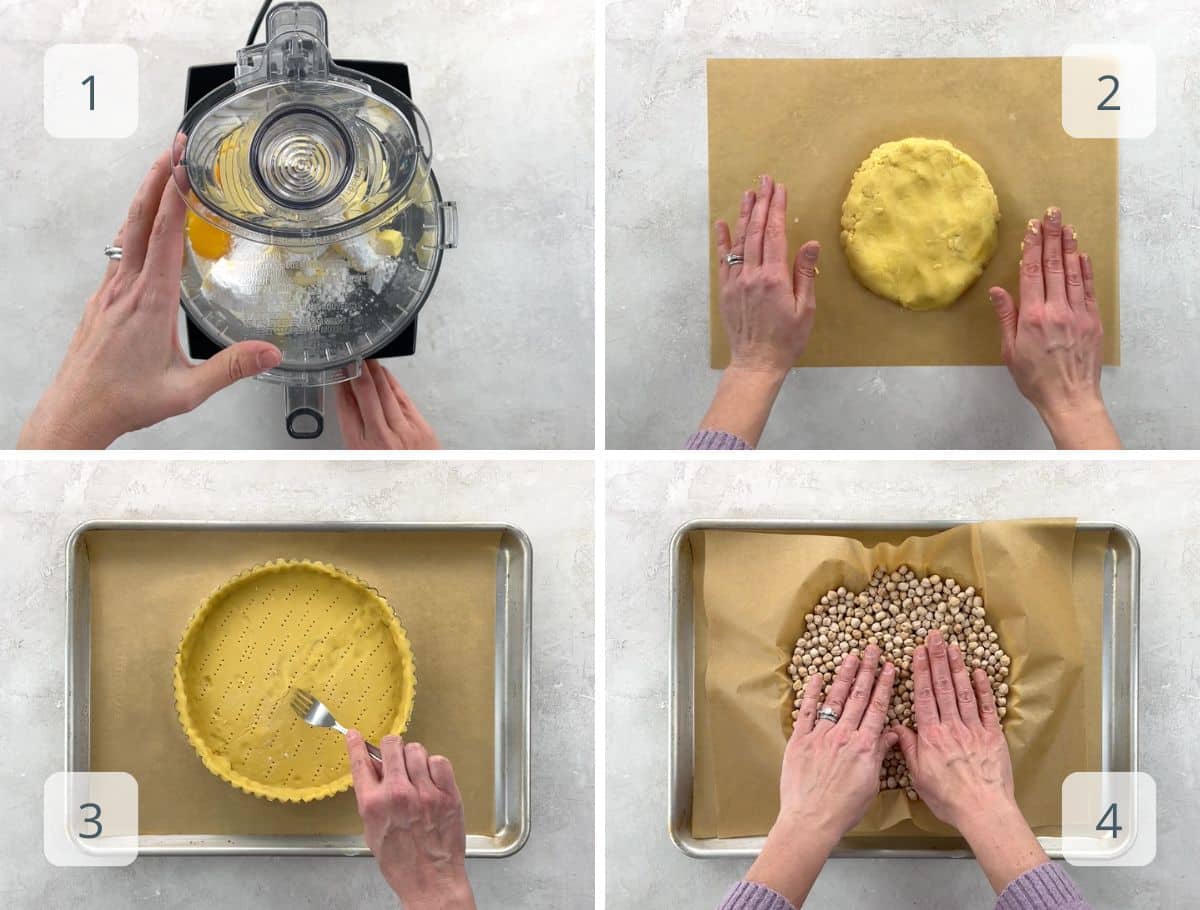
- Pulse together the butter, sugar, and egg yolks. Add the flour and process just until it comes together easily when you pinch the dough with your fingers.
- Turn out onto parchment, knead a few times to bring together, and shape into a disc. Wrap and chill for at least 30 minutes, then leave at room temperature for 15 minutes.
- Roll out onto a floured work surface and gently edge dough into tart pan. Prick the bottom all over with a fork.
- Cover with parchment and dry beans or pie weights. Bake at 350°F for 15 minutes, then remove beans and parchment and return to oven for 10 minutes.
For the filling
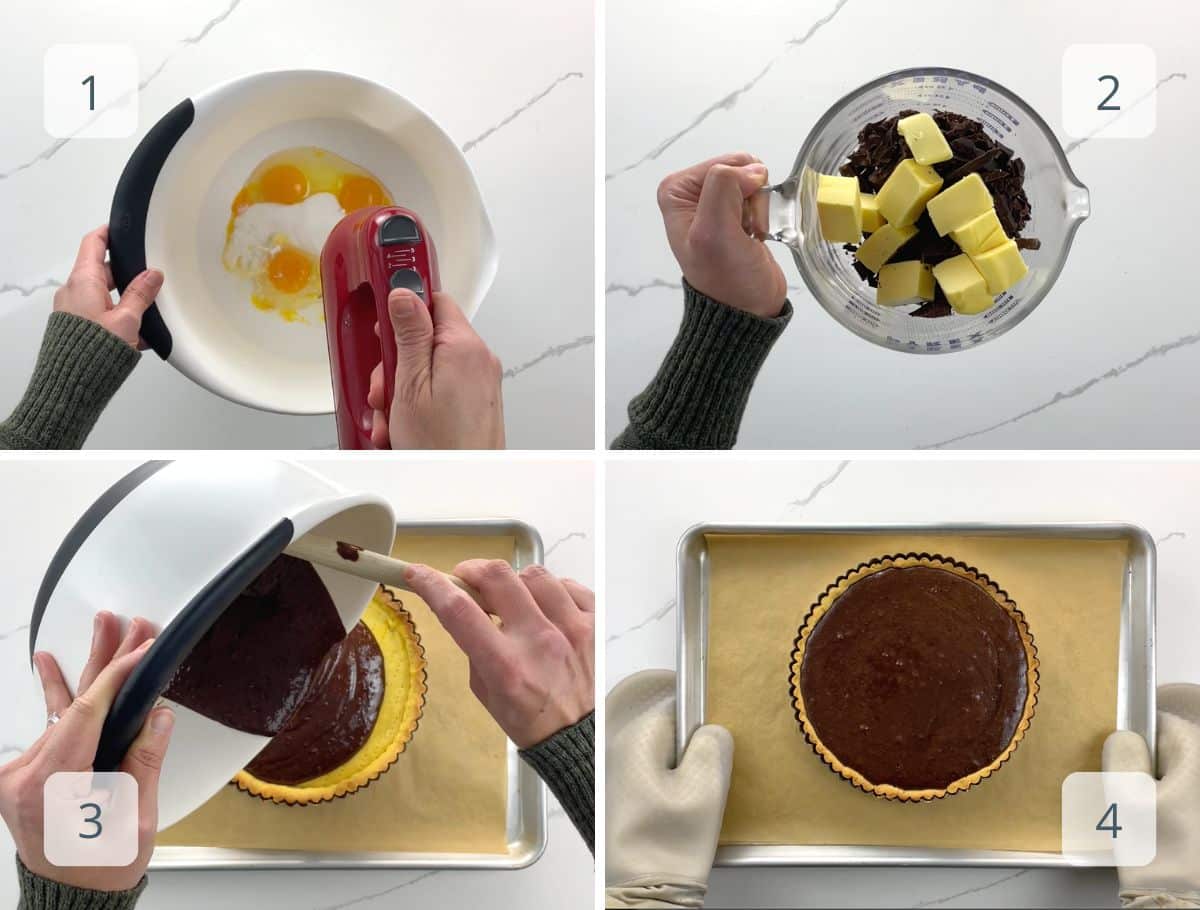
- First you'll beat together the eggs, yolks, and sugar until very light and frothy.
- Melt the butter and chocolate together.
- Beat the chocolate mixture into the egg mixture and pour into the blind-baked tart shell.
- Bake for about 8 minutes, until just set. Filling will have a slight jiggle when hot but should not be sloshy. Let cool completely before slicing. That's it!
Expert tips and FAQs
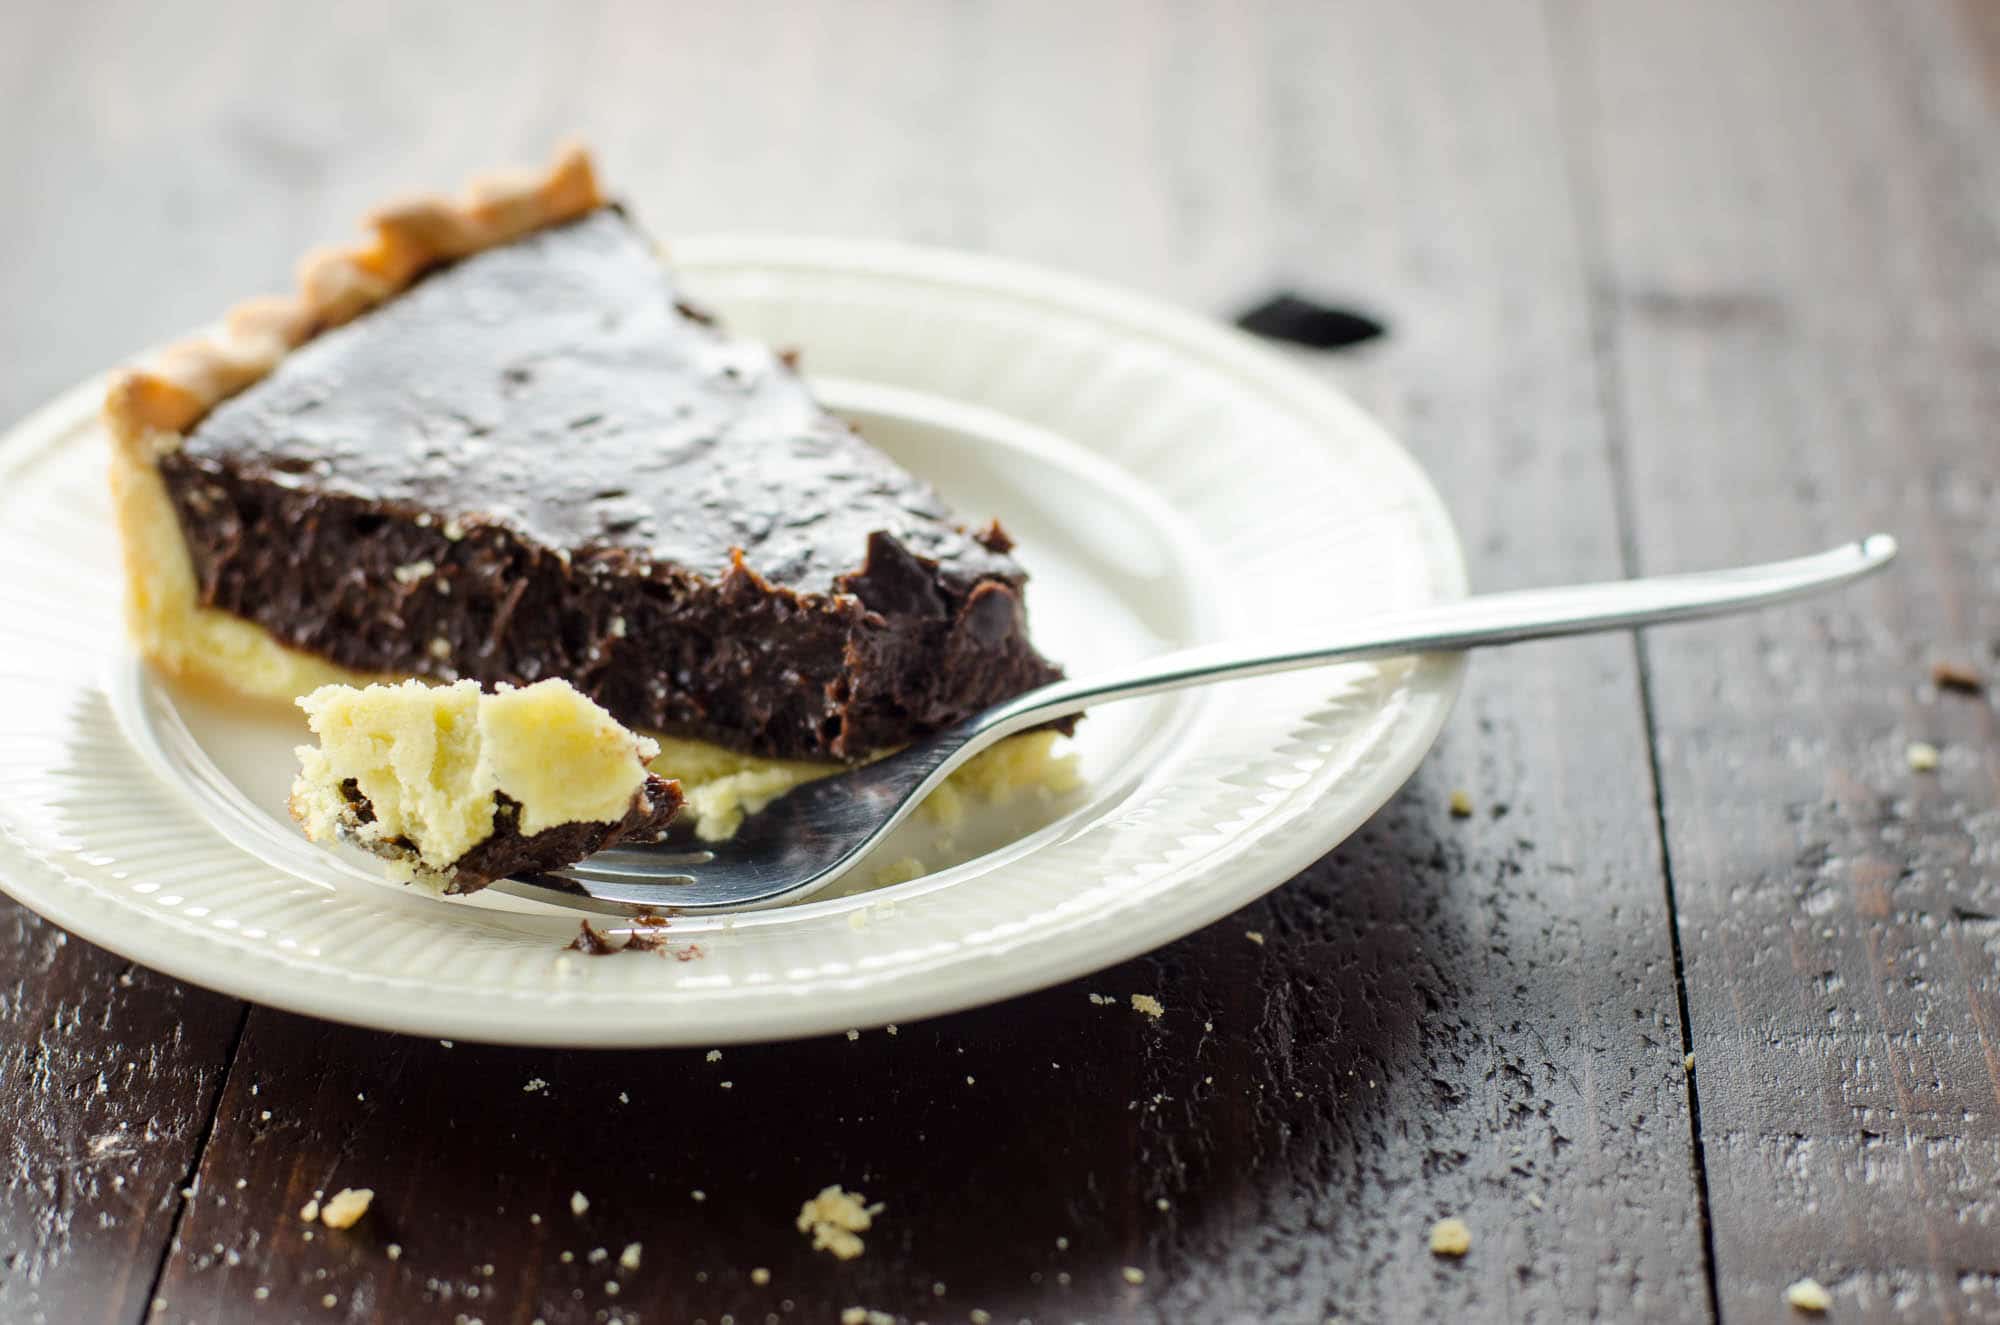
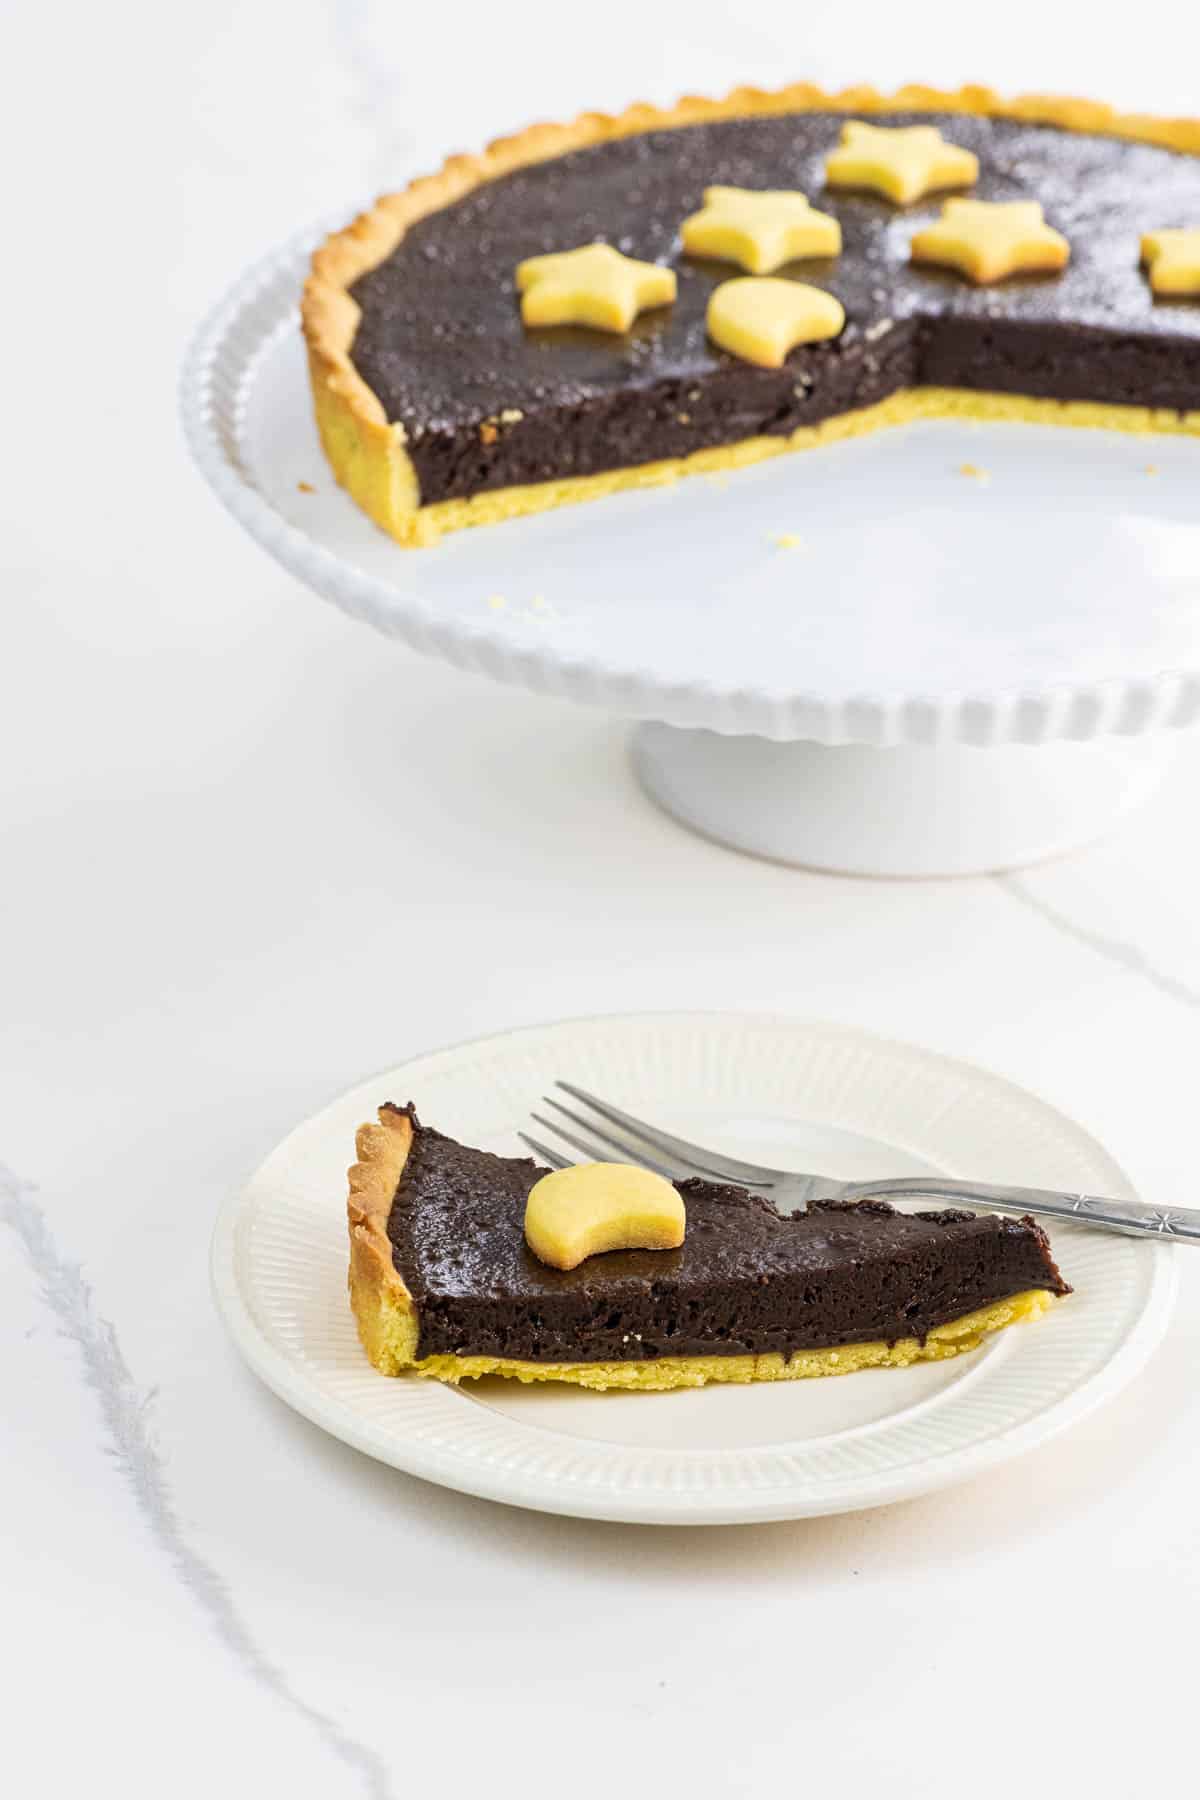
Cut this rich tart into thin slices — a single 10-inch tart serves 12. My favorite, simple accompaniment is a bit of softly whipped cream.
For sure. In fact, it's best to make it in advance, since you'll need it to cool completely before slicing. (Otherwise the filling will ooze a bit, rather than slicing neatly — not the worst thing in the world, but not exactly profesh, either.)
Once completely cooled, you can keep this tart, covered, at cool room temperature for up to about 24 hours. After that, store it in the fridge for up to a week. Bring back to room temperature before serving.
More favorite chocolate desserts
Hungry for more?
Subscribe to Umami Girl's email updates, and follow along on Instagram.

Bittersweet Chocolate Ganache Tart with Shortbread Crust
Ingredients
For the dough
- 12 tablespoons (168 grams) cold butter, diced
- ⅔ cup (80 grams) powdered sugar
- 2 egg yolks
- 2 cups (240 grams) all-purpose flour
For the filling
- 2 whole eggs
- 3 egg yolks
- 5 tablespoons (63 grams) granulated sugar
- 10 tablespoons (140 grams) butter
- 7 ounces (200 grams) bittersweet chocolate, roughly chopped
Instructions
For the dough:
- Place the butter, powdered sugar, and egg yolks in the bowl of a food processor fitted with the blade.
- Pulse until combined but still speckled with butter.
- Add the flour and run the machine just until the dough comes together easily when you pinch it between your fingers.
- Turn dough out onto a large piece of parchment, knead a few times to bring it all together, and pat it into a disc shape.
- Wrap well in parchment and chill for about half an hour.
- Preheat the oven to 350°F with a rack in the center.
- Remove dough from the fridge and let it rest on the counter for 15 minutes.
- Sprinkle a bit of flour on your work surface, and roll out the dough with a rolling pin to an approximately 12-inch circle.
- Transfer the dough very carefully to a 10-inch tart pan with a removable bottom, pressing on the dough lightly so it sits snugly against the bottom and sides of the pan.
- Prick the bottom of the shell all over with a fork.
- Place the tart pan on a rimmed baking sheet. Place a piece of parchment paper over the shell, making sure to cover the edges. Spread plenty of dried beans over the parchment, covering the whole bottom of the tart shell.
- Bake for 15 minutes this way.
- Remove the parchment and beans and return the shell to the oven for an additional 10 minutes. Remove from the oven and set aside.
For the filling:
- Raise the oven temperature to 375F.
- Place the eggs, yolks, and sugar into the bowl of a stand mixer and beat for about five minutes on medium-high speed, until thick and fluffy.
- Place the butter and chocolate in a microwave-safe bowl and microwave on high for one minute. Stir to combine thoroughly – the residual heat should completely melt both the butter and the chocolate as you stir. (If not, continue to microwave in short bursts until you can stir the mixture to a complete melt.)
- Pour the chocolate and butter mixture, which should be just warm, into the mixer with the sugar and egg mixture, and mix until just combined. I like to do the last few strokes with a spatula.
- Pour the filling into the tart shell.
- Bake for 8 to 10 minutes, until just set. The filling will retain a bit of a wobble while hot, but should not be sloshy. You can trust that it will set up quite a bit as it cools.
- Let tart cool completely before serving.
Notes
- You can use salted or unsalted butter in both the shell and the filling. I like to use a good cultured, salted butter for the vastly superior flavor. It sounds fancy but doesn't have to be. Kerrygold, for example, is widely sold in supermarkets for a reasonable price.
- According to most guidance, bittersweet chocolate tends to contain about 70% cacao, and semi-sweet has about 60% (meaning it's a bit sweeter and less intensely chocolatey). However, you'll see above that at least one common brand of baking chocolate with 60% cacao is labeled bittersweet. The good news is, these two products will meet with equal success in this recipe, so you can choose your favorite bittersweet or semisweet bars and just go ahead and use them. Good-quality chips will also work just fine.Cut this rich tart into thin slices — a single 10-inch tart serves 12. My favorite, simple accompaniment is a bit of softly whipped cream.
- It's best to make this tart in advance, since you'll need it to cool completely before slicing. (Otherwise the filling will ooze a bit, rather than slicing neatly — not the worst thing in the world, but not exactly profesh, either.)
- Once completely cooled, you can keep this tart, covered, at cool room temperature for up to about 24 hours. After that, store it in the fridge for up to a week. Bring back to room temperature before serving.
Nutrition
Hungry for more?
Subscribe to Umami Girl's email updates, and follow along on Instagram.




Linda says
This recipe is so easy and works every time. It is so good.
Anonymous says
Anonymous says
Faye says
Just made this recipe. Making the pastry in the food processor didn't work so well for me. Came out very wet. Ended up making pastry by hand in the end but the filling was divine. Very, very, very rich and intense but I served it with toffee ice cream which balanced it out. Delicious
Kevin says
That chocolate tart looks so good!
Carolyn says
Hi Kathryn - oh no, shrinkage! Brave of you to put that forward, my friend. Seriously, though, first and foremost, I'm impressed with your prolific tart making!
It sounds like one (or both) of two things may be happening. Most crust recipes tell you to add water just until the dough comes together. It's pretty easy to be tempted to add a little too much water, since it makes the dough feel easier to work with (and we're only talking teaspoons here - no major gaffes on your part). Once the heat of the oven hits the dough, though, the excess water will literally vaporize, leaving you with less crust - so that could be part of it. You might try working with a tad less water and see if it helps.
The other trick is to really make sure you've rolled out the dough large enough that you won't have to stretch it one bit. Stretching dough will get you nowhere. It's like cramming yourself into too-small spandex - it may seem like a clever solution when you're getting all tarted up (ba-dum bum), but it will leave you with unsightly bulges and sometimes even some naked spots at the end of the day. To avoid these and other reputational disasters, start by rolling out the dough to the point that it is one to two inches bigger in diameter than your pan, so that you will have enough excess to work with. Then, when you ease the dough into the pan, be sure to tuck it thoroughly against the bottom and the sides and along the seam where the sides meet the bottom - there should be some right-angle-age going on. You should almost err on the side of compressing the dough a bit rather than stretching it at all. I think there is so much talk about not handling your dough too much that people are getting afraid to even touch it. You do need to use a bit of pressure to be sure there's no gap between the dough and that "corner" around the perimeter of the pan.
Hope that helps. Report back when you try again! And remember, ugly tarts can be tasty tarts, so don't worry too much.
Kathryn says
Hey Carolyn! I have made several tarts over the past few weeks, and cannot seem to get the crust right. Every time I break out the pie weights and pre-bake, the sides shrink down and I am basically left with nothing but the bottom of the crust. Please help!
Y says
Ridonculous is such a cute word! An apt word to sell a tart, when no other word will do.
Carolyn says
Mmm. More chewing, less eschewing. I could get into that as a personal mantra.
lo says
oooh AYUM.
I don't think I'll be eschewing anything like this... my chances for being a bathing beauty were ruined years ago.