Making and maintaining rye sourdough starter is 100% achievable with a few tips and tricks. Thanks to the beneficial relationship between the enzymes in rye and yeast fermentation, rye starters make wonderful sourdough bread. Here's how to make it happen.
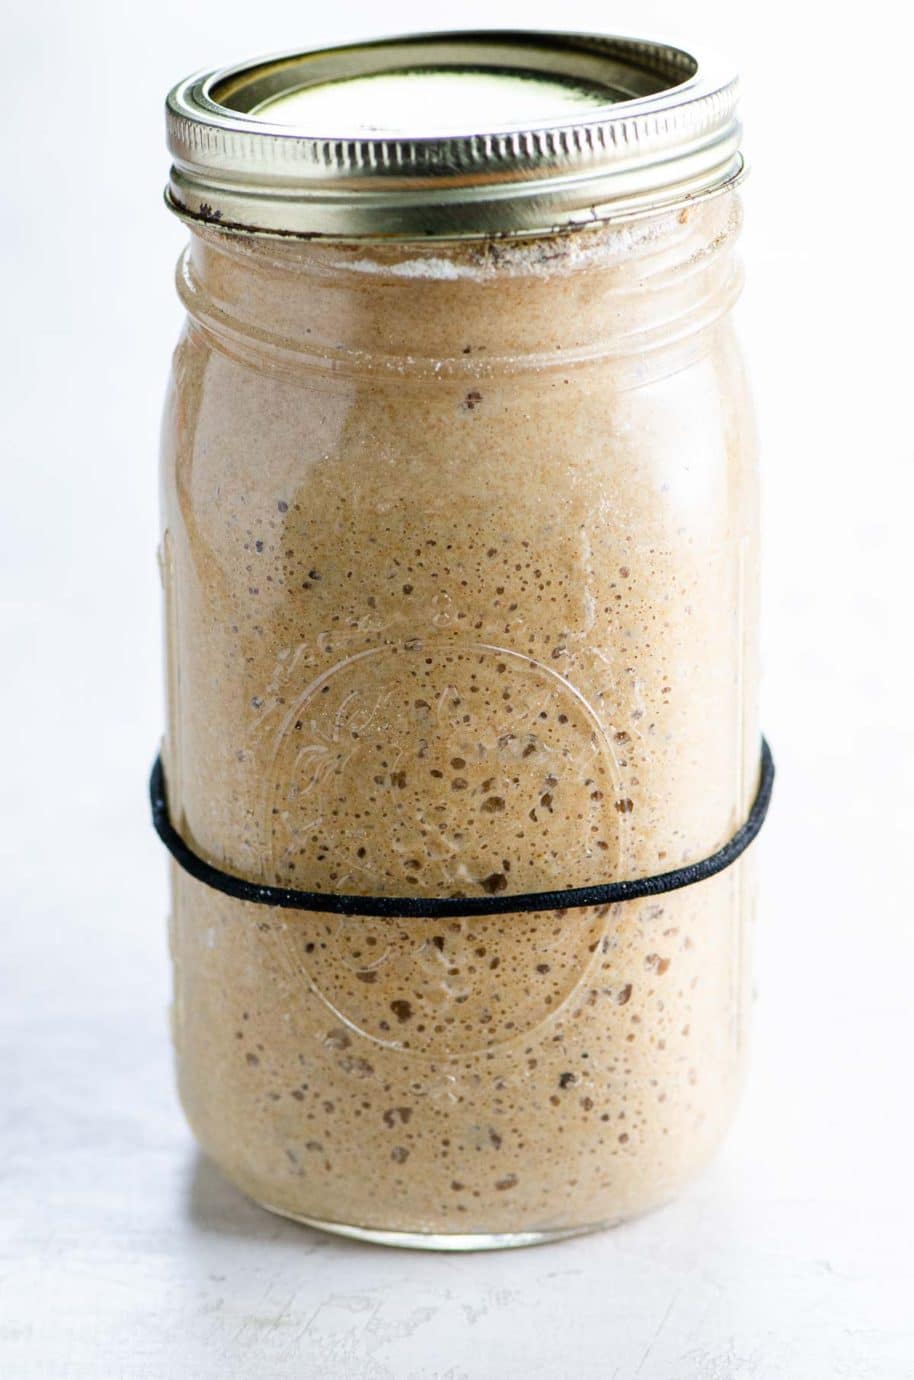
What is sourdough starter, anyway?
Great question. The answer is both incredibly simple and almost magically complex.
On the one hand, sourdough starter is just flour and water mixed up together in a jar. But here, in a nutshell, is what happens when you do that.
- Beneficial bacteria on the flour wake up and start to feed on the starches in the flour, converting them into sugars.
- Wild yeast, which is present basically everywhere in the world — on the flour, in the air, on your hands — begins to ferment those sugars.
- Fermentation creates carbon dioxide as a byproduct. Those bubbles get trapped in the flour and water mixture, making the starter "grow."
- When we use starter to make bread, we'll be trapping those same gasses in the bread's gluten network, which will cause the bread to rise.
A sourdough starter differs from commercial leavening in several ways. Wild yeast is much more diverse, whereas commercial yeast packets typically contain a single strain. And the microbial presence in a starter is much more robust. This is what's responsible for both sourdough's tangy flavor and some of its purported health benefits.
Learn more about the sourdough microbiome here.
What you'll need
Here's a glance at the ingredients and tools you'll need to create your rye sourdough starter.
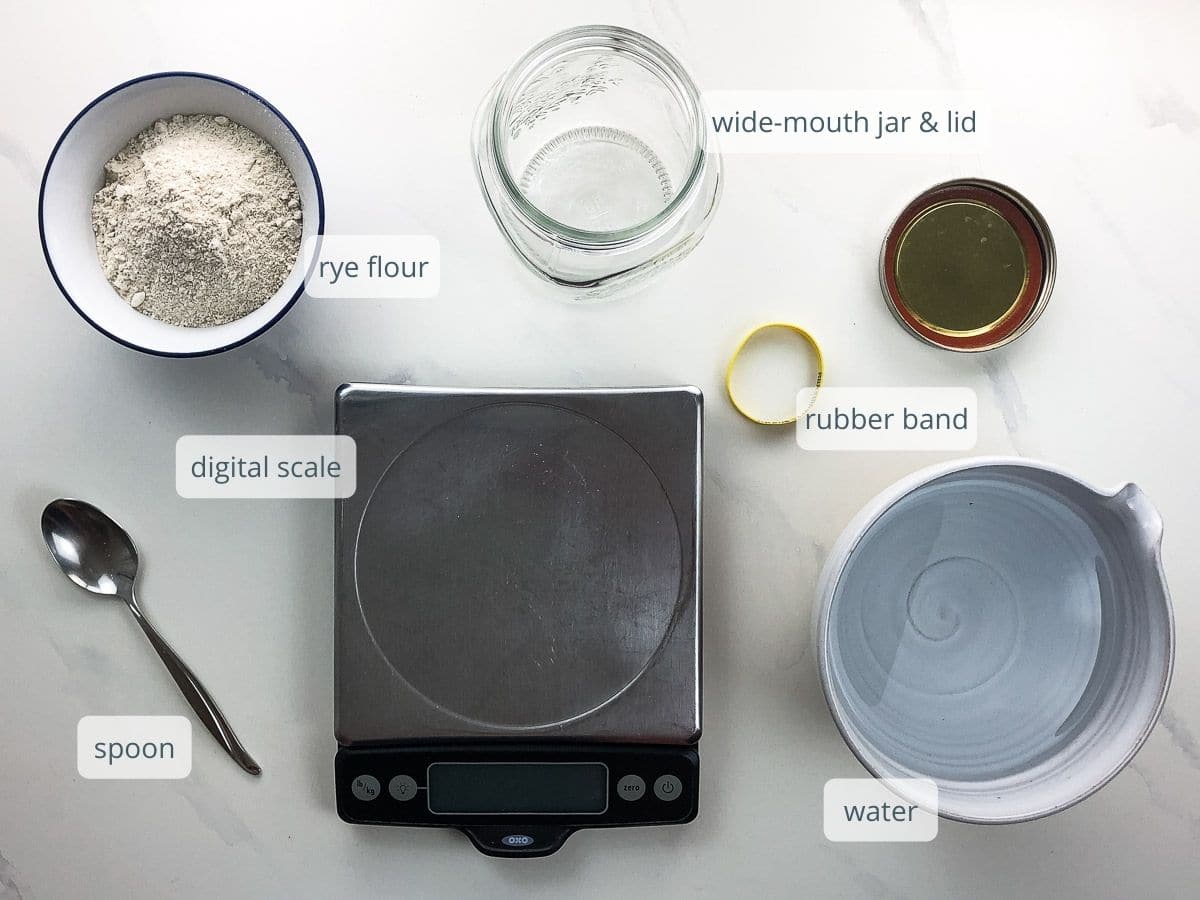
- A digital kitchen scale. If you enjoy baking and you don't have a digital scale, now's the time to make the small investment. I've had this OXO scale for years and use it nearly every day. You'll use it frequently when you start making bread.
- A quart-size, wide-mouth glass jar with a lid. You don't have to use this exact type of jar, but find something with a four-cup capacity that's made of glass or ceramic and has a lid that can be applied loosely. Don't use plastic, since sourdough starters are highly acidic and can eat away at plastic over time, causing chemicals to leach.
- Rye flour. The better your flour, the easier time you'll have getting up and running with a new sourdough starter. Generally speaking, stone milled flour from a smaller local source will have all sorts of things going for it, from the soil it was grown in (the source of many of those microbes we're looking for) to the way it's milled to preserve more of its nutrients. I've been using Wrens Abruzzi Rye from Barton Springs Mill for the past year, and it's wonderful. It's not local to me, but in late March of 2020 it was one of the only sources I could find easily, and I fell in love with it. They ship nationally, but I encourage you — and my future self — to find a source local to you. You can use any flour to make a starter, including all-purpose flour from the grocery store, but you can't beat the ease and robustness of a starter made and maintained with excellent-quality rye.
- Water. Use room-temperature water — about 75°F is ideal. We have a water filter, and I make use of it in this process. If you don't, it's generally fine to use tap water. If your tap water has a strong chemical smell, you might want to leave it on the counter overnight before using to let any additives settle to the bottom, then pour the water off the top to use in your sourdough-making.
Day one
- Weigh your jar and write down how much it weighs. That way you'll always be able to calculate the weight of your starter by subtracting the weight of the jar. This will come in handy later.
- Pour 100 grams of room-temperature water into the jar. If your house is very cold, you can use slightly warm water. If it's very hot, you can use slightly cool water.
- Spoon in 100 grams of rye flour.
- Stir it very well, until there's no more dry flour. Be sure to check the bottom of the jar for any dry flour and stir it into the mix. Hydrating the flour is the first step in allowing the starches to turn into sugars.
- Use your spoon to gently pack down the starter into a relatively even layer. This will help you see how much it grows throughout the course of its feeding.
- Place a rubber band or elastic hair tie around the jar at the level of the top of the starter.
- Position the lid and screw it on loosely. This allows the starter to exhale carbon dioxide (a byproduct of yeast fermentation).
- Place starter on the counter or anywhere you like at warm room temperature. Don't expect any visible activity today. We'll visit it again tomorrow!
Extra credit
Consider naming your starter. This can help you remember to take good care of it, and it's also fun. Mine is called Supreme Court Justice Sonia Sodoughmayor.
Day two
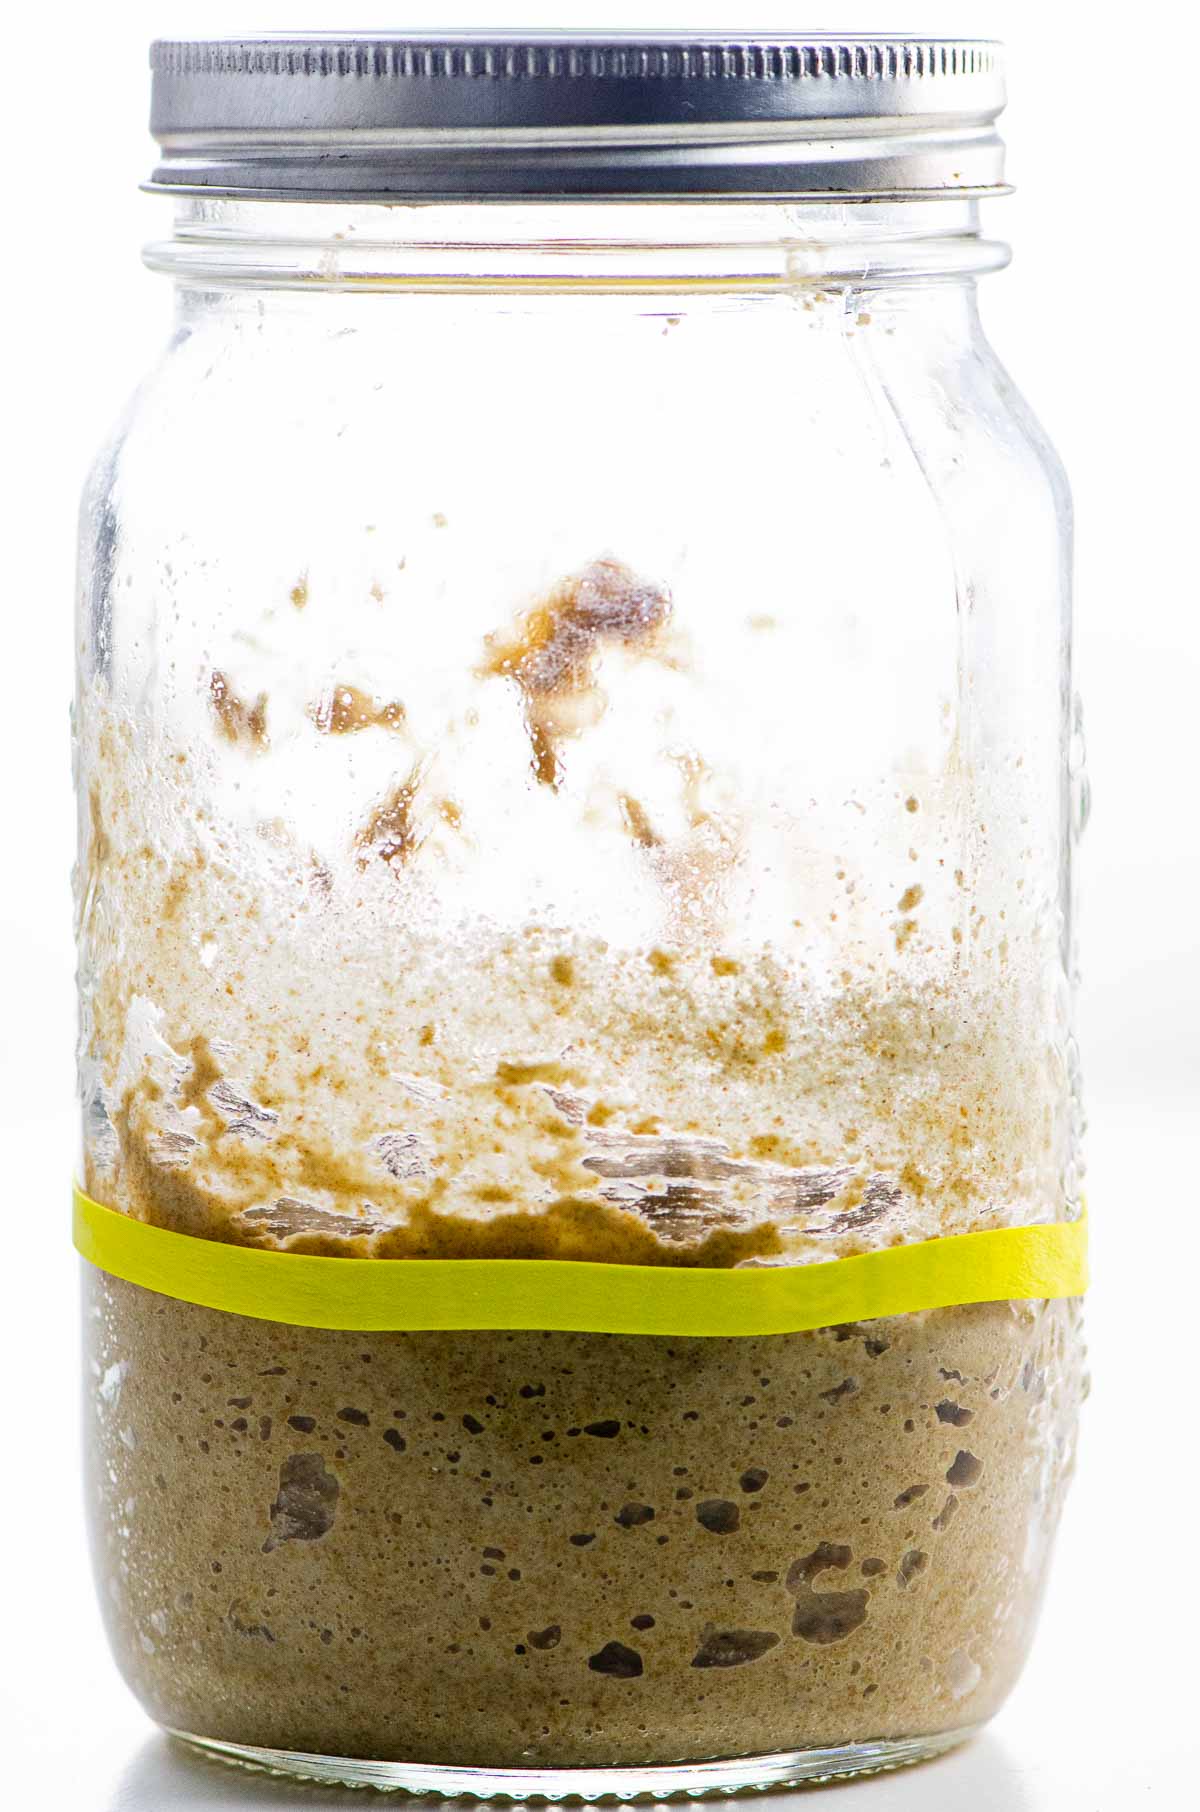
- Remove all but 100 grams of the starter. The easiest way is to place a container on your scale, bring the scale to zero, and add 100 grams of starter. Theoretically you could discard this, but I much prefer to save it in the refrigerator until tomorrow, when we'll have enough sourdough discard for crackers, scallion pancakes, or banana bread.
- Place the jar of starter on the scale and bring the scale to zero. (You now have about 100 grams of starter left in the jar.) Now and in the future when we're in maintenance mode, we'll be feeding the starter at least as much flour as the starter weighs.
- Pour in 100 grams of water and stir it up to break up the starter.
- Spoon in 100 grams of flour. Stir well, just like yesterday, until there is no dry flour anywhere in the jar.
- Use your spoon to gently pack down the starter into a relatively even layer.
- Adjust the placement of the rubber band to the level of the top of the starter.
- Position the lid and screw it on loosely.
- Place starter on the counter or anywhere you like at warm room temperature. If you're using good-quality flour and it's not freezing cold in your house, you're likely to see some activity today.
Notes and observations
It's not strictly necessary, but using your senses to observe your starter's characteristics and keeping notes about it will help you learn. How does your starter smell today? Compare day two to day five — I bet you'll notice a difference.
Sourdough is a real combination of science and art. In the beginning, it's 100% fine to lean on science, tutorials, and trusted recipes. But over time, the more you can learn to observe and trust your instincts, the more rewarding the process — and the results — will be.
Days three, four, & five
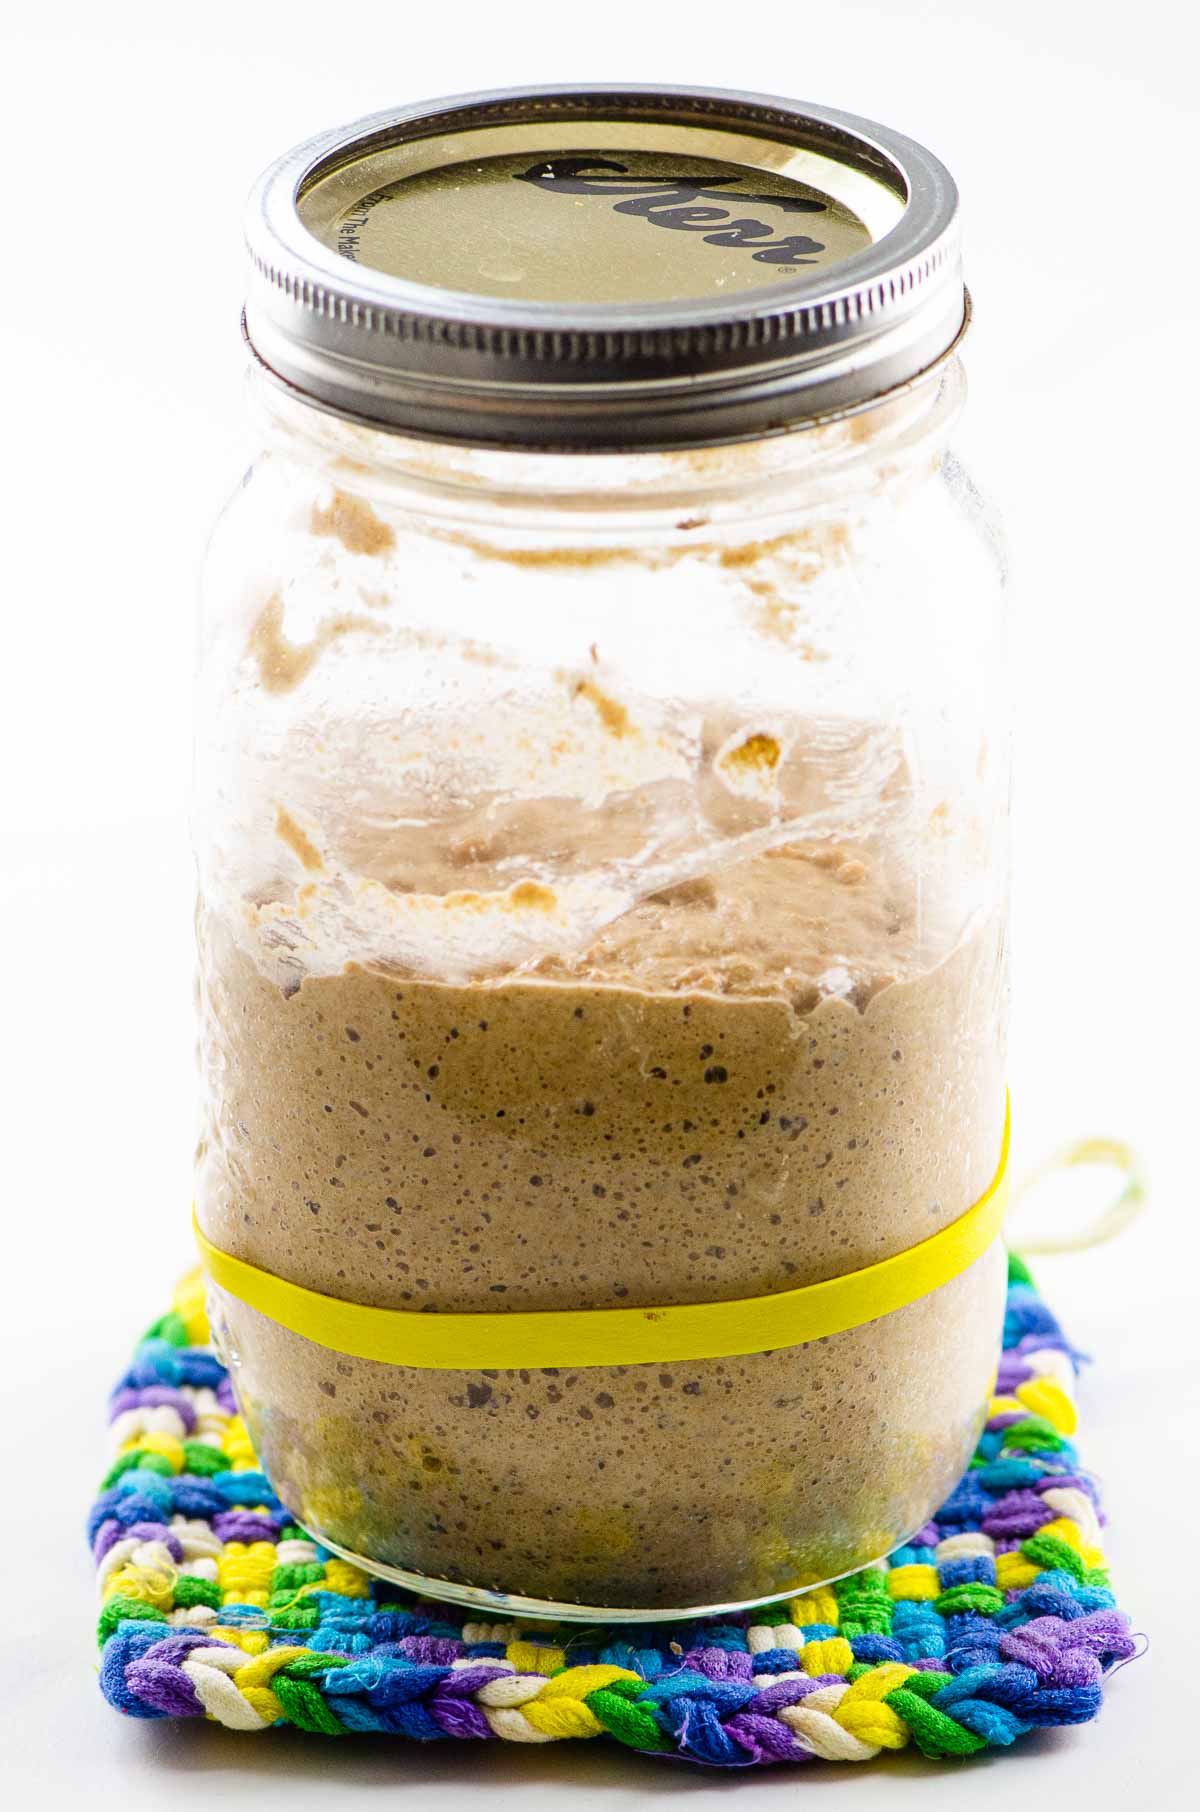
- On days three, four, and five, you will feed your starter twice per day, at approximate 12-hour intervals.
- Follow the steps for day two above, but do them once in the morning and once at night.
- On these days, you'll have lots of discard. These are great days to make my favorite crackers.
- By day five, if you're using really good flour, you should see the starter at least doubling in size between feedings. If you are seeing plenty of activity but not yet a doubling, don't worry. Continue feeding twice per day for the next few days.
- If you're not seeing much activity at all, refer to the troubleshooting section below.
The float test
The float test is a simple and reliable way to know whether your starter is active enough to leaven bread. It's a very straightforward method with a yes or no answer. As you get to know the sourdough process and its reliance on your intuition, you may grow to appreciate this moment of certainty.
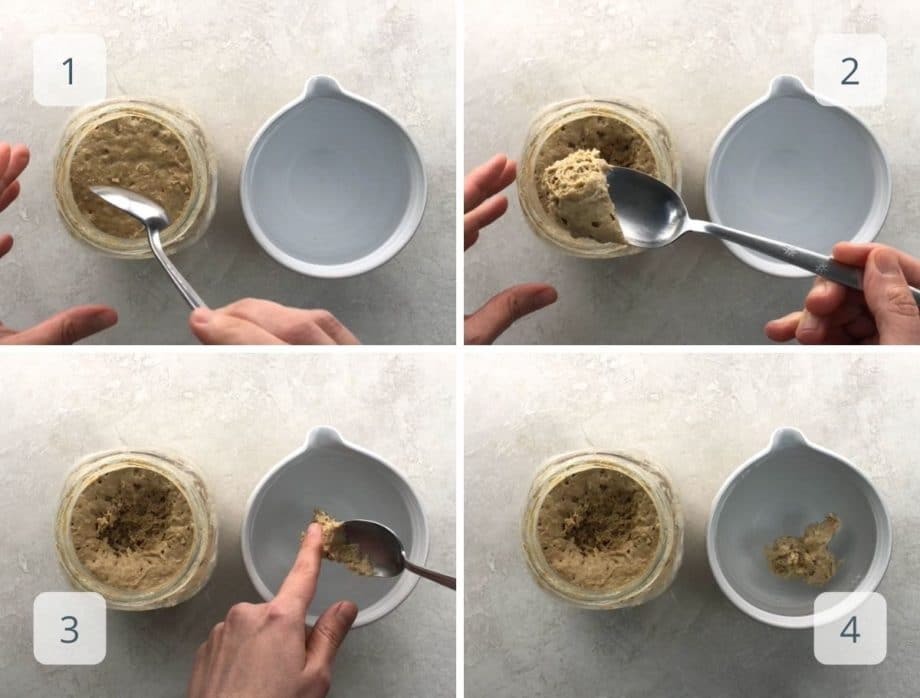
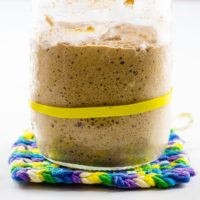
- 8 to 12 hours after you've fed your starter, it should have at least doubled in size and become light and bubbly.
- Use a spoon to scoop out a dollop of starter without compressing it.
- Use your finger or a second spoon to gently slide the dollop off the spoon and into a glass or bowl of water.
- If the starter floats, it's ready to use.
Maintaining & storing your sourdough starter
Once your starter is mature, you'll choose whether you want to store it on the counter or in the fridge. If you'll be baking frequently — multiple times per week — you can leave it on the counter. If you'll be baking less frequently or would like to take a break, keep it in the fridge. Either way, always leave the lid loose so that excess carbon dioxide can escape from the jar.
If you keep your starter on the counter, feed it daily, aiming for about the same time each day. Depending on what types of recipes you like to bake and how much starter they call for, you can decide what size starter you'd like to maintain.
How to feed it
- Remove all but the amount that you'd like to keep. (Use it in sourdough discard recipes if you like.)
- Always feed the starter at least as much flour by weight as the remaining starter weighs. You can feed it more if you need to bulk it up for a recipe, but never feed it less.
- To maintain a 100% hydration starter, which is what most recipes will call for, add the same amount of water by weight as flour.
- Mix it all together. (I typically like to add the water first and mix it up with the existing starter, then stir in the flour.)
When to feed it
Regardless of whether you're storing your starter at room temperature or in the fridge, you'll need to feed it before using it to bake. If you're feeding it regularly, one feeding should be enough. You can do this 8 to 12 hours before you want to start the recipe.
If you haven't been feeding it regularly, you may need to feed it multiple times — typically two, occasionally three — before baking. Perform the first feeding 24 hours before you want to start your recipe and the second one 12 hours later.
How & when to store it
If you'll be placing your starter into the fridge, feed it and let it sit at room temperature for 3 to 4 hours. Then place it into the refrigerator. Feed it once every week or two while it's in the fridge, and plan ahead before you bake again. You may need to give it more than one feeding before using. As always, you'll know it's ready to use when it passes the float test.
A note on storing flour
Stone-milled flour contains all three edible parts of the grain: the germ, endosperm, and bran. This means there are lots of wonderful oils still present in the flour, and you'll need to keep them cold so they don't spoil. I keep my flour in the freezer for long-term storage.
Troubleshooting
If you're in the process of creating a new starter, there are many factors involved. Time, temperature, flour quality, and even water quality, among other things, can play a part.
Your first step should be patience. Depending on conditions, it's not impossible that a starter could take up to about 10 days to really get going. So be patient before you worry.
If you're using tap water and it has a strong chemical smell, consider the possibility that something in the water is inhibiting your culture. Try filtered or bottled water and see if it makes a difference.
Next, If your flour isn't great-quality, try a different flour. Finally, make sure you're using a salt without additives. Fine sea salt is a good choice.
If you're still having trouble, feel free to reach out or leave a comment below.
If you haven't fed your starter in a while, it may develop some liquid on the top, colloquially called hooch. This is alcohol that builds up from the fermentation process. It's nothing to panic about — it's just a sign that your starter needs to be fed, possibly multiple times before baking with it. Pour off the hooch before feeding.
Unfortunately, those attributes are likely signs that there's mold in your starter. This doesn't usually happen unless a starter has been neglected for quite a while (no judgment, just sayin). If this does happen, it's best to start over.
I experienced a pinking of my starter once when we had a power failure that lasted more than a week during the very hot summer. I couldn't keep my starter in the fridge, and I didn't want to feed it a lot when I knew I wouldn't be able to bake with it. I made the decision to leave it alone, knowing it could go badly, and it did.
The good news is that when I wanted to start baking again, I simply used this method to create a new starter in five days.
More sourdough resources
- Life-changing bagels
- A perfect loaf of rye bread
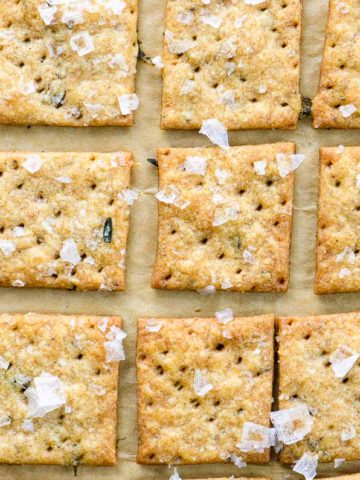
- My favorite crackers (made with discard)
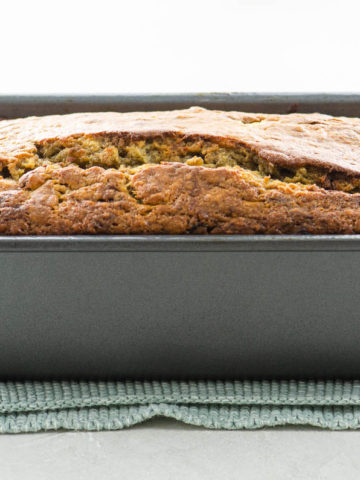
- Classic banana bread (made with discard)
- Scallion pancakes (made with discard)
Hungry for more?
Subscribe to Umami Girl's email updates, and follow along on Instagram.
Rye Sourdough Starter
Ingredients
- 100 grams water (per feeding)
- 100 grams rye flour (per feeding)
Instructions
- Day One
- Weigh your jar and write down how much it weighs. That way you'll always be able to calculate the weight of your starter by subtracting the weight of the jar.
- Pour the water into the jar.
- Spoon in the flour.
- Stir it very well, until there's no more dry flour. Be sure to check the bottom of the jar for any dry flour and stir it into the mix.
- Use your spoon to gently pack down the starter into a relatively even layer. This will help you see how much it grows throughout the course of its feeding.
- Place a rubber band or elastic hair tie around the jar at the level of the top of the starter.
- Position the lid and screw it on loosely. This allows the starter to exhale carbon dioxide (a byproduct of yeast fermentation).
- Place starter on the counter or anywhere you like at warm room temperature. Don't expect any visible activity today.
Day Two- Remove all but (100 grams) of the starter.
- Place the jar of starter on the scale and bring the scale to zero. (You now have about (100 grams) of starter left in the jar.)
- Pour in (100 grams) of water and stir it up to break up the starter.
- Spoon in (100 grams) of flour. Stir well until there is no dry flour anywhere in the jar.
- Use your spoon to gently pack down the starter into a relatively even layer.
- Adjust the placement of the rubber band to the level of the top of the starter.
- Position the lid and screw it on loosely.
- Place starter on the counter or anywhere you like at warm room temperature. If you're using good-quality flour and it's not freezing cold in your house, you're likely to see some activity today.
- Days 3-5
- On days three, four, and five, you will feed your starter twice per day, at approximate 12-hour intervals.
- Follow the steps for day two above, but do them once in the morning and once at night.
- On these days, you'll have lots of discard. These are great days to make my favorite crackers.
- By day five, if you're using really good flour, you should see the starter at least doubling in size between feedings. If you are seeing plenty of activity but not yet a doubling, don't worry. Continue feeding twice per day for the next few days.
- If you're not seeing much activity at all, refer to the troubleshooting section above.
- You'll know your starter is ready to leaven bread when it passes the float test.
Notes
- The better your flour, the easier time you'll have getting up and running with a new sourdough starter. Generally speaking, stone milled flour from a smaller local source will have all sorts of things going for it, from the soil it was grown in (the source of many of those microbes we're looking for) to the way it's milled to preserve more of its nutrients.
- I've been using Wrens Abruzzi Rye from Barton Springs Mill for the past year, and it's wonderful. It's not local to me, but in late March of 2020 it was one of the only sources I could find easily, and I fell in love with it. They ship nationally, but I encourage you — and my future self — to find a source local to you. You can use any flour to make a starter, including all-purpose flour from the grocery store, but you can't beat the ease and robustness of a starter made and maintained with excellent-quality rye.
- Use room-temperature water — about 75°F is ideal. We have a water filter, and I make use of it in this process. If you don't, it's generally fine to use tap water. If your tap water has a strong chemical smell, you might want to leave it on the counter overnight before using to let any additives settle to the bottom, then pour the water off the top to use in your sourdough-making.
Nutrition
Hungry for more?
Subscribe to Umami Girl's email updates, and follow along on Instagram.






Damaris says
I tried a few recipes for a starter and this one has been the easiest! It’s been 9 days now since I started and it’s booming beautifully! I did my first bread today so hoping it’ll turn out good lol. But thank you for the easy steps to follow. Doesn’t make it seem overloading with info!
Carolyn Gratzer Cope says
So glad, Damaris. Happy baking. 🙂
Kri says
What type of flour do you use for the maintenance feeding?
Carolyn Gratzer Cope says
I use the same flour for feedings that I used to create the starter. Consistency really pays off, since a lot of the enzymes involved in the process are in the flour itself.
Odette says
I am on day 10 of my feeding, and I can't get the starter to float. I've scooped off heaps of discard and have made banana bread, crackers, bagels.... and have so much I can't keep baking to use it - BUT I can not get a float - to make my bread.
I am going to add a little less water and a little more flour and see if that makes a difference.
Any suggestions?
Carolyn Gratzer Cope says
Hi Odette, I'm sorry, I'm just seeing this now. Did you get your starter going eventually? If not, we can troubleshoot.
Neha Burns says
Hi! I converted my starter to a rye flour. I’m not getting bubbles on top like yours but it does pass the float test. Why might that be? I appreciate any advice.
Carolyn Gratzer Cope says
Hi Neha, I'd need some more information to help diagnose. How long ago did you start introducing rye flour? And does your starter grow substantially after feeding? Thanks!