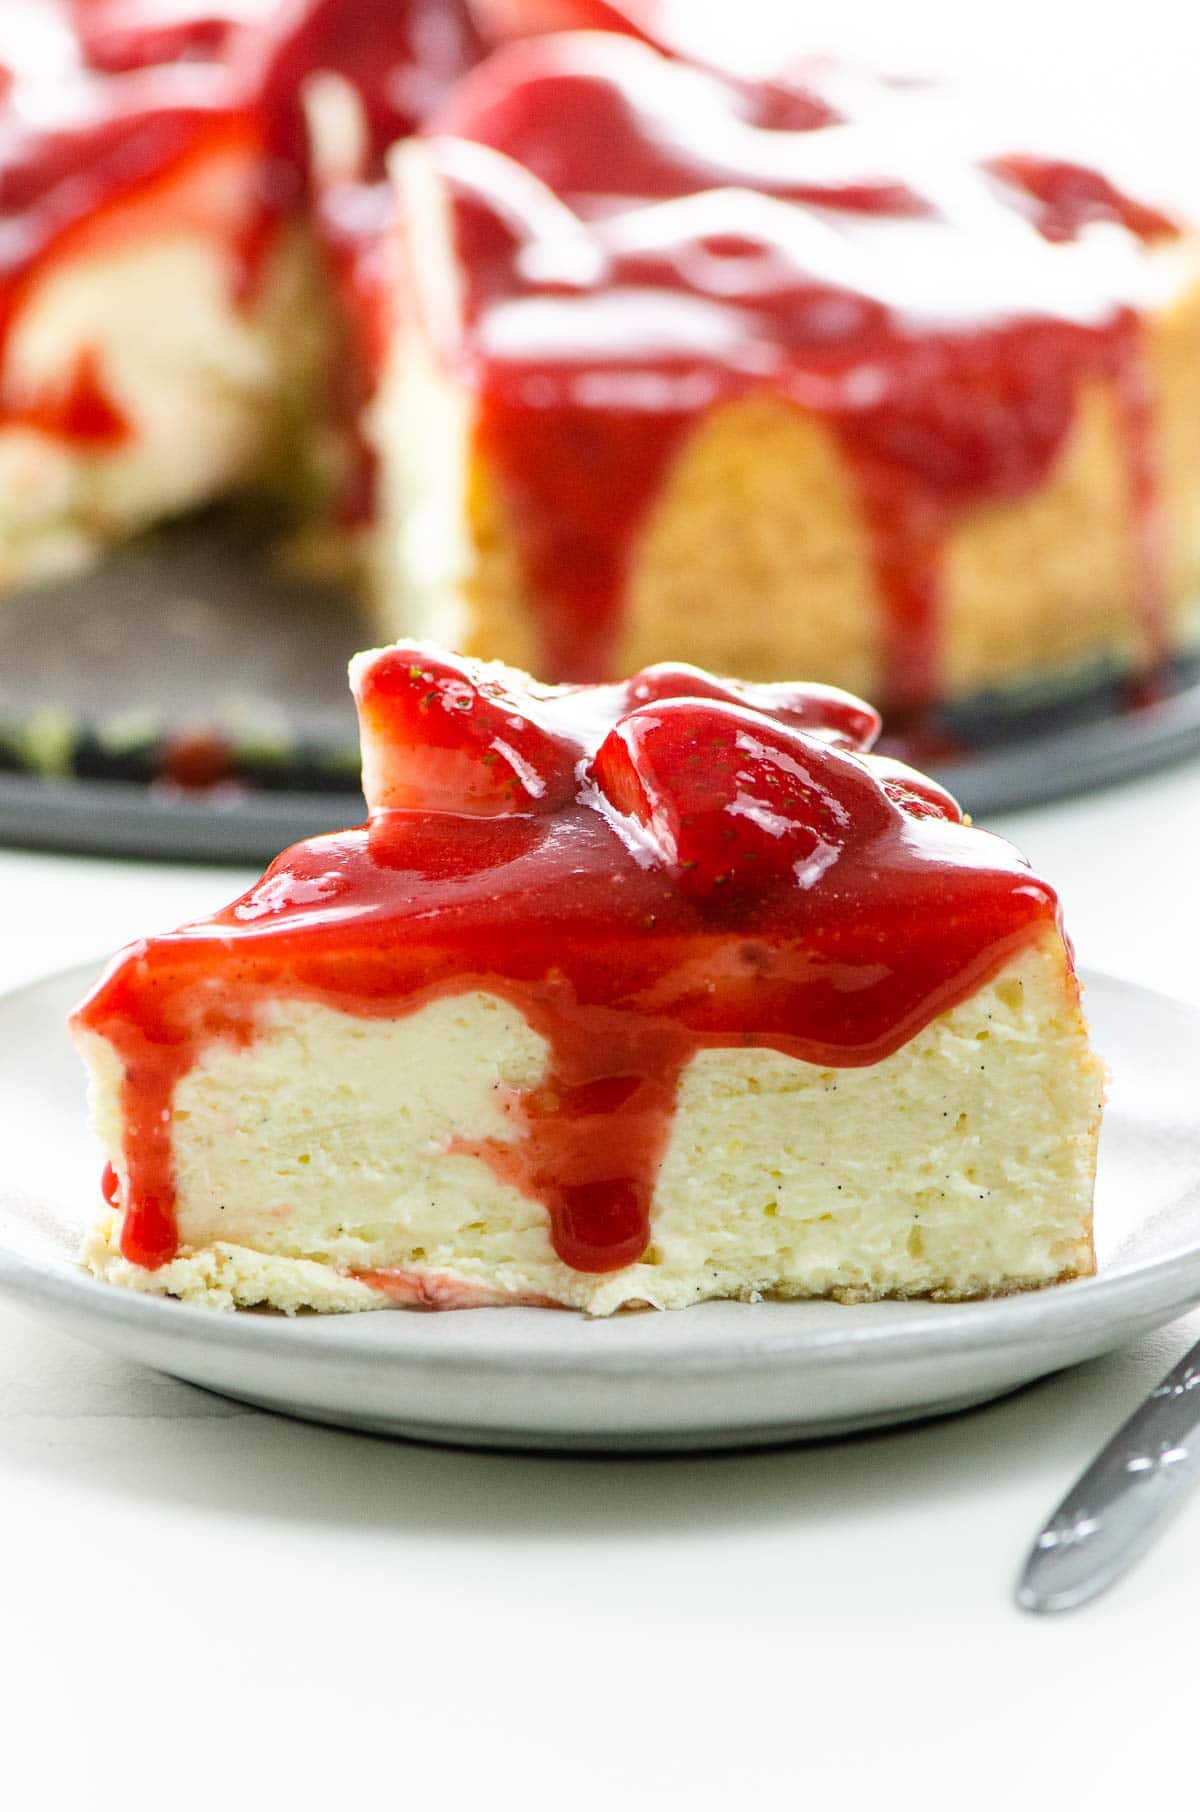
Vanilla bean cheesecake is classic, crowd-pleasing perfection. It's smooth, creamy, and satisfying, with or without strawberry sauce. It takes a bit of advance prep, but it's a lot easier than you may think. Here's how to make it.
Why we love this recipe, and why it works
This just-right cheesecake recipe is creamy, just the right amount dense, beautifully flavored with vanilla and a hint of lemon, and not overly sweet.
This recipe works because:
- Having the ingredients at room temperature helps them mix together smoothly.
- A little bit of sour cream and a touch of lemon add the subtlest tart dimension to the mix.
- Baking at a low temperature in a water bath and then leaving the cake in the oven results in a perfectly creamy, evenly baked filling.
- Chilling the cake overnight after cooling completely allows you to slice it into the neat wedges you'd expect from a great cheesecake.
What you'll need
Here's a glance at the ingredients you'll need to make this recipe. I'm always amazed by the magic you can make with a few easy trips to the fridge and pantry.
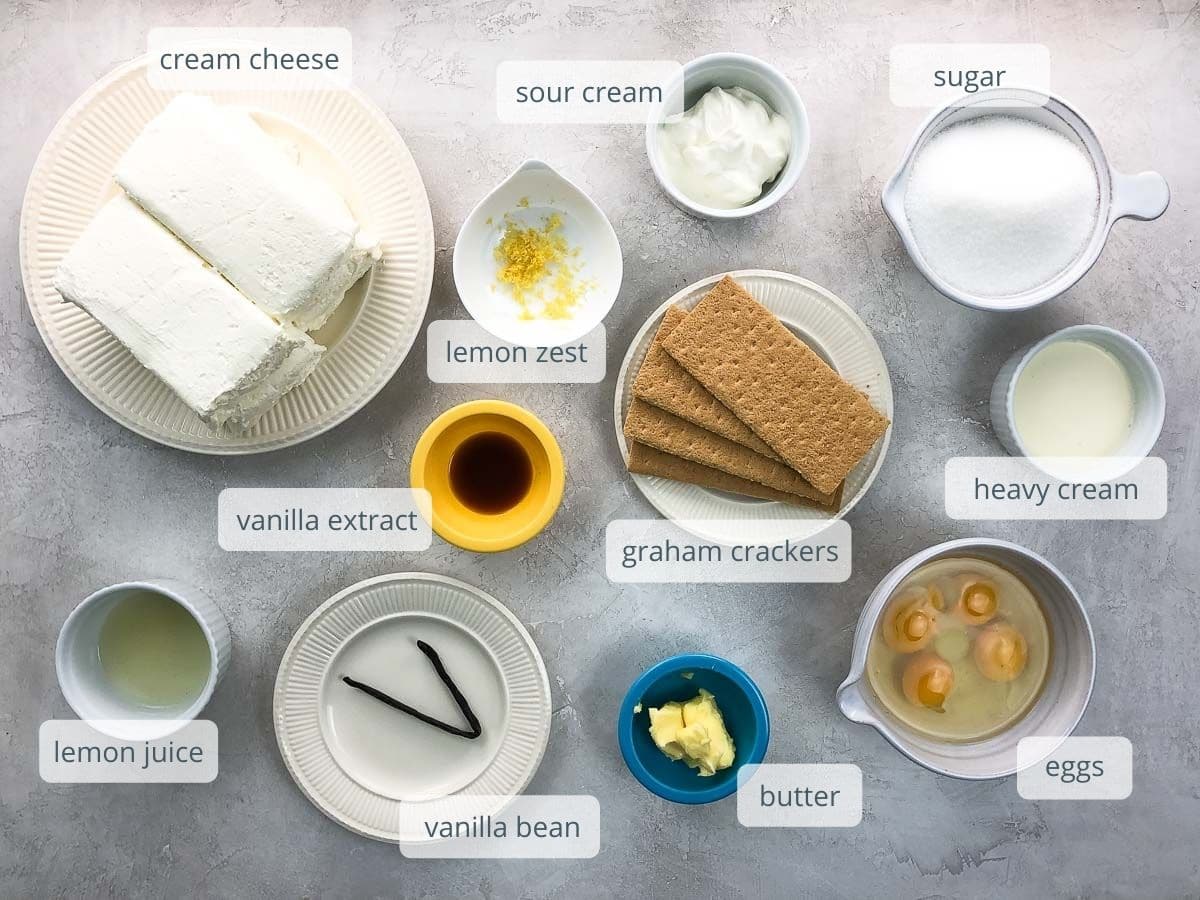
- A "sheet" of graham crackers means a whole sheet of four perforated crackers. Four of these should yield about ½ cup of crumbs. To make this recipe gluten-free, use gluten-free graham crackers.
- Use good old blocks of cream cheese. (Two pounds is four eight-ounce blocks.) Don't use whipped cream cheese or the softer kind that comes in tubs. It won't yield the right consistency.
- Vanilla beans can be very expensive, so we use one and boost the vanilla flavor with a good-quality pure vanilla extract. In a pinch, you can skip the bean altogether and double the extract. The taste will be extremely similar. (Here's some interesting context on pricing.)
How to make it
Here's what you'll do to make a beautiful vanilla bean cheesecake. It takes a little advance prep, but it's easier than you might think. You can see all the steps in action in the video that accompanies this post, and get the details in the recipe card below.
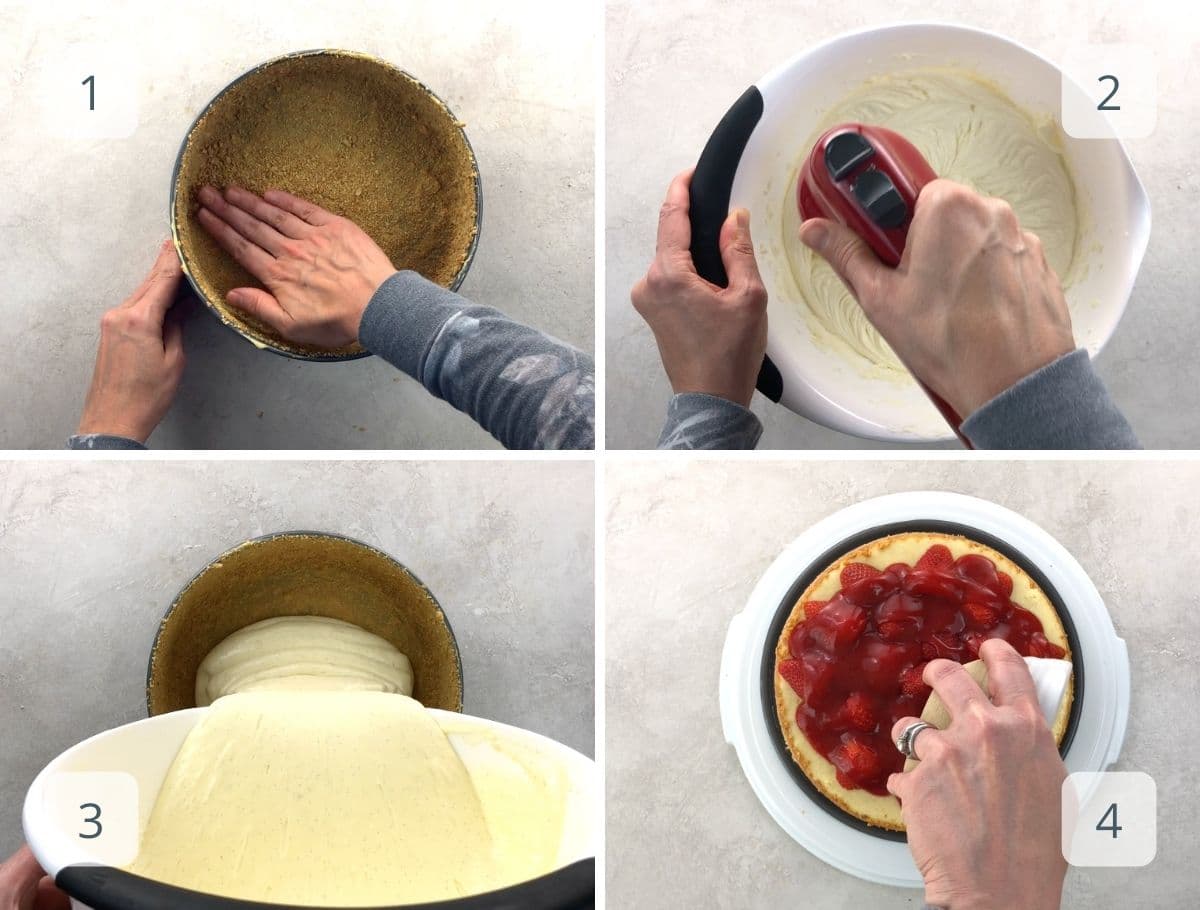
- To make the thin crust, spread the butter all over the bottom and sides of the pan. Crush the graham crackers into crumbs and pour them into the pan. Tilt and tap the pan around until it's coated with crumbs. Then tap out any excess.
- Beat the cream cheese and gradually add the sugar, eggs, creams, and flavorings. You'll mix until smooth and creamy without incorporating too much air.
- Pour the filling into the crust.
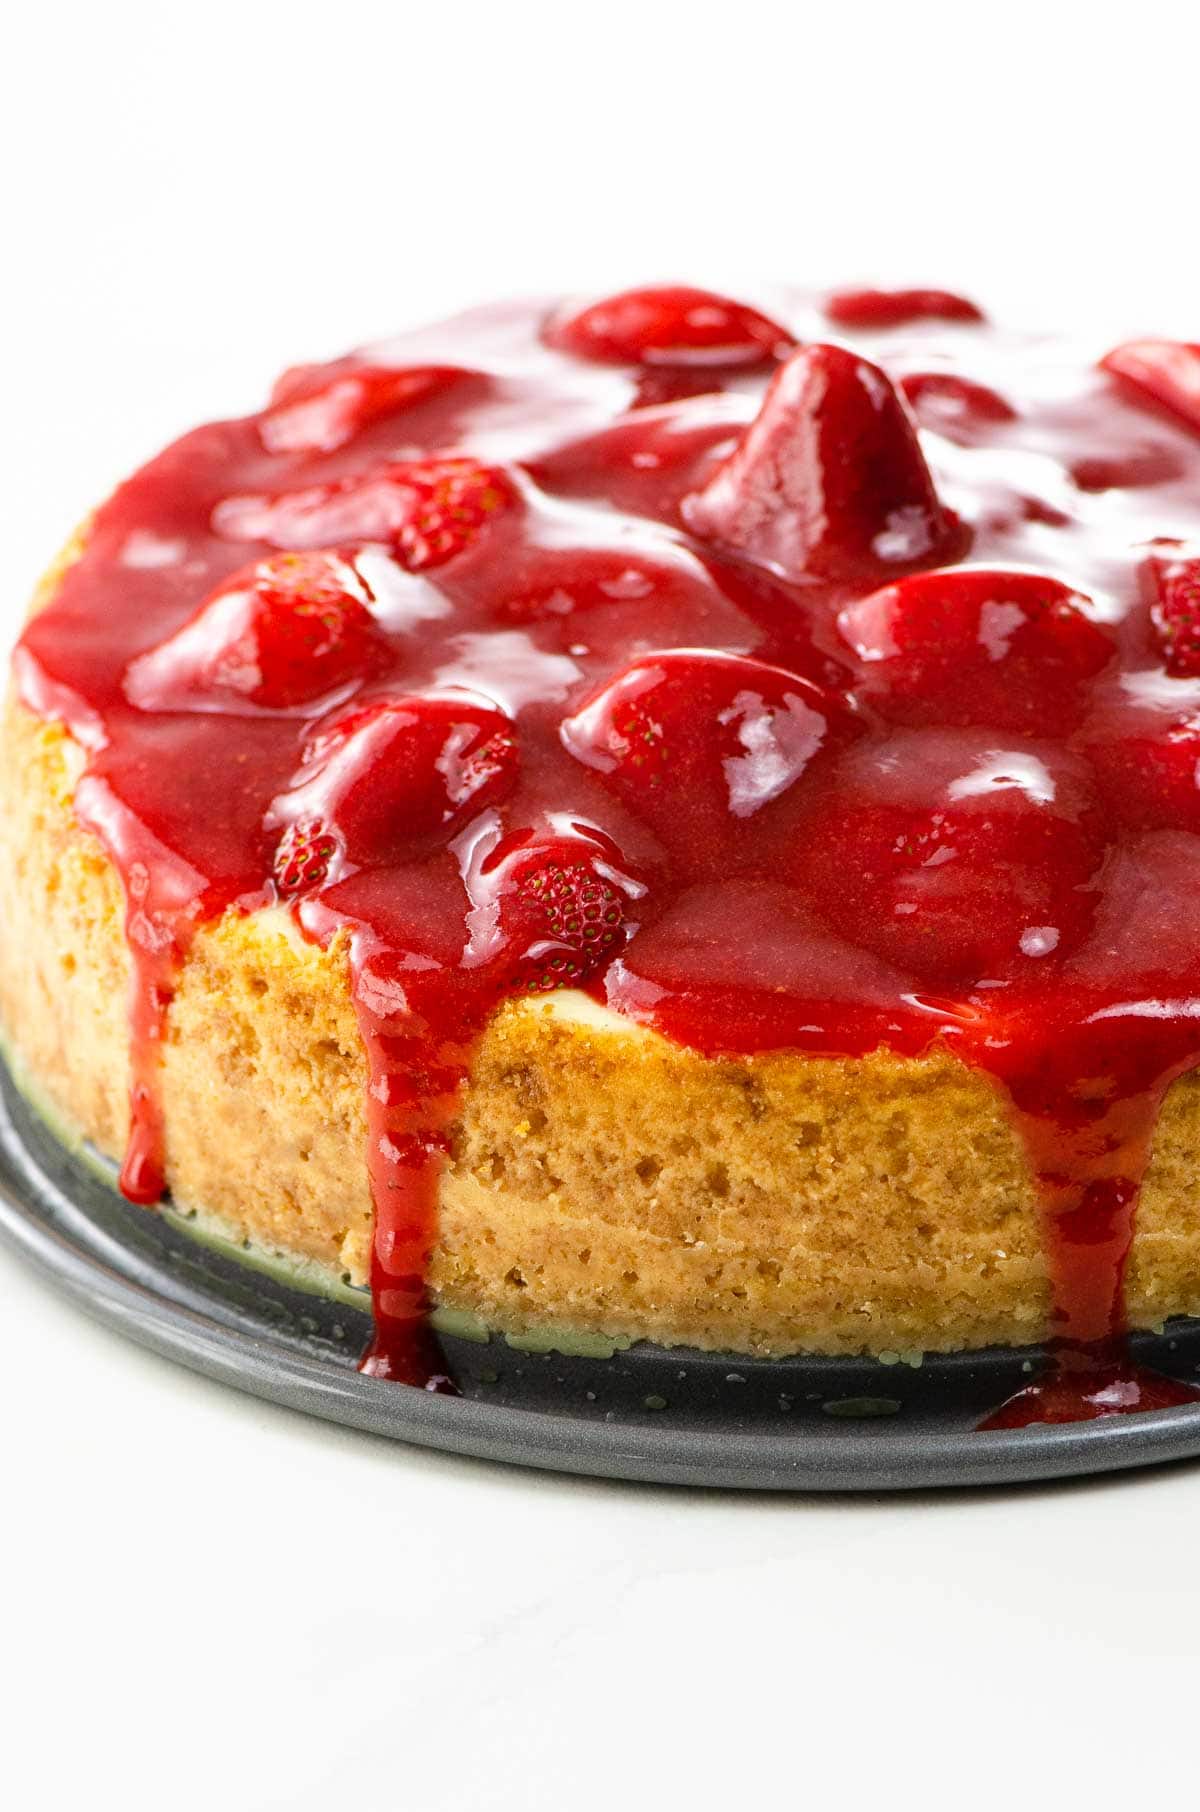
- Bake in a water bath (see recipe card for details) and then leave in the oven with the door ajar. Cool, then chill overnight. Top with halved fresh strawberries and strawberry sauce if you like. It's great with or without!
Expert tips and FAQs
Yup, you actually have to make it in advance. Cheesecake has a bit of a long lead time. First, all the ingredients have to be at room temperature, so you'll need to take them out of the fridge several hours before, if not the night before.
The baking process is fairly long, because the cake bakes for about an hour and then rests in the oven (turned off, with the door ajar) for another hour.
Then you'll need to cool the cake completely, wrap it up, and chill it overnight before slicing and serving.
You can store leftover cheesecake in an airtight container in the fridge for up to a week.
More favorite classic cakes
Hungry for more?
Subscribe to Umami Girl's email updates, and follow along on Instagram.

Vanilla Bean Cheesecake
Ingredients
For the crust
- 2 tablespoons (28 grams) salted butter
- 4 sheets graham crackers (for ½ cup crumbs)
For the filling
- 2 pounds (907 grams) cream cheese
- 1 ⅓ cups (266 grams) sugar
- 4 eggs
- ¼ cup (59 ml) heavy cream
- ¼ cup (60 grams) sour cream
- Zest of 1 lemon
- 1 tablespoon freshly squeezed lemon juice
- 1 teaspoon vanilla extract
- Seeds from 1 vanilla bean
- Strawberries and strawberry sauce for topping (optional)
Instructions
- Have all ingredients at room temperature. Preheat oven to 325°F with a rack in the center.
- Spread the butter all over the bottom and sides of a 9-inch springform pan.
- Crush the graham crackers into crumbs. You can do this in a sealed plastic bag with a rolling pin or in a food processor. Pour the graham cracker crumbs into the greased pan and tap to distribute them around the bottom and sides, forming a thin crust. Tap out any excess.
- In a large mixing bowl, beat the softened cream cheese for 30 to 60 seconds, just until smooth. Scrape down the sides of the bowl.
- Pour in the sugar little by little and beat until smooth and creamy, a minute or two.
- Add the eggs one at a time, beating until just incorporated and scraping down the sides of the bowl as necessary.
- Add the heavy cream, sour cream, lemon zest, lemon juice, and vanilla. Beat briefly, just until combined.
- Pour creamy filling into crust.
- Wrap the outside of the pan tightly with foil. Place the pan into a roasting pan or large baking dish. Position the pan on the center oven rack and then carefully pour boiling water into the outer roasting pan to reach halfway up the sides of the cheesecake pan.
- Bake for 55 to 60 minutes, until the outsides of the cake are set and the center still jiggles when you move the pan.
- Turn off the oven and leave the door ajar (you can use a utensil to prop it open). Let the cake rest in the oven for an hour.
- Remove cake from oven and from water bath. Remove foil. Let cake cool completely in pan.
- Cover cake and refrigerate overnight to chill through completely.
- Carefully remove outer ring from cake. Serve as-is, or top with halved fresh strawberries and strawberry sauce.
Notes
- Starting with all ingredients at room temperature is very important to achieve the creamiest result.
- A graham cracker sheet means a whole sheet of four perforated crackers. To make this recipe gluten-free, simply use gluten-free graham crackers.
- Use the good old cream cheese that comes in 8-ounce blocks. Softer cream cheese in tubs or the whipped kind won't work.
- Tightly covered leftovers keep well in the fridge for up to a week.
- This recipe is heavily adapted from Joy of Cooking.
Nutrition
Hungry for more?
Subscribe to Umami Girl's email updates, and follow along on Instagram.




Leave a Reply