
This post may contain affiliate links. Learn more.
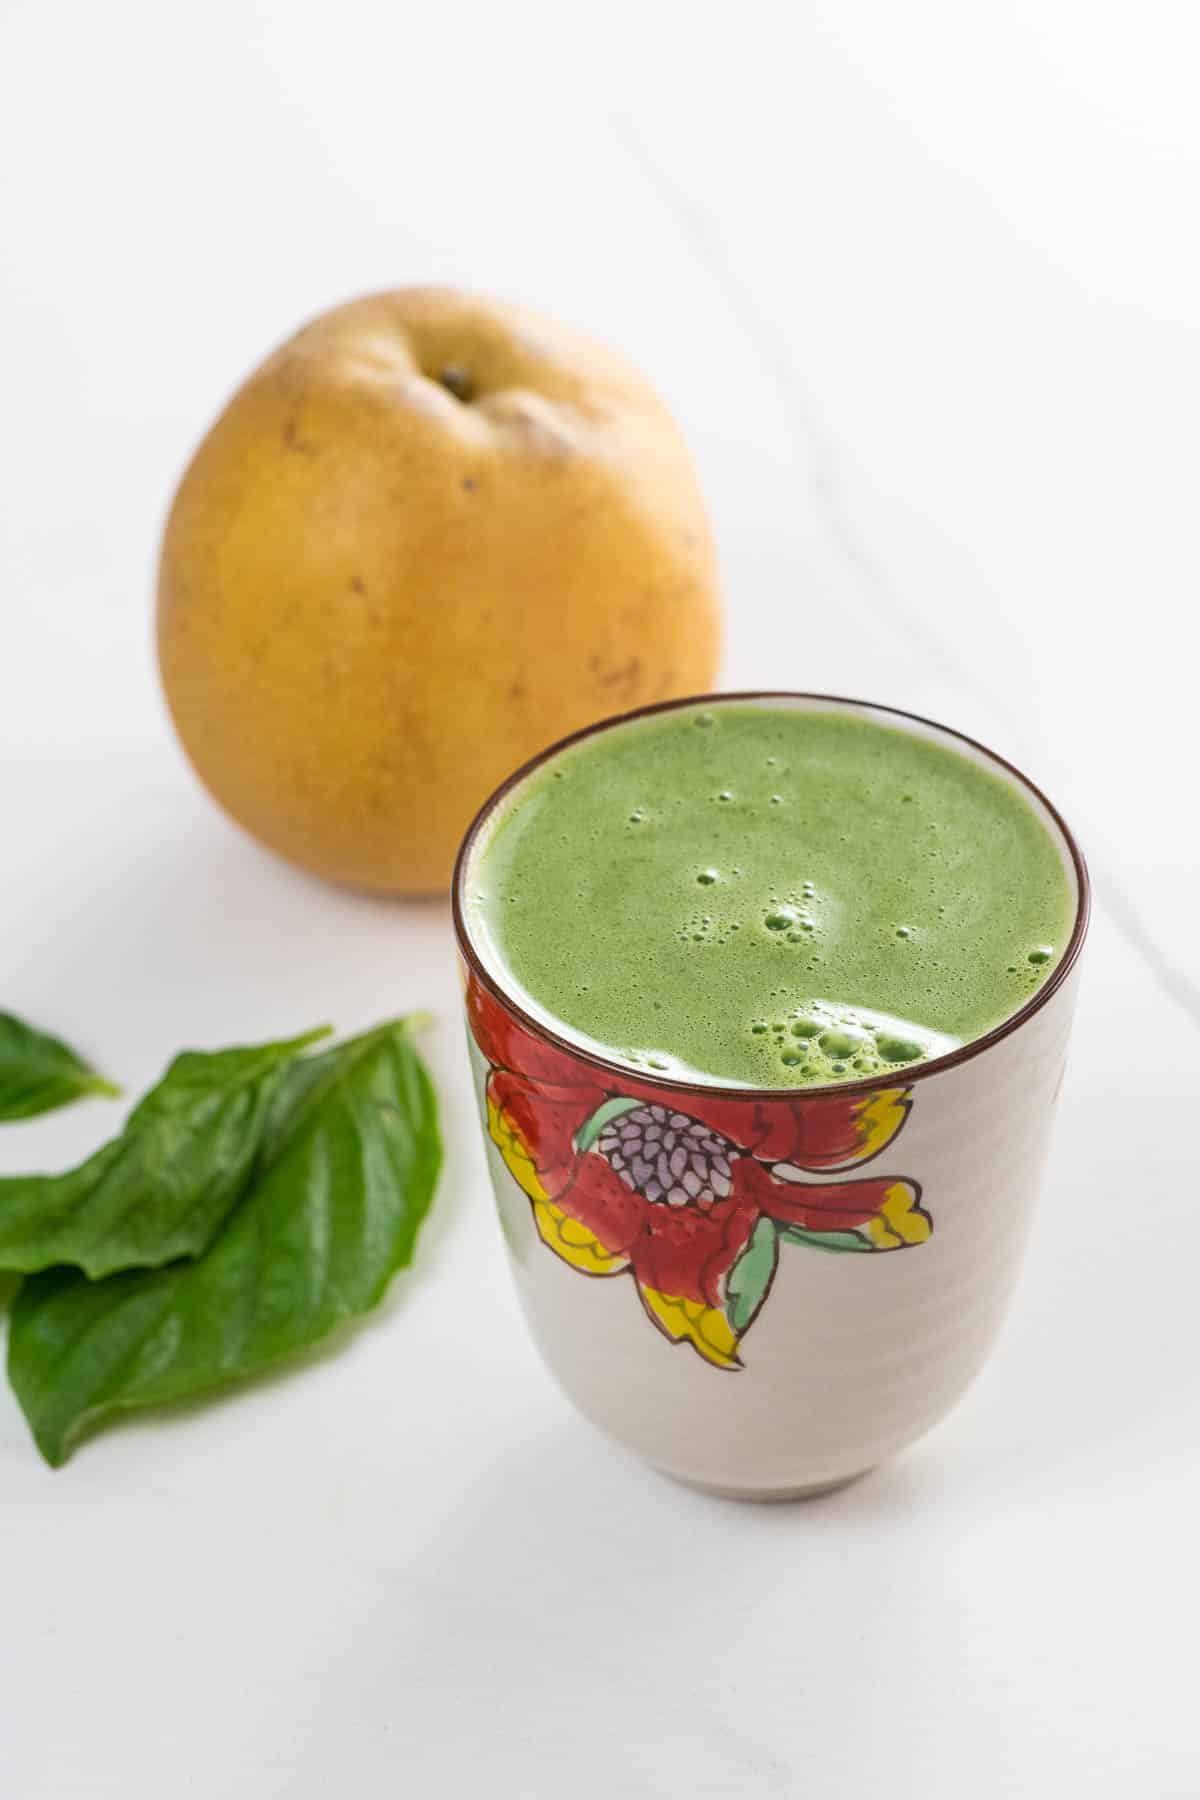
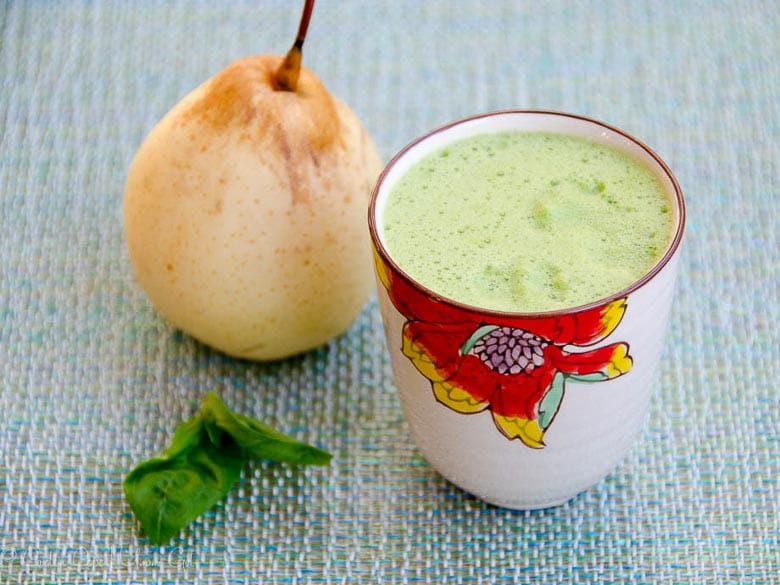
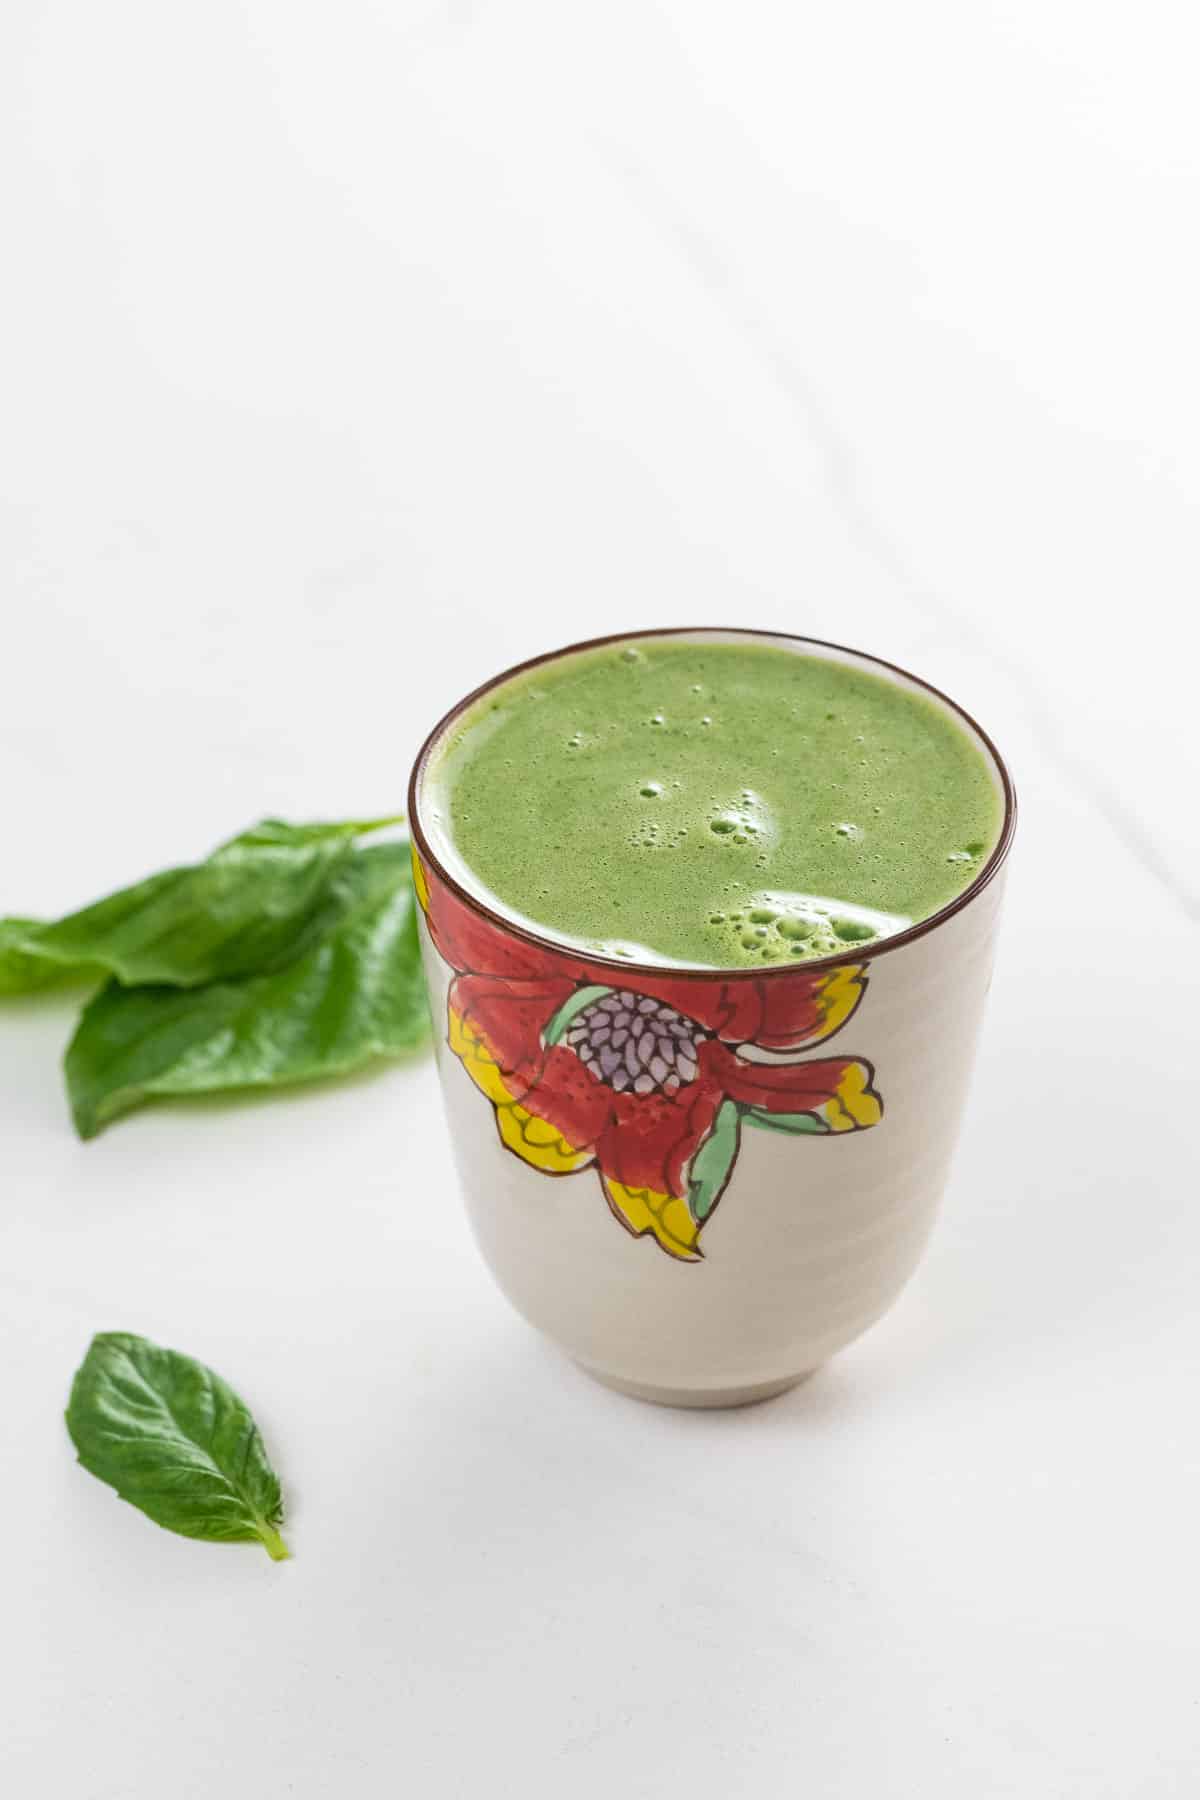
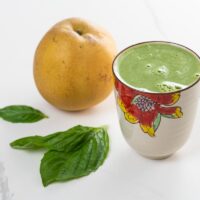
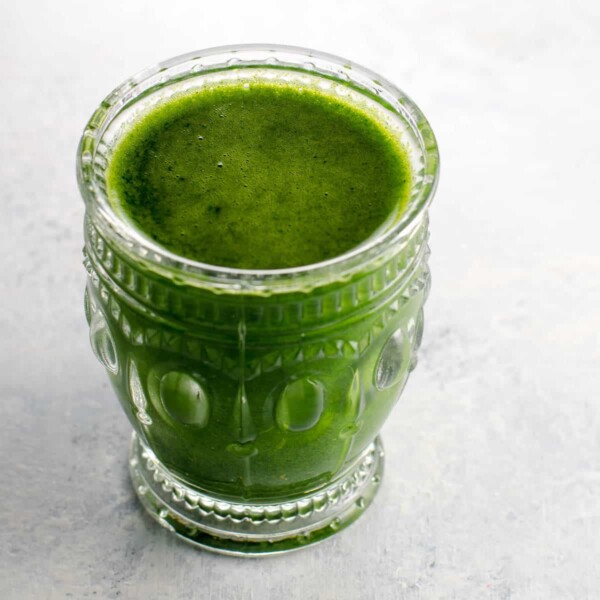
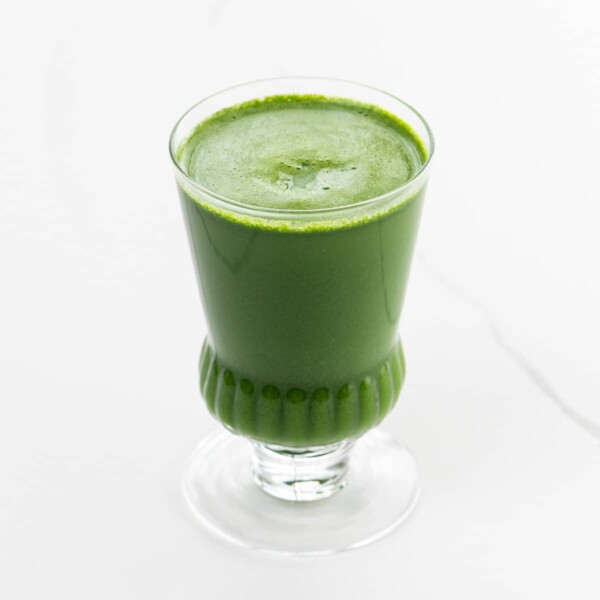
Asian pear juice combines the delicate, floral sweetness of Asian pear with sophisticated, complex basil and a generous splash of bright, tart lemon. A little bit of celery brings it all together for a smooth finish.
Why we love this recipe
There are so many beautiful ways to enjoy fresh juice. Whether you’re new to juicing or looking to shake things up a bit, this Asian pear juice blend is easy to love. It’s got:
- A beautifully balanced flavor profile
- A gentle sweetness
- Complex (but friendly!) herbaceous notes
- Micronutrients galore
I first published this recipe here and on Serious Eats way back in 2014. I’ve since updated the post for clarity and made a few gentle tweaks to the recipe itself.
What you’ll need
Here’s a glance at the ingredients you’ll need to make this recipe.
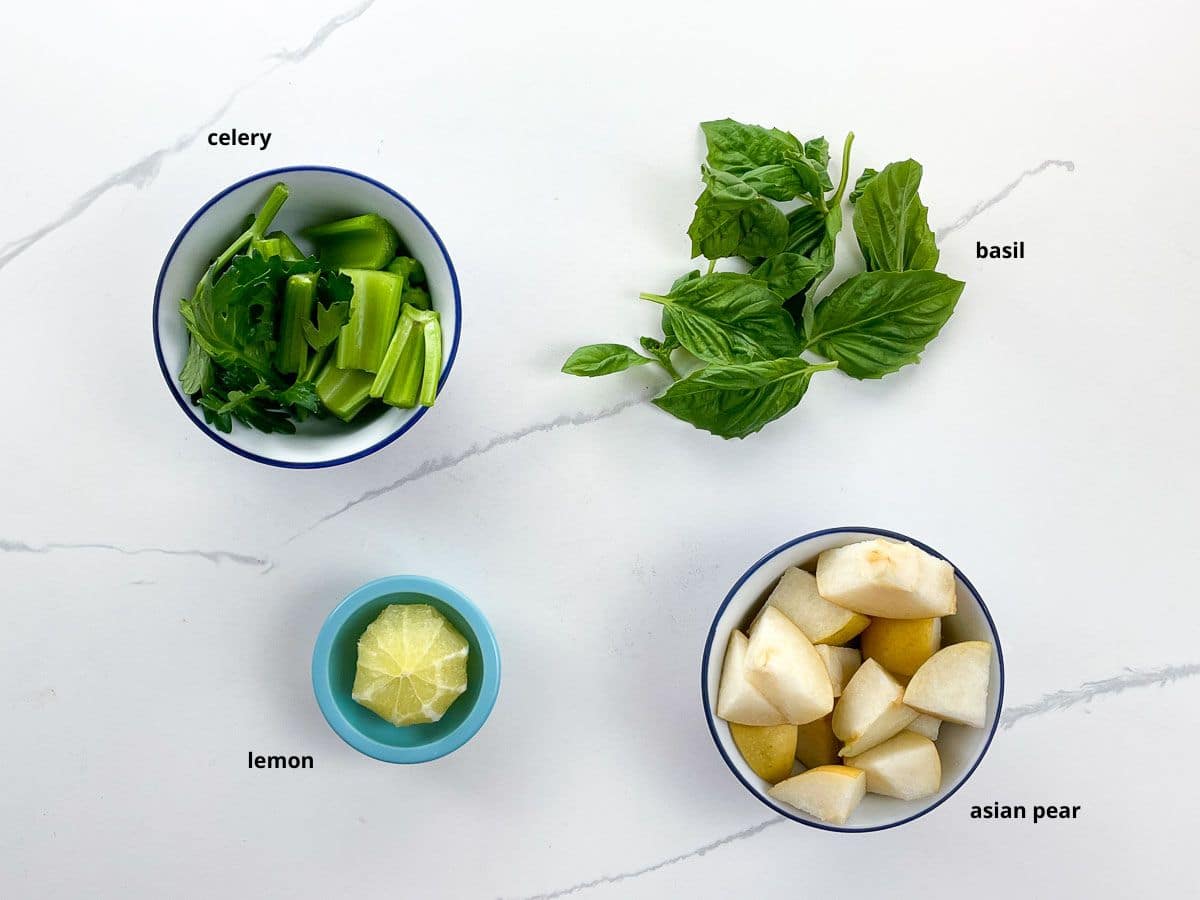
- Asian pears have a lemony, floral flavor and a light, juicy crispness that puts them somewhere between pears and apples, but on a higher plane. They’re actually many varieties of delightful fruit that all share a name and a few key qualities. See the section below for more information.
- Knowing that basil is related to mint may help you process why it really shines in this recipe. Its flavor profile is fairly assertive, but it blends beautifully with the broad spectrum of mellower ingredients here.
- Lemon adds an element of tanginess and freshness. You’ll use a knife to cut off the peel and white pith and then put the flesh through the juicer.
- Celery is an absolute workhorse of green juice. It has a mild, pleasant flavor and contributes a ton of volume. Put it through the juicer last to flush out any remaining goodness from the other fruits and veggies.
How to choose and store Asian pears
There are three main types of Asian pears, and easily more than 25 varieties. The three main types are:
- Smooth-skinned and round with greenish to yellow skin
- Round with bronze skin and a light bronze russet (pictured in this post)
- Pear-shaped with green or russet skin
How to choose
Regardless of variety, choose pears that are very firm, with no give at all. If choosing a russet variety, it should be a deep golden-brown. Smooth-skinned round fruits should be more yellow than green. Smooth-skinned pear shaped fruits should be pale green.
How to store
Asian pears feel very firm but are actually quite delicate and easy to bruise. To store, keep in the crisper drawer of your refrigerator for up to a week.
How to make it
Here’s an overview of what you’ll do to make a beautiful glass of Asian pear juice . You can see the steps in action in the video that accompanies this post, and get all the details in the recipe card below.
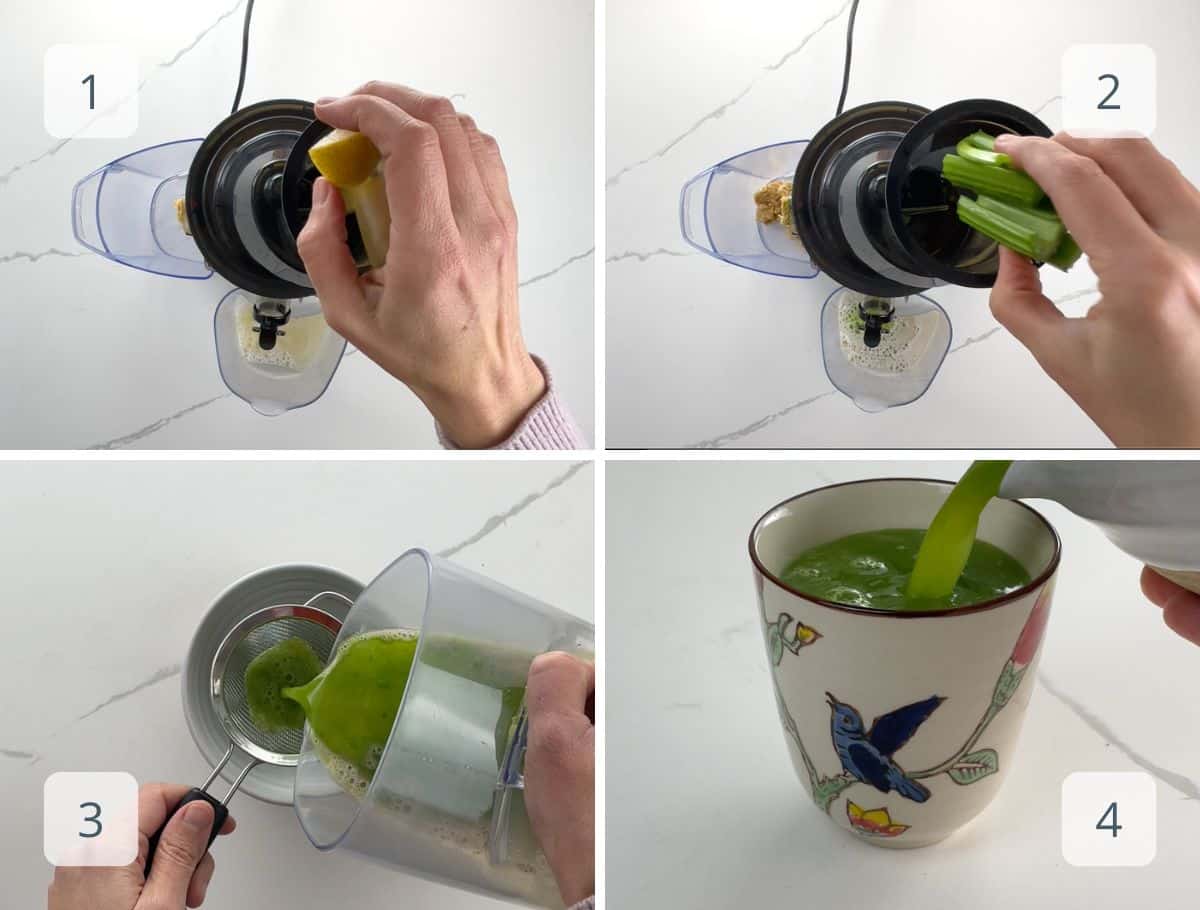
- Prep the ingredients according to your juicers’s specs. With the Kuvings juicer, I don’t core or peel the Asian pear, but I do cut it (and most ingredients) into pieces. Feed the ingredients through the juicer in the order listed to maximize yield.
- Finish with the celery to help flush the rest of the ingredients through the juicer.
- Stir the juice well and strain it through a fine-mesh sieve.
- Pour into a glass and serve. That’s it!
Best practices for making fresh juice
- Buy organic produce for juicing when possible, since juice is a concentrated source of everything its ingredients contain, including nutrients and pesticides.
- How you’ll prep your produce depends on the individual juicer. In general, always remove peel and pith from citrus, wash vegetables well to remove any dirt, and trim any really gnarly ends from produce. Beyond that, follow the manufacturer’s instructions.
- Juice the ingredients in the order listed to maximize yield. Finishing with a very juicy ingredient like celery helps to flush more stubborn ingredients like ginger through the juicer.
- A note for centrifugal juicers: When juicing leafy greens and herbs, you’ll get a better yield if you tightly pack the greens (roll them up before adding to the feed tube of your juicer) and place them between two harder, juicier ingredients (such as cucumber and apple). Nudge the greens through the juicer one small push at a time.
- If your juicer has multiple speeds, use a slower speed for softer ingredients like leafy greens, soft herbs, and citrus.
- Keep in mind that juicers vary a lot in terms of design and yield, so your mileage may vary. Over time you’ll learn what works best for you.
Expert tips and FAQs
For many years, I’ve used the Kuvings Whole Slow Juicer. It’s a masticating juicer (which I will remind you means CHEWING, you perv), so named to my great chagrin because it kinda chews up your fruits and vegetables before sending the juice through a strainer. This method does a good job preserving nutrients for a longer period of time and minimizing oxidation.
Before that, I used an earlier version of the Breville Juice Fountain, which is an excellent centrifugal juicer. This method wins the award for least terrible name, but it causes more oxidation, so the nutrients in your juice won’t last as long.
Both kinds of juicers are totally great if you’d like to drink your fresh juice right away, but masticating juicers are better at preserving nutrients for up to a few days, in case you like to juice in batches.
As noted above, the nutrient retention in fresh juice has a lot to do with what kind of juicer you’re using. If you have a centrifugal juicer, it’s best to drink your juice fairly soon after you make it. With a masticating juicer, feel free to juice in larger batches. They’ll keep well in an airtight container in the fridge (such as a quart-sized mason jar) for two to three days.
Juice can be frozen for longer storage, but you’ll find that any remaining solid bits fall out of suspension and sink to the bottom after defrosting. I’m not personally a huge fan of the texture of defrosted juice, but if you’re okay with it, freezing can be a good bet.
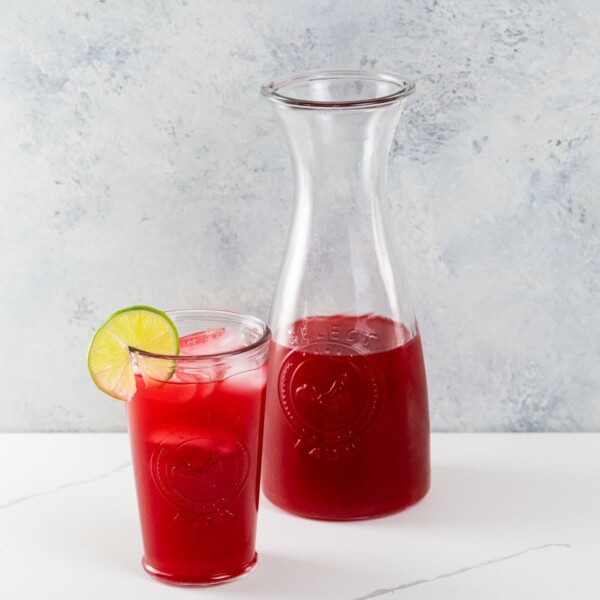
More favorite fresh juice recipes
Hungry for more?
Subscribe to Umami Girl’s email updates, and follow along on Instagram.
Asian Pear Juice with Basil and Lemon
Ingredients
- 1 Asian pear
- 10 fresh basil leaves, including their delicate stems
- 1 lemon, peel and pith removed
- 2 large celery ribs, including any leaves
Instructions
- Prep the ingredients according to your juicer's specifications.
- Feed all ingredients through juicer in the order listed.
- Stir well and strain through a fine-mesh sieve.
- Pour into a glass and serve.
Notes
- Asian pears have a lemony, floral flavor and a light, juicy crispness that puts them somewhere between pears and apples, but on a higher plane. They're actually many varieties of delightful fruit that all share a name and a few key qualities. See the dedicated post section above for more information.
- Knowing that basil is related to mint may help you process why it really shines in this recipe. Its flavor profile is fairly assertive, but it blends beautifully with the broad spectrum of mellower ingredients here.
- Lemon adds an element of tanginess and freshness. You'll use a knife to cut off the peel and white pith and then put the flesh through the juicer.
- Celery is an absolute workhorse of green juice. It has a mild, pleasant flavor and contributes a ton of volume. Put it through the juicer last to flush out any remaining goodness from the other fruits and veggies.
- I use the Kuvings Whole Slow Juicer, a masticating juicer that juices pretty efficiently and preserves nutrients for a longer period than centrifugal juicers. You can make this recipe with any juicer.
- The nutrient retention in fresh juice has a lot to do with what kind of juicer you're using. If you have a centrifugal juicer, it's best to drink your juice fairly soon after you make it. With a masticating juicer, feel free to juice in larger batches. They'll keep well in an airtight container in the fridge (such as a quart-sized mason jar) for two to three days.
- Juice can be frozen for longer storage, but you'll find that any remaining solid bits fall out of suspension and sink to the bottom after defrosting. I'm not personally a huge fan of the texture of defrosted juice, but if you're okay with it, freezing can be a good bet.
Nutrition
Nutrition information is automatically calculated, so should only be used as an approximation.
Hungry for more?
Subscribe to Umami Girl’s email updates, and follow along on Instagram.


1 Comment