Got a winter squash recipe to make? Here's how cut butternut squash and prep it to use in any recipe with relative ease. Includes a video tutorial.
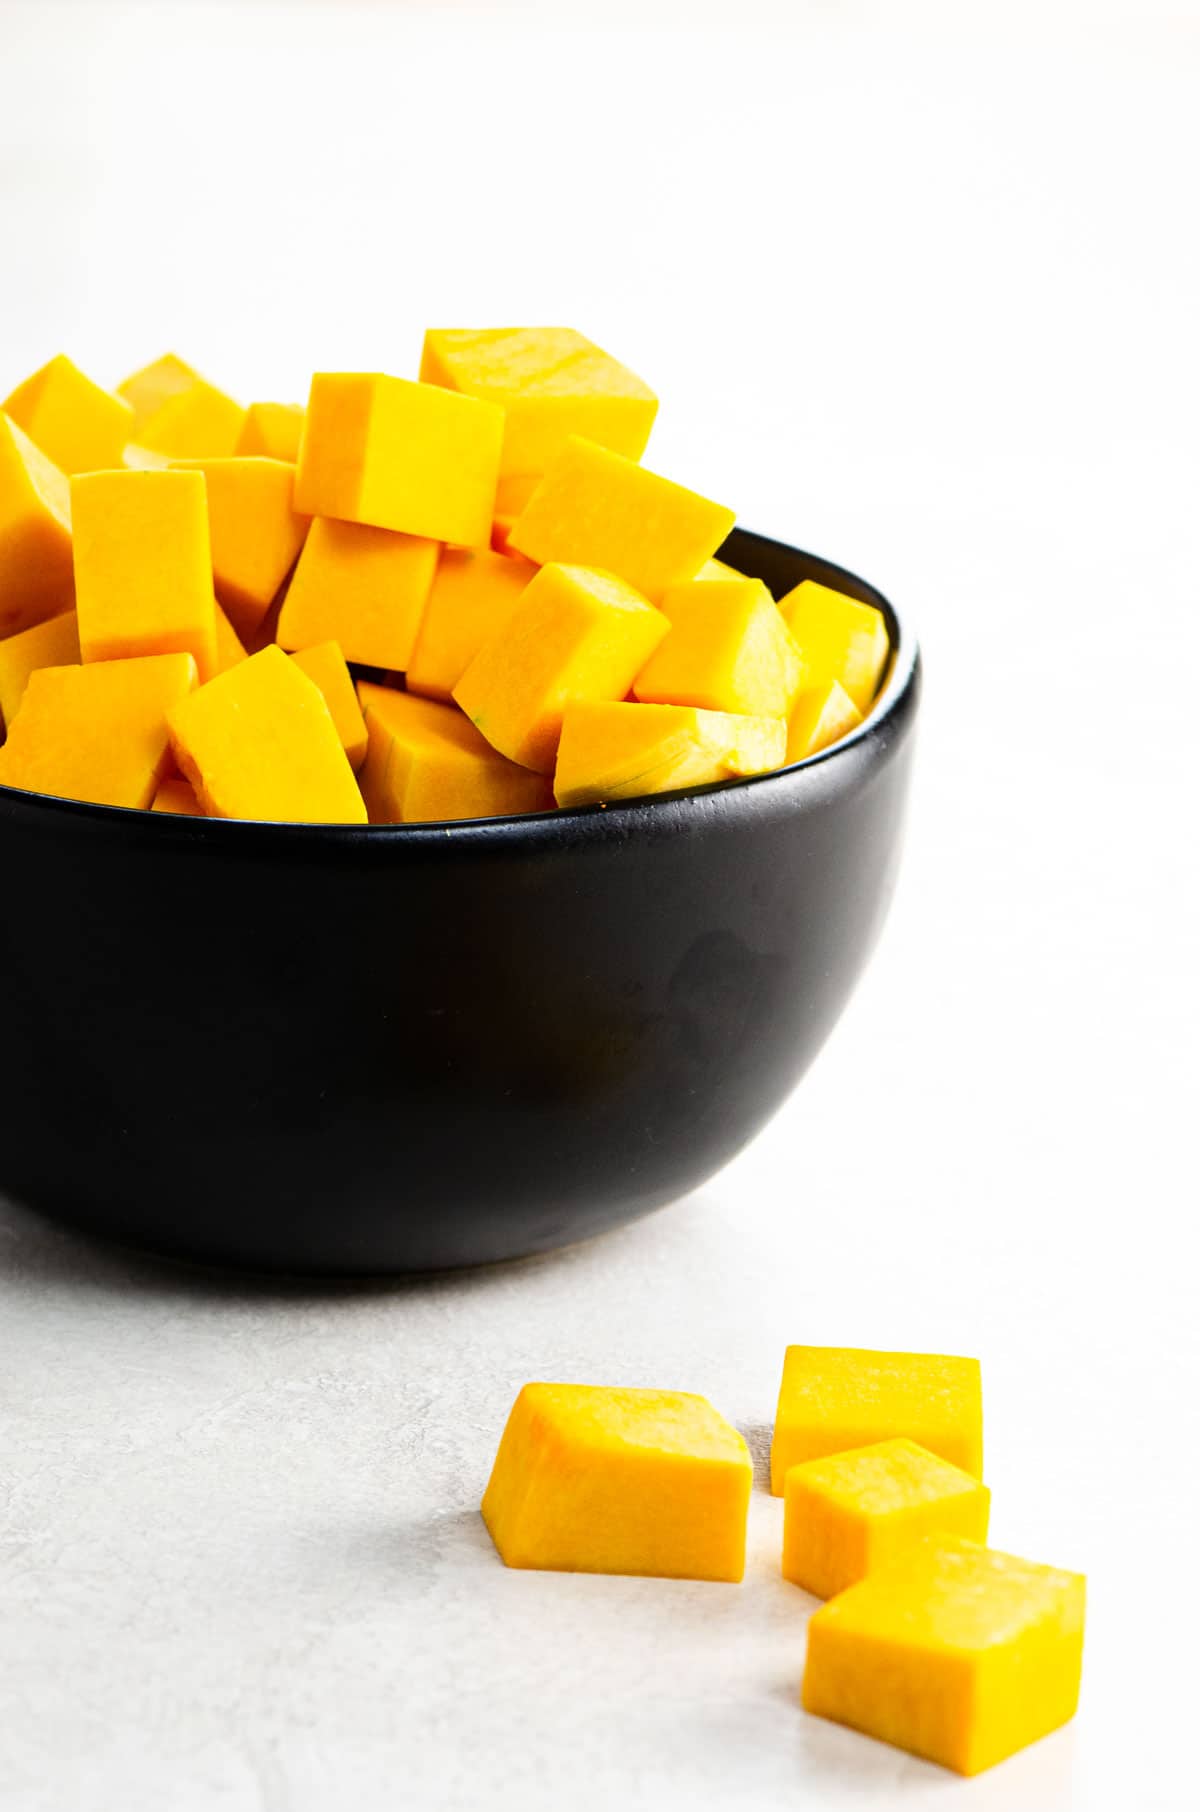
Why this method works
Sure, you can buy butternut squash pre-cubed in the supermarket. There's nothing really wrong with that approach. But knowing how to break down a whole squash opens up worlds of self-sufficiency, cost-efficiency, freshness, and flexibility that simply aren't possible without that knowledge. And, of course, avoiding packaging is a little gift to the environment.
Our method works by:
- Creating flat surfaces to maximize safety and ease of chopping
- Separating the squash into sections for seeding
- Leaving you with maximum flexibility on size and shape of the final pieces
You can use this method for quite a few other varieties of winter squash as well.
How to do it
Here are the steps you'll take to prep a butternut squash. Depending on what the recipe calls for, you can stop at any point in the process. See all the steps in action in the video that accompanies this post.
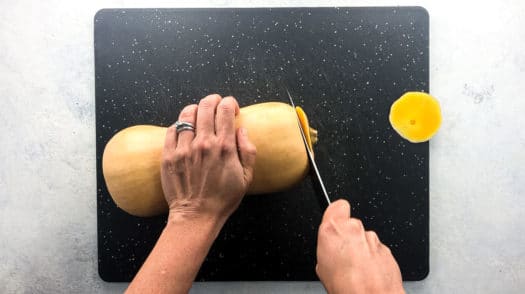
1. Remove the ends
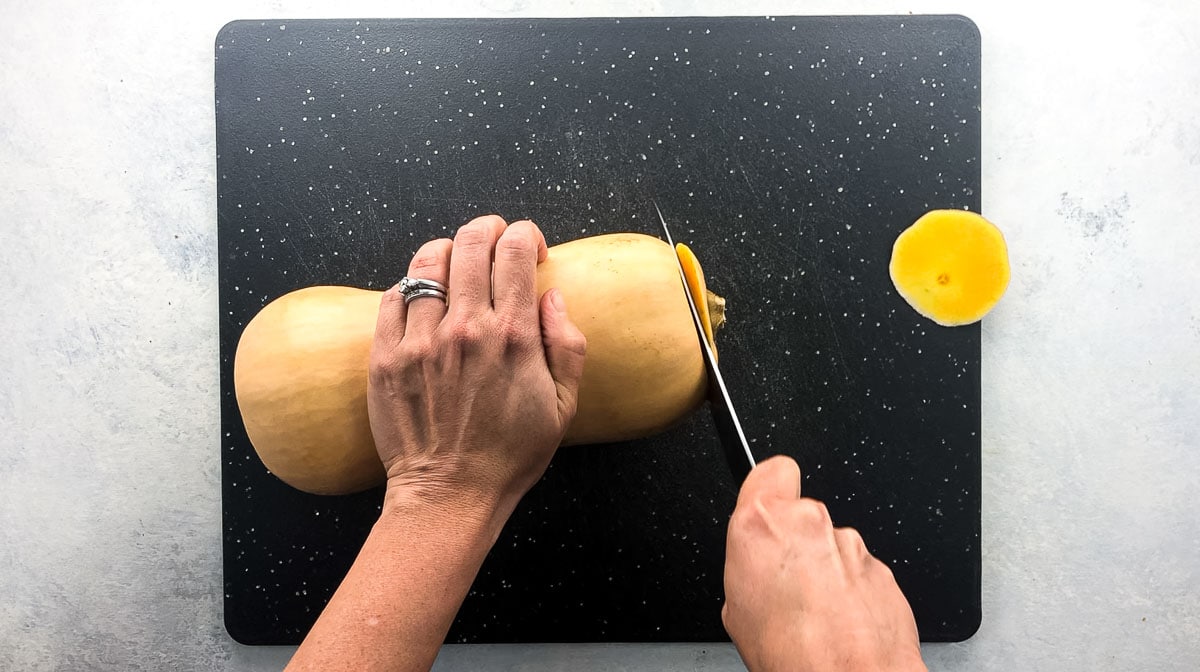
Cut off a thin slice from the stem end and the root end. This both trims off the inedible parts and creates two flat surfaces to work with.
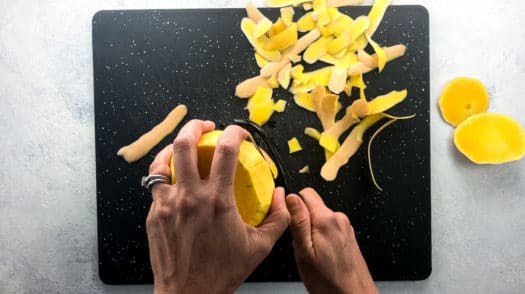
2. Peel
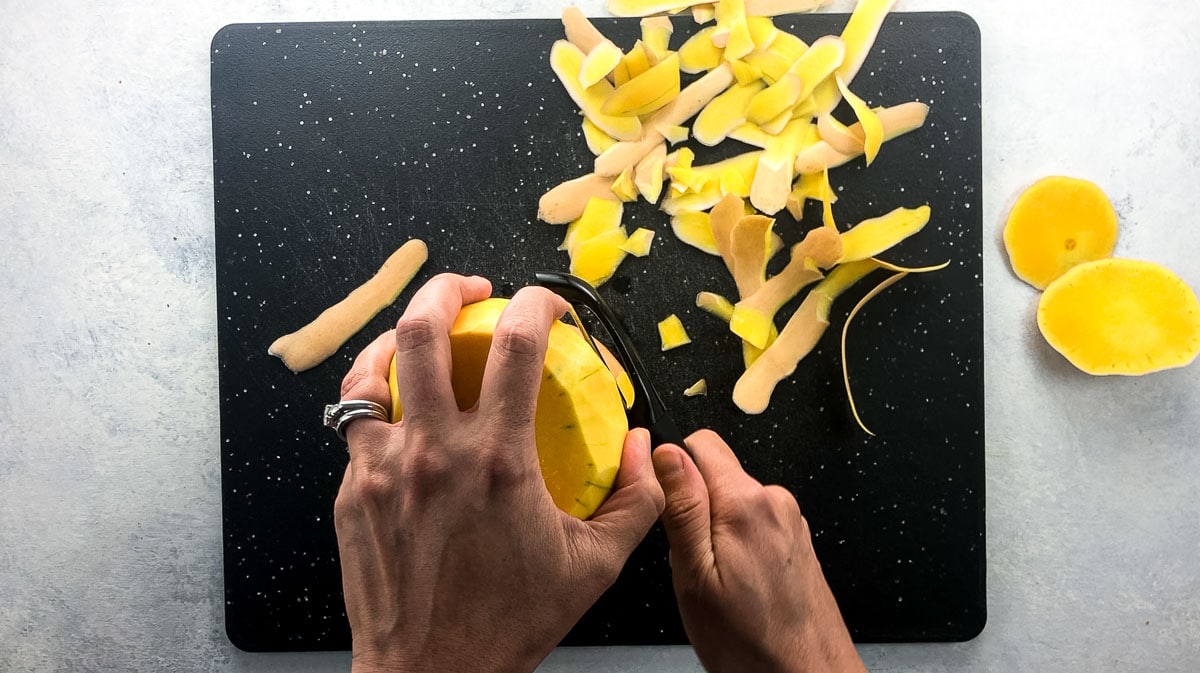
Depending on the size of the squash and your preferences, you can rest the squash on one of the flat surfaces while you peel or hold it in your hands. Be sure to remove all of the tan-colored peel. Under that you'll likely find some green striations on the flesh. You can choose whether to peel them away or leave them.
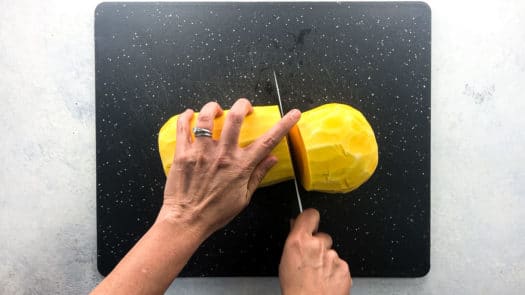
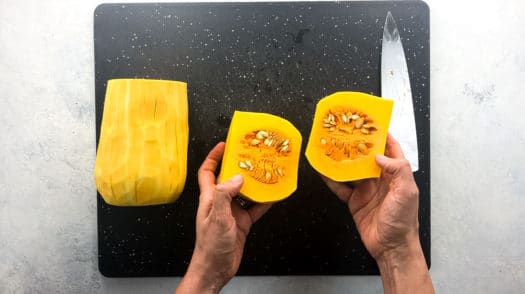
3. Separate top from bottom
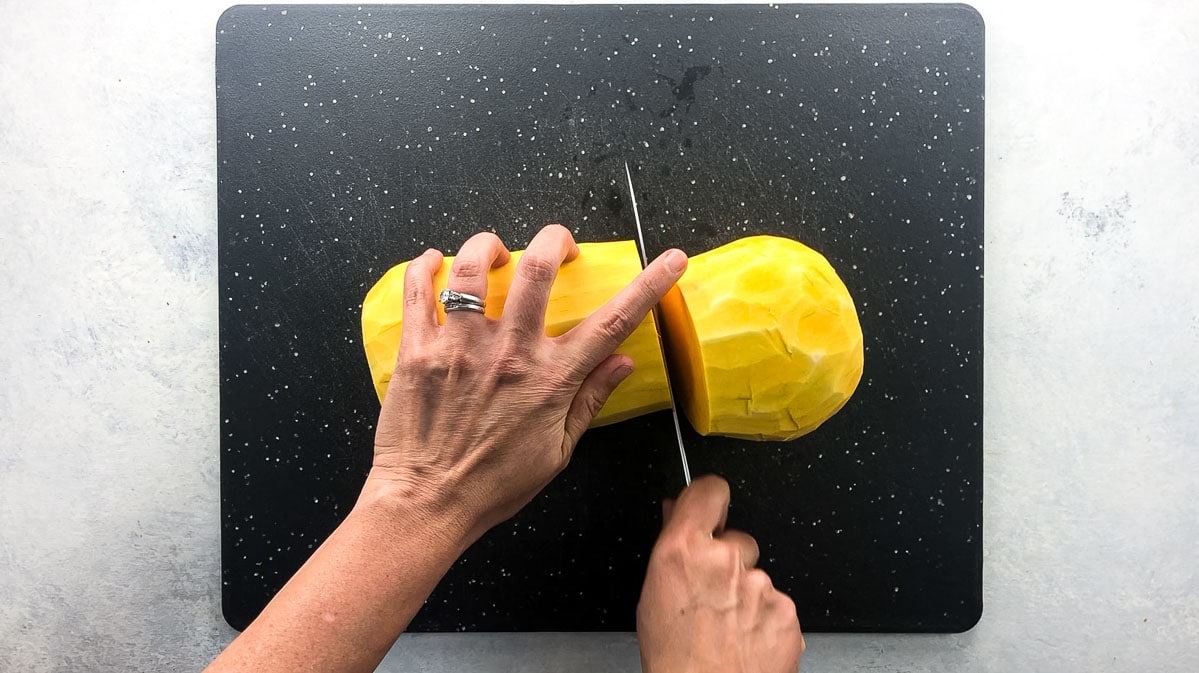
Just to make the squash easier to handle and easier to cut evenly, you can separate the top (or neck portion) of the squash from the bottom portion, which contains the seeds.
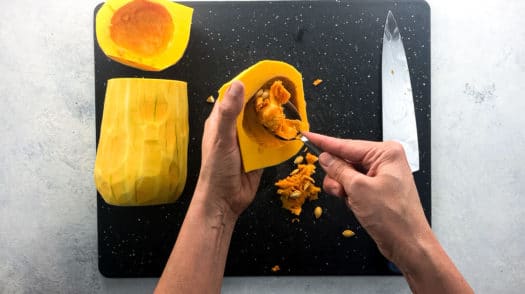
4. Halve bottom and scoop out seeds
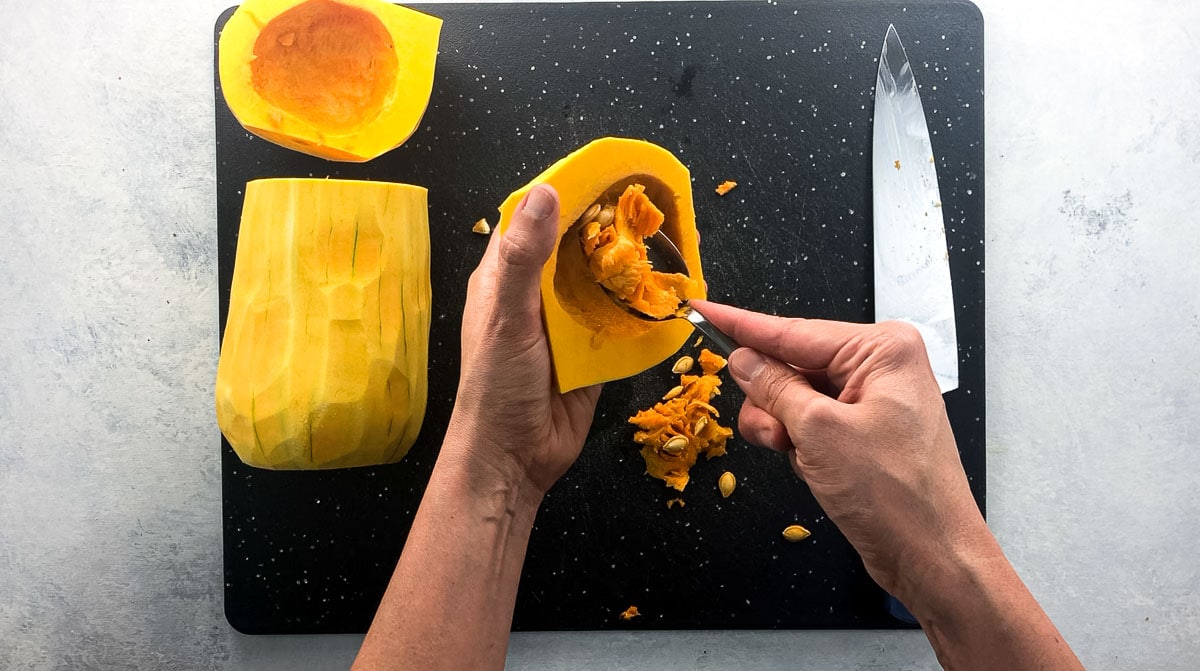
You can use a regular spoon to scoop out the seeds. I tend to reach for a regular tablespoon/soup spoon from our set that has the thinnest edges. You could also use a grapefruit spoon. Be sure to remove not just the seeds, but also as much of the stringy pulp as you can — ideally all of it.
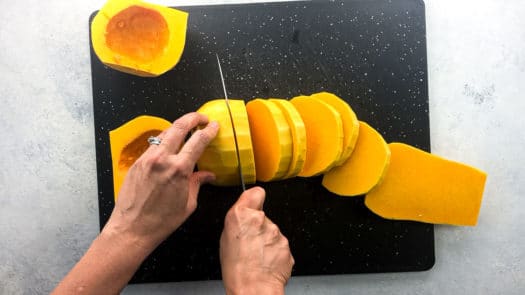
5. Cut sections into slices
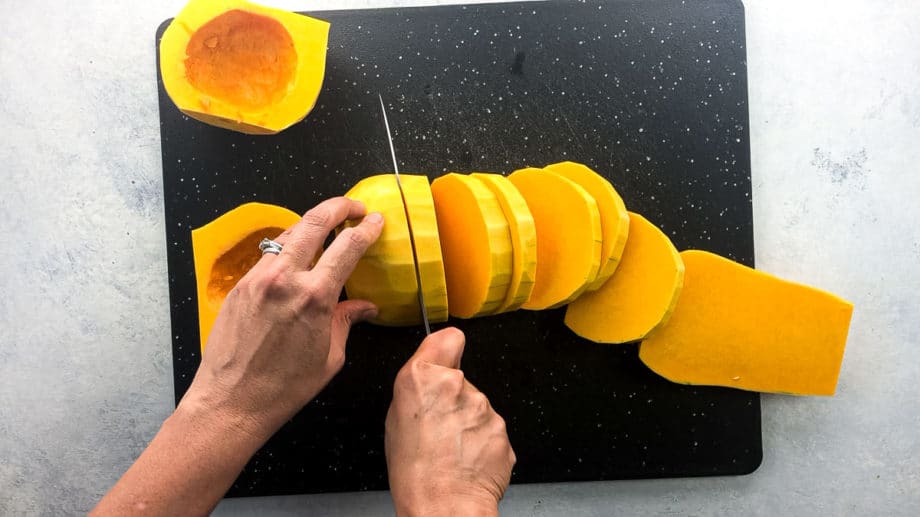
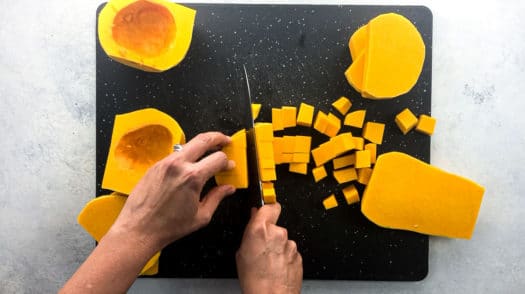
This will look a little different for the neck portion and the lower portion, but lay each section on its flattest surface and cut it into slices of whatever thickness your recipe calls for. (I default to a nice small ½-inch dice for most purposes, which means you'd use ½-inch thick slices.)
In the example here, I chose to cut off one vertical slice of the neck portion and then rest the neck on that long, flat surface to slice the remainder of that piece. You can use that technique or make all your slices vertical, whichever feels more comfortable.
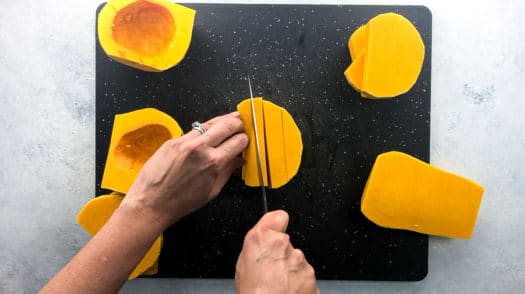
6. Cut slices into batons
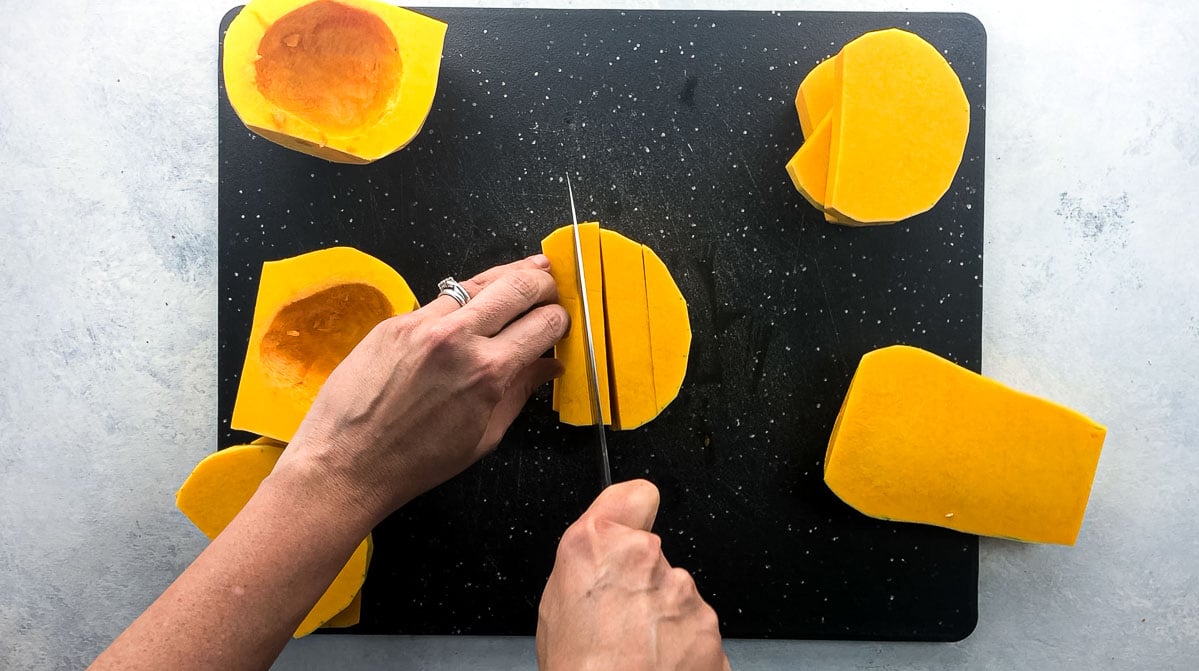
Let's not mince words: baton is the French word for stick. In this step, you'll cut your slices into nice, even sticks. Evenness in cutting ensures evenness in cooking. It doesn't have to be perfect, but keeping pieces approximately the same size goes a long way.
7. Cut batons into dice
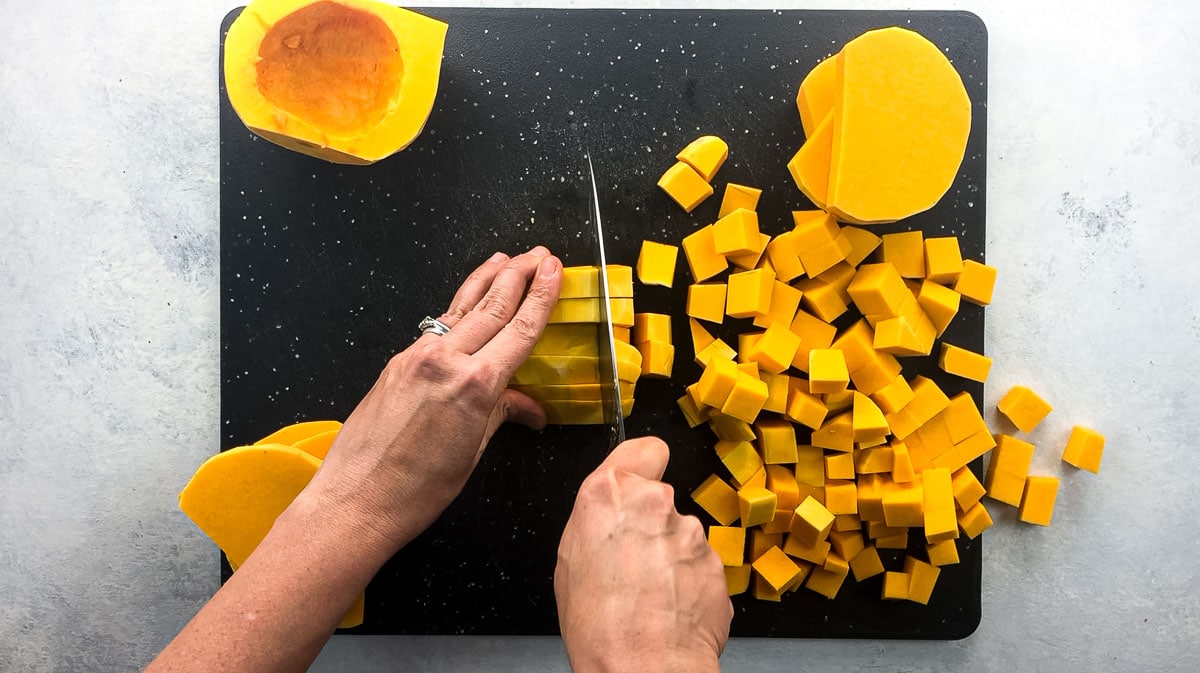
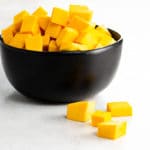
Finally, you'll rotate those sticks 90 degrees and cut across them to dice (cut into small cubes). That's it! Your butternut squash is ready to use.
Our favorite winter squash recipes
Now that you know how to cut butternut squash, here are some of our favorite ways to use it and other varieties of winter squash:
Hungry for more?
Subscribe to Umami Girl's email updates, and follow along on Instagram.
How to Prep Butternut Squash for Recipes
Equipment
- 1 chef's knife
- 1 cutting board
Materials
- 1 whole butternut squash
Instructions
- Remove the stem and root ends.
- Peel the squash.
- Separate the top/neck section from the bottom.
- Halve the bottom. section lengthwise.
- Scoop out the seeds and stringy pulp.
- Cut sections into slices.
- Cut slices into batons (sticks).
- Cut batons into dice.
Notes
Hungry for more?
Subscribe to Umami Girl's email updates, and follow along on Instagram.







Leave a Reply