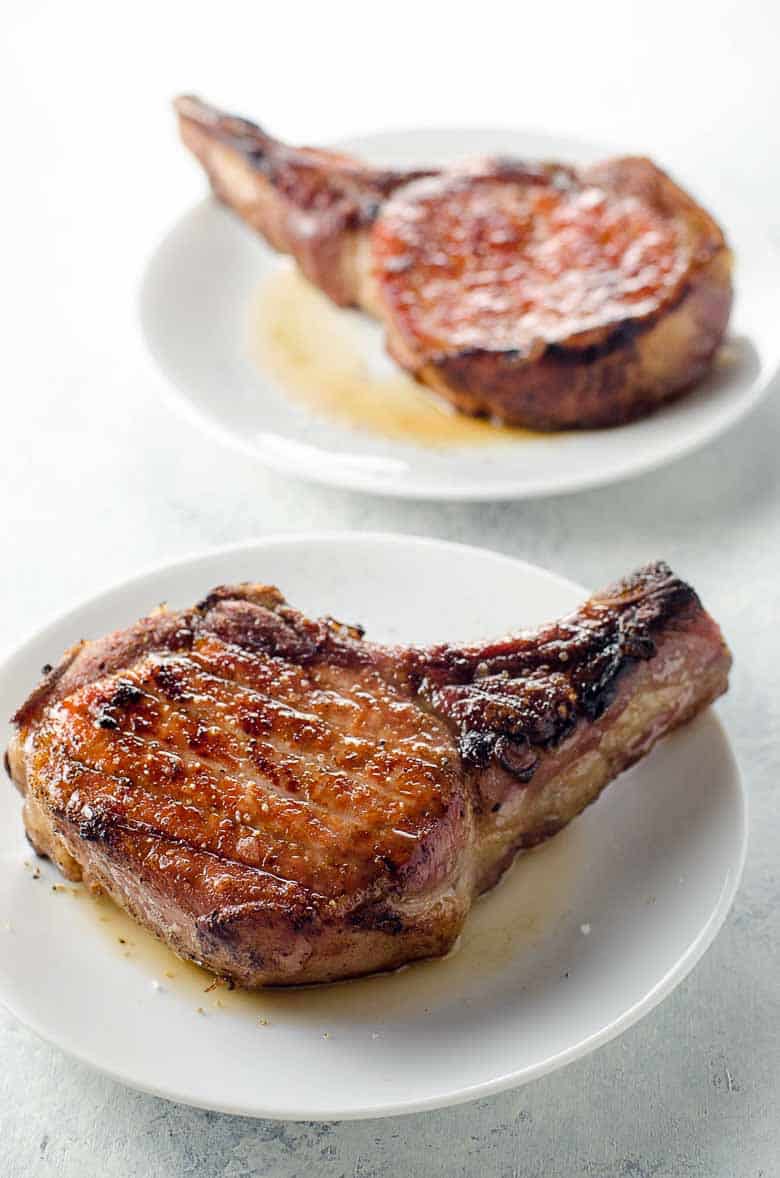
Ready for the best pork chops of your life? Reverse sear pork chops are perfectly cooked, tender, and juicy inside with a gorgeous golden crust on the outside. And a quick, flavorful pan sauce brings it all together. It's easy, promise.
Why we love this recipe
These pork chops bring together a few basic techniques to create a next-level result. They are:
- Dry-brined — Rubbing with a bit of salt and sugar and resting in the fridge overnight is a super-easy way to make pork chop shine.
- Reverse-seared — Baking at a very low temperature first and then searing in a blazing hot pan on the stovetop to finish gives you great control over the cooking process.
- Drizzled with shallot herb pan sauce — In just a few minutes, this easy, savory sauce adds a whole other dimension to this meal.
Ingredients
Here's what you'll need to make this recipe.
For the pork chops
The only hard work in putting together this recipe happens at the butcher counter. (And it's not actually hard.) Here's what you'll need.
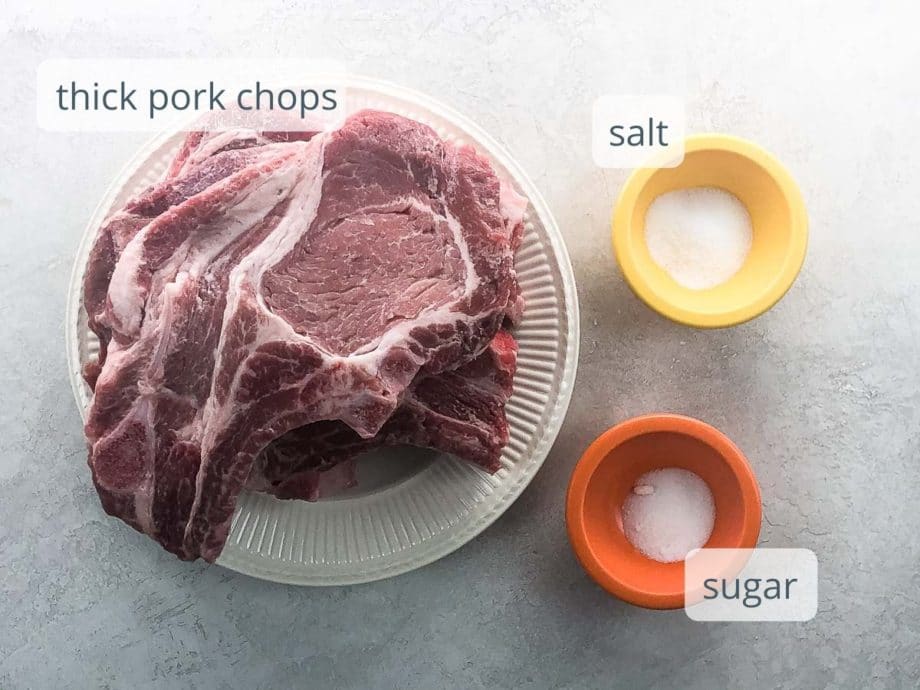
- Ask for rib chops cut 1 ½ inches thick. Rib chops are a nice, tender cut (read the FAQ section below to learn all about them), and the thick cut is additional insurance that you'll get a nice sear at the end without overcooking the chops.
For the pan sauce
This is a fantastic all-purpose pan sauce recipe that you can use for lots of cuts of meat. It's perfection on reverse sear pork chops. You'll need:
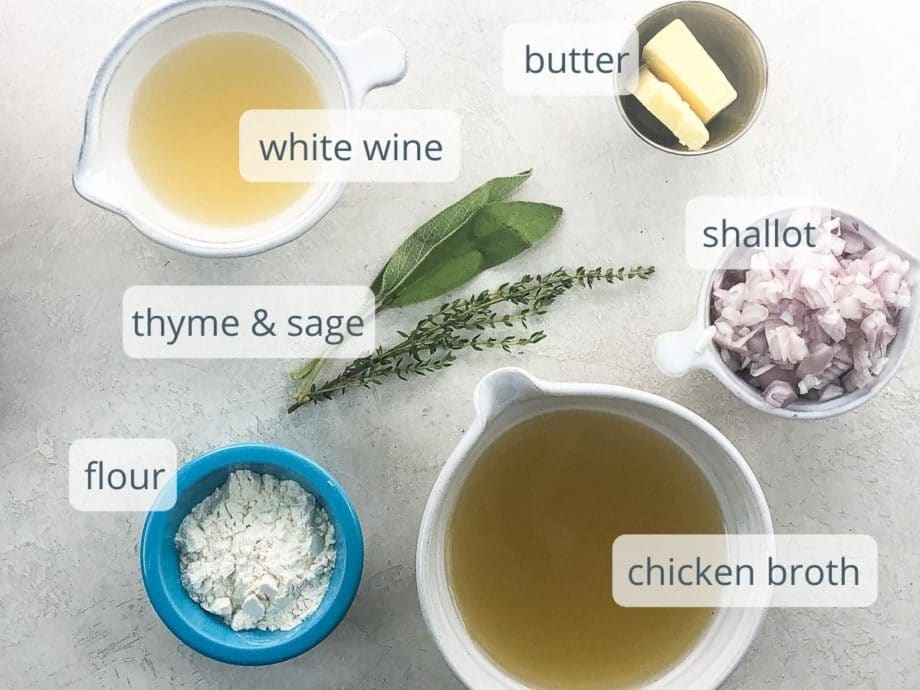
- Butter, flour, and the pan drippings come together to make a roux.
- Minced shallot, thyme, and sage add tons of flavor. If you don't have fresh herbs you can substitute ½ teaspoon each of dried.
- I use all-purpose flour. To make this recipe gluten-free, you can swap in a measure-for-measure gluten-free flour like this one.
- If you're not feelin the wine, you can add extra broth instead.
How to make reverse sear pork chops.
Here's all you need to do to make these stellar chops. You can see all the steps in action in the video that accompanies this post.
Prep and cook the pork chops
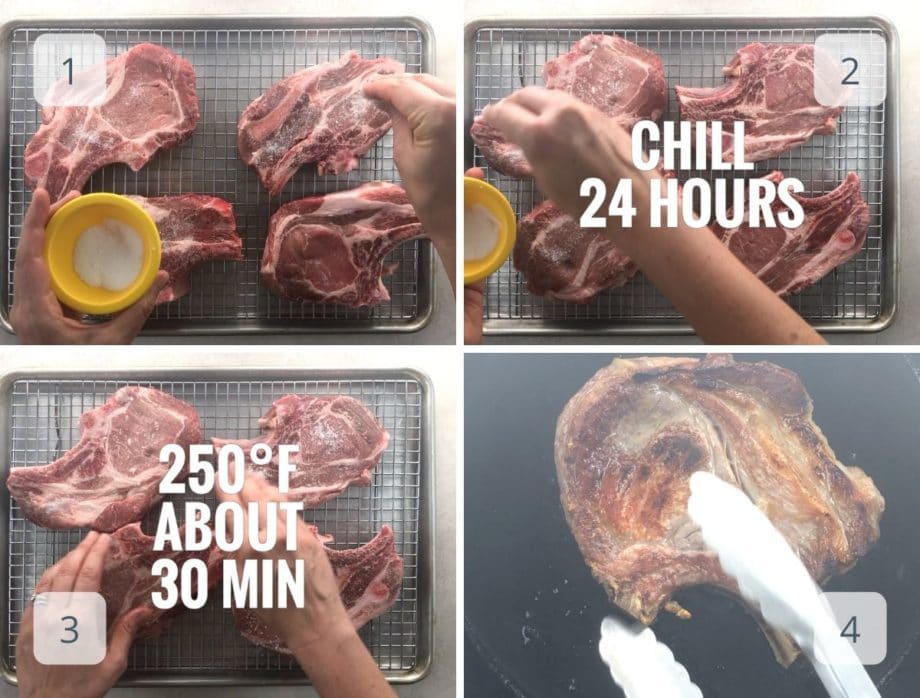
- Rub a little bit of salt and sugar onto the chops. Learn all about dry brining in the FAQs below.
- Waiting 24 hours after dry brining is best practice, but if you don't have the time, you can let the chops sit at room temperature for 30 minutes after rubbing and still have a great result.
- Next up: Bake the chops low and slow until they reach 110°F on an instant-read thermometer. Do not be tempted to leave them in longer than this. They'll finish cooking through while you sear them.
- Sear both sides of the chops as well as the fat cap so everything is gorgeous and golden. (Refer to the video to see this happen.) You don't want to crowd the pan, so you'll probably need to sear in batches. A good old cast-iron pan goes a long way toward getting a great sear.
Make the sauce
The sauce comes together in the same pan in just a few minutes.
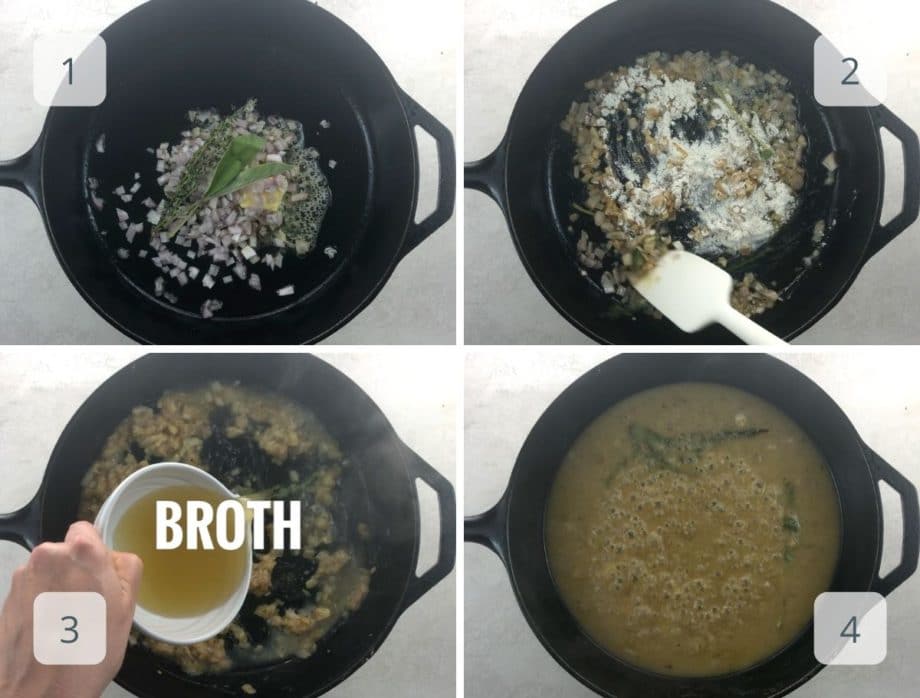
- Pour out any used cooking oil from searing the chops. Then sauté the shallot and herbs in the butter.
- Stir in the flour and cook it for a minute or so.
- Add the wine and let it bubble up and simmer a bit. Then add the broth. Stirring almost constantly helps prevent lumps.
- The sauce will thicken over the course of a few minutes. That's it!
My favorite sources for meat & pantry staples
For years, I've been sourcing our meat from ButcherBox. We love this curated meat delivery service, which provides grass-finished beef, heritage breed pork, organic chicken, and more from small farms direct to the customer. You can learn more in my extensive Butcher Box review and unboxing.
I love Thrive Market for a wide variety of products. Often described as one part Whole Foods, one part Costco, they're a membership-based online market for healthier products at discounted prices. Plus, they're mission-driven, engaged in the community, and not currently owned by a giant corporation. You can learn more in my Thrive Market review and unboxing.
Expert tips and FAQs
I love the term dry brine. It sounds so official, doesn't it? It's a process, people. Do you want to know what the process is, though? It's sprinkling a little too much salt and maybe some sugar onto meat and then waiting a while. That's it. Yay.
Brining can help meat stay tender and flavorful, but wet brine is a pain in the butt and can prevent a good sear. Dry brine is kind of a magic solution (pun intended).
Salting meat draws out a little bit of its moisture, which dissolves the salt, and then the whole thing gets reabsorbed into the top layer of meat, infusing it with flavor and goodness.
The little bit of sugar in this recipe helps the chops sear perfectly and also enhances the flavor of the pork. (You'll hardly notice it, but pork works well with a touch of sweetness.)
Reverse searing is pretty genius, you guys. It gives you a beautiful, golden, crisp exterior but also a lot of control over the cooking process. I would never have thought of this technique on my own, and I'm so glad someone else did.
Here's what it means to reverse sear: you start by cooking meat at a very low temperature, in this case at 250°F in the oven, until it's not quite done. Then you get a cast-iron pan blazing hot and spend 3 to 4 minutes just searing the bejeezus out of the chops, quickly developing a coveted crust and bringing the interior up to temperature in the process.
Again, yay.
I will spare you a pig diagram, because you and pigs both deserve better. But here's the deal.
Rib chops, like all pork chops, are cut from the loin, which basically runs down the pig's back between shoulder and tush. (I say tush because butt is confusing on a pig — more on that never.)
It's a good, tender cut, once reserved for the wealthy, and is where the expression "high on the hog" came from. The loin gets cut into chops if we're having chops. Rib chops come from behind the shoulder and can be pretty varied depending on whether they're cut from closer to the shoulder or the tuchus. (Technical term.)
Regardless, they take well to brining and searing, and they should cook nice and evenly, so they're a good choice for this dish.
How to serve these chops
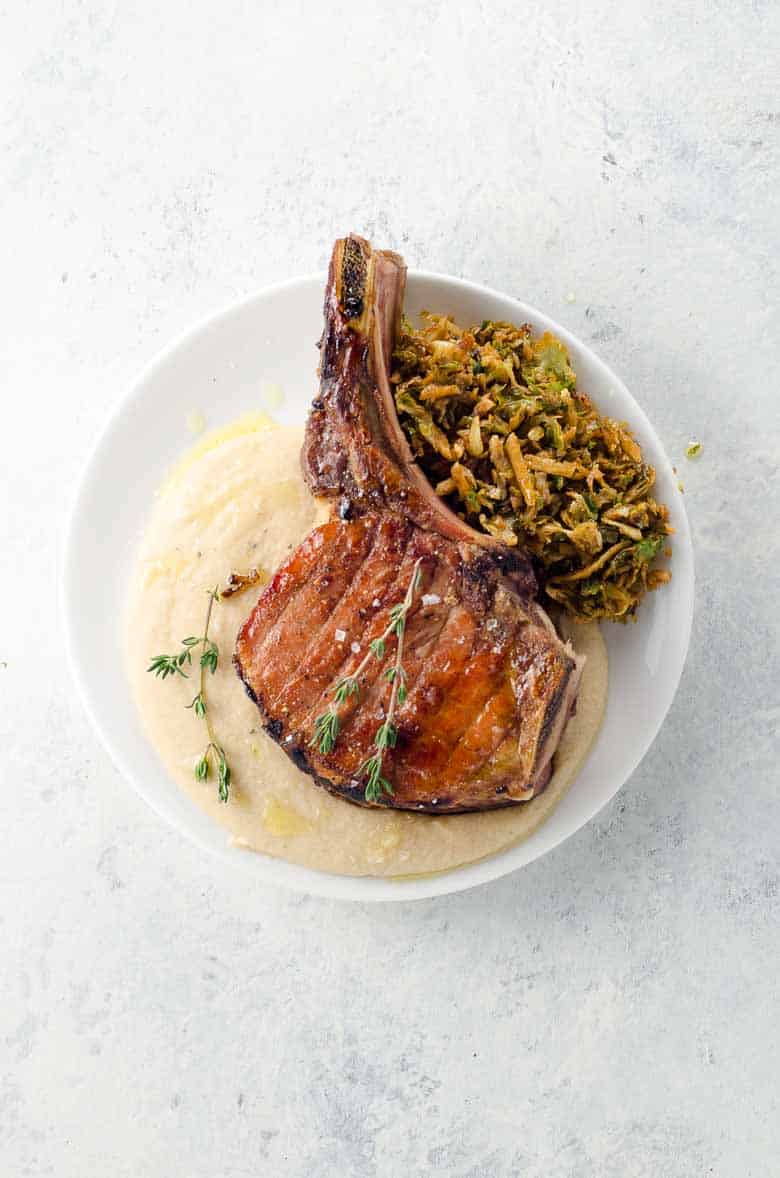
Reverse sear pork chops with shallot herb pan sauce go well with a wide variety of traditional side dishes. They're pictured here over brown butter white bean puree.
They'd also be great with:
- Yukon gold mashed potatoes
- Basmati rice pilaf
- Lemony orzo
- Mixed greens with perfect balsamic vinaigrette
- Broccolini
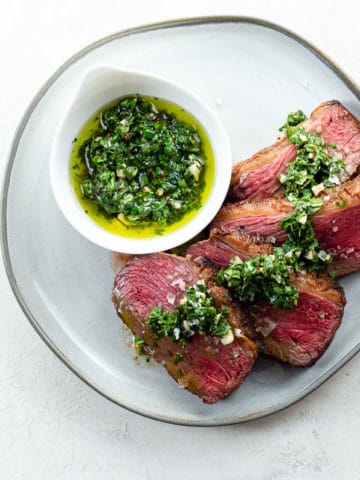
Psst...reverse searing is also a great technique to use on steak.
Hungry for more?
Subscribe to Umami Girl's email updates, and follow along on Instagram.
Reverse Sear Pork Chops with Quick Shallot Herb Pan Sauce
Equipment
Ingredients
For the dry-brined pork chops
- 6 bone-in pork rib chops cut 1 ½ inches thick (see note)
- 2 teaspoons fine sea salt
- 1 teaspoon sugar
- 6 tablespoons vegetable oil (divided)
For the pan sauce
- 2 tablespoons butter
- 1 shallot (minced)
- 1 sprig fresh time
- 1 sprig fresh sage
- 2 tablespoons flour
- ¼ cup dry white wine
- 1 ½ cups stock
- ¼ cup chopped fresh flat-leaf parsley
Instructions
- The night before serving, place a wire rack on a rimmed baking sheet and lay pork chops on top. In a small bowl, combine salt and sugar and rub evenly over chops. Place, uncovered, in refrigerator.
- Preheat oven to 250°F with a rack in the center. Place pan in oven as-is and bake chops until an instant meat thermometer reads 110°F, which should take about 30 minutes. Start checking after 25 minutes. (I need you to trust this process -- don't raise the oven temperature, and don't be tempted to cook the chops past 110° at this stage. It will all work out in the end.)
- Heat two tablespoons of the oil in a 12-inch cast iron skillet over high heat. Turn on an exhaust fan — things could get exciting.) When the oil begins to smoke, add two pork chops to the pan. Sear for about one minute on the first side without tinkering — chop should be deep golden-brown. Then flip and sear a minute or so on the other side until beautifully golden. Finally, stack the chops and pick them up with tongs, holding the “fat cap” (the fatty side of the chop) against the bottom of the pan to sear. Remove chops to a plate, pour off used oil (but don't wipe pan), and cook remaining chops two at a time in the same way, starting with fresh oil. (Or use multiple skillets).
- To make the sauce, pour the used cooking oil out of the pork chop pan and discard, but don't wipe or wash the pan. You want to keep all those good cooked-on bits. Set the pan over low heat and melt the butter. Add shallot, thyme and sage and cook, stirring, for just a minute until the shallot is tender but not too brown. Stir in flour, raise heat to medium, and cook for a minute or two, until very frothy. Stir in wine and stock (along with any accumulated juices from the chops) and sprinkle with salt and pepper. Cook until thickened to a gravy consistency, about 5 minutes. Off the heat, stir in parsley. Spoon sauce over plated pork chops just before serving.
Video
Notes
Nutrition
Hungry for more?
Subscribe to Umami Girl's email updates, and follow along on Instagram.




Ed says
Very good! I used a cheap bottle of marinade and Weber Steak & Chops seasoning. Probably about 1/3rd the bottle of marinade (not much) and gave my 1"+ thick boneless chops a nice layer of that (don't forget you have to season extra for fatter cuts, because you're seasoning the outside, too). Let them marinade for an hour and 15 mins outside the fridge before popping them into the oven at 250F. Absolutely delicious, just wish I would have, and I will be next time, marinated them overnight.
After they hit 110F with a probe inserted (I always use the probe on the thicker piece of meat and aim for lower numbers like exactly 145F) then into super hot cast iron with oil, but I used Avocado Oil, so it wasn't quite smoking when I added the chops, but boy did they sizzle away! It was a bit over a minute each side for my preferred crust and then fried the fat away from the all the outside edges. By the time they got taken out they were probably around 150F or slightly more, but with all that oil and marinade goodness, they came out perfectly, very juicy and definitely not even close to overdone.
I only wish my butcher cut his meat "straight" because it always seems to bulge on one side and even if I leave the pan to heat back up in between turning I can never get the perfect crust on both sides, only the first.
This is one for the recipe bookmarks and I will be tweaking it more next time I use it! and don't think, like I have before, that 2tbsp of oil is a lot, it's really not and is just about gone completely from the pan when you're done with 2 chops.
I didn't try pan sauce because I always fail miserably, but the juices from the chops themselves after resting was plenty to put over top of both and very flavorful.
Thanks!
onawildadventure says
Loved this recipe! Your technique for this is perfect. I didn't even need the gravy. One key thing is the quality of the pork chops - try to buy from a local farm or butcher, if you can. I believe it makes a lot of difference in the taste. Yum!