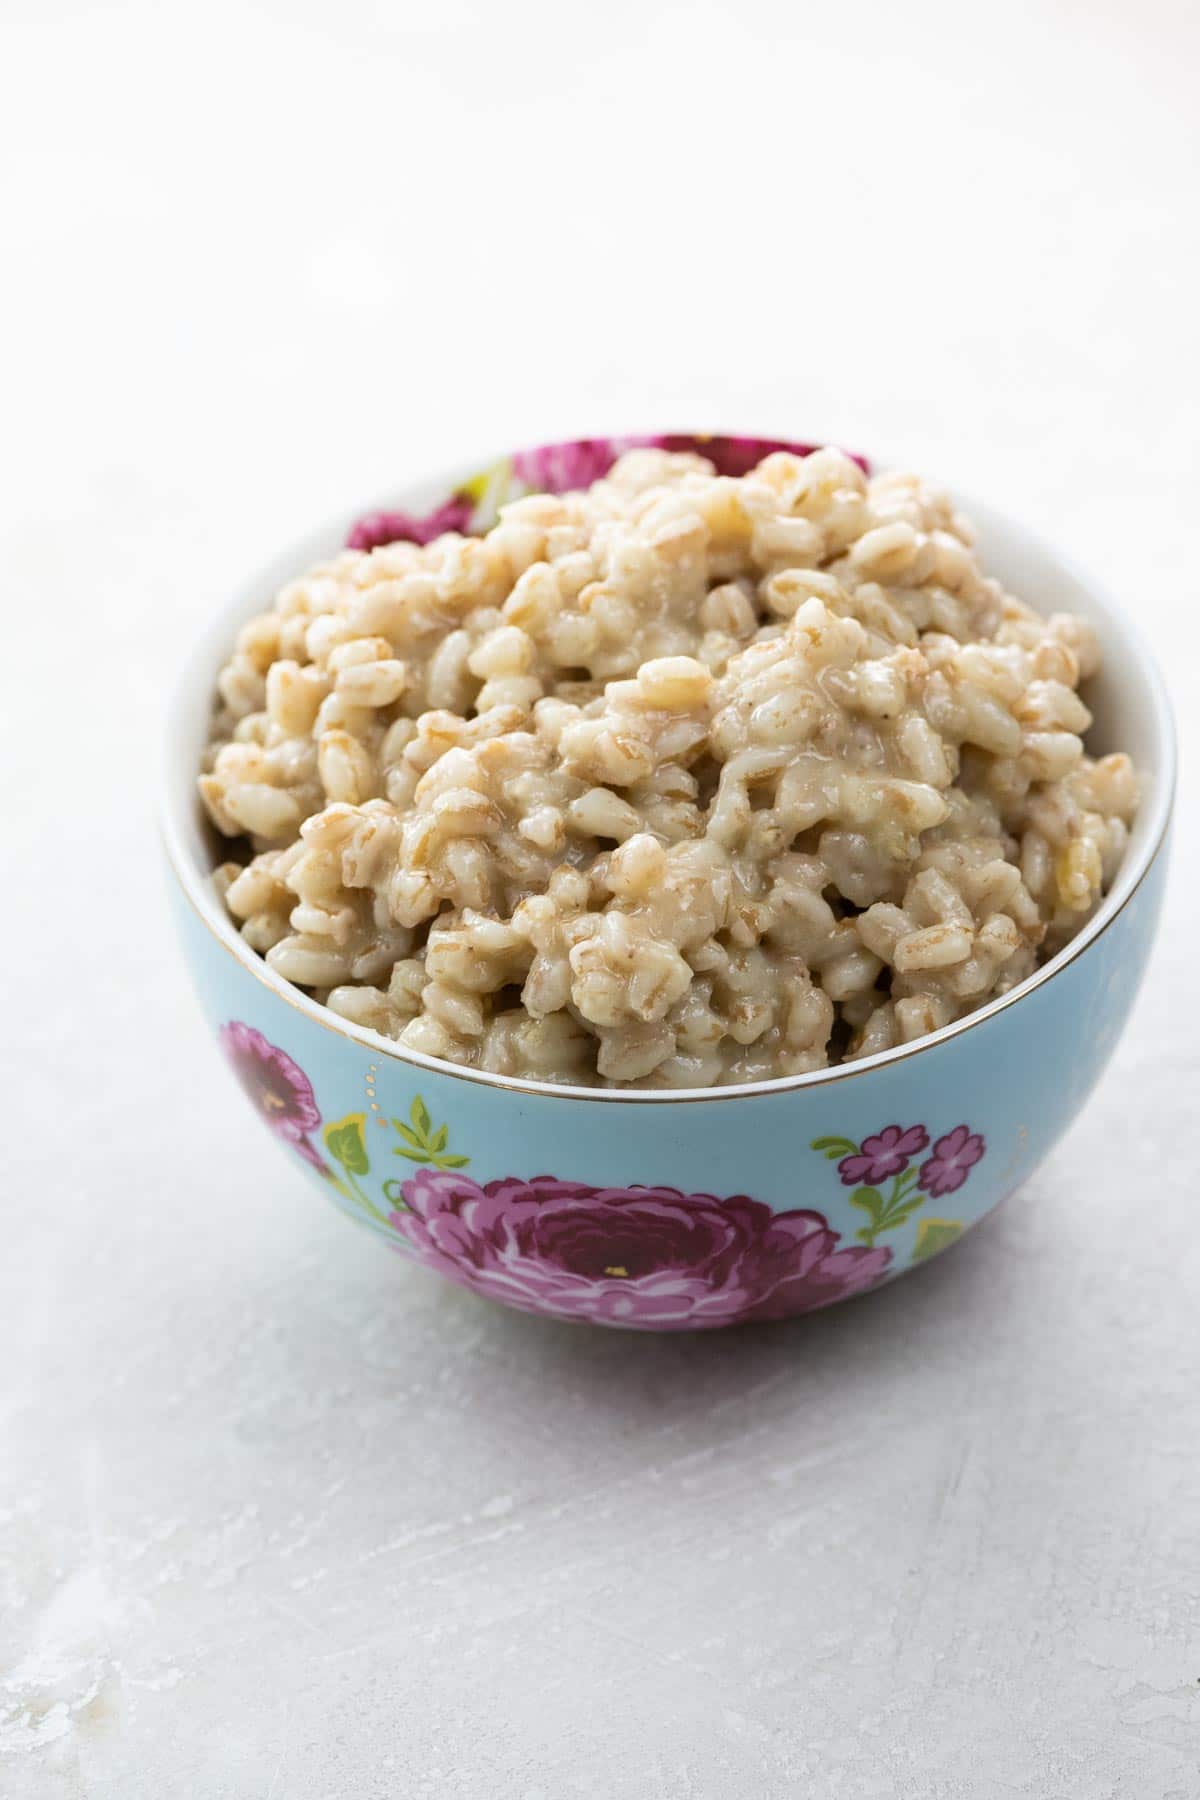
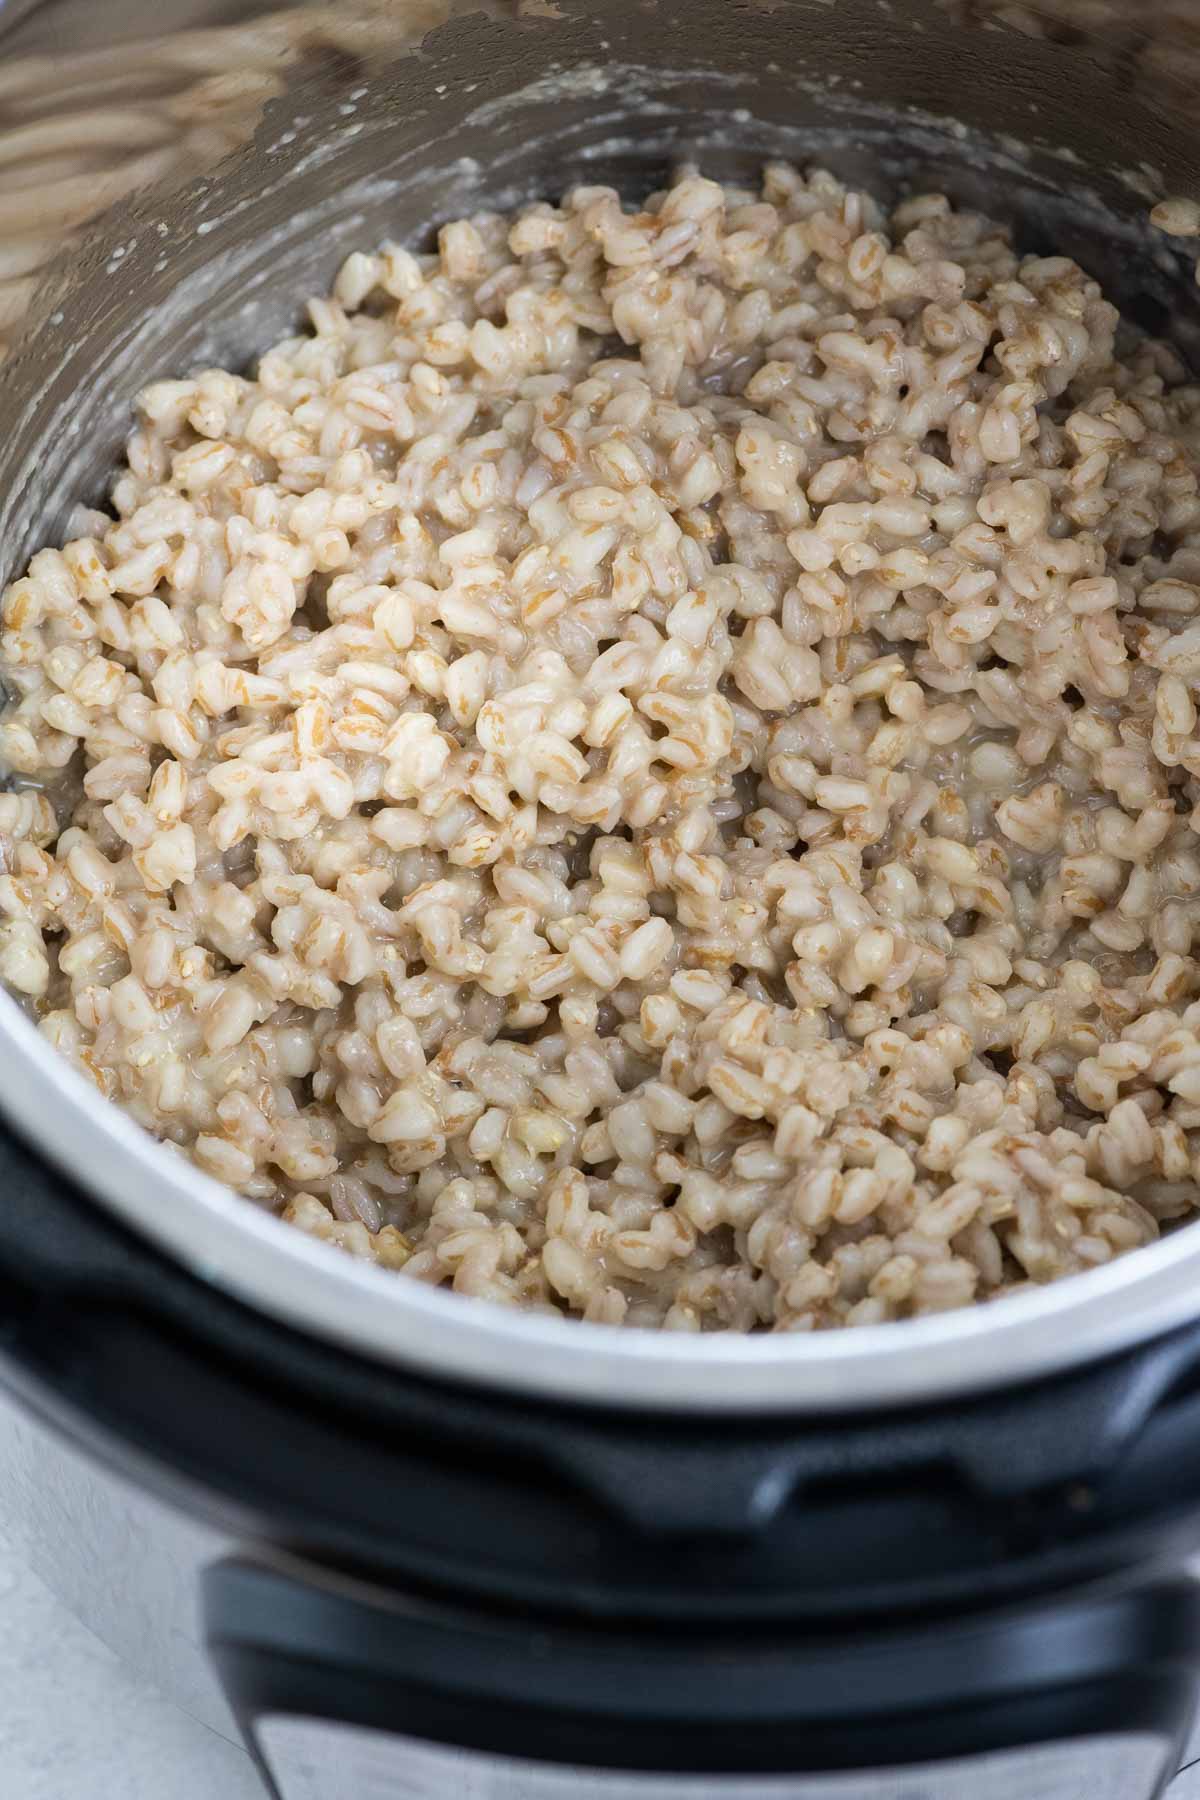
Instant Pot farro creates beautiful, consistent results with a totally hands-off process. Includes instructions for achieving a variety of textures for use in salads, soups, and risotto-style dishes.
Why this recipe works
I love to use the Instant Pot for grains. The sealed environment produces much more consistent results than stovetop cooking, and for intact grains with long cooking times, pressure cooking can really speed things up.
This post:
- Explains the different varieties of farro
- Helps you identify what you've got, which is trickier than it may seem
- Includes a variety of liquid ratios and cooking times to help you achieve the particular result you're after
What you'll need
Here's a glance at the ingredients you'll need to make this recipe.
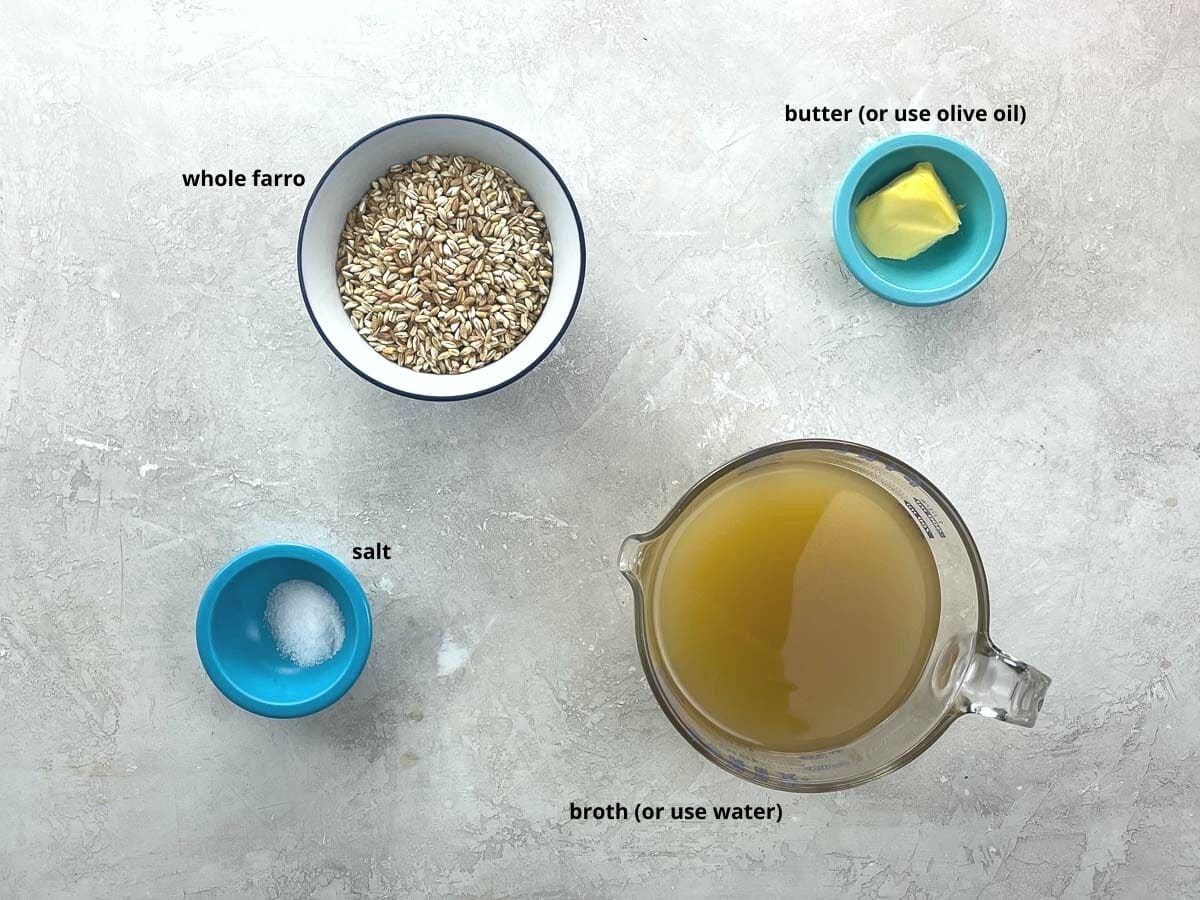
- Whole farro is an intact grain that still contains all its flavor and nutritional value. Since the Instant Pot reduces cooking time, in my mind there would be no reason not to use it if you can find it — but it can be hard to find in the U.S. Semi-pearled farro is more widely available here and still retains much of the flavor and nutrition, so I've calibrated the cooking times as best as possible for that variety. See the section below to learn more about buying farro in the U.S.
- You can use water, chicken broth, or veggie broth (or homemade stock, of course). If using boxed broth, I prefer reduced-sodium varieties. Imagine No Chicken Broth is my favorite boxed veggie broth by far, since it somehow magically has the flavor profile of a good chicken stock rather than being weirdly red and tasting tinny or sweet, as some other vegetable broths can do.
- A little bit of butter coaxes out the farro's beautiful flavor and also helps reduce foaming inside the pot while cooking. To make this recipe vegan, substitute olive oil. Or leave it out entirely if you prefer.
Buying farro in the U.S.
When shopping for farro in the U.S., it can be hard to know exactly what you're buying.
Even premium brands labeled as "whole grain" are typically semi-pearled rather than true whole farro. This includes Bob's Red Mill and Rustichella d'Abruzzo. It's not worth worrying about — just know that you may need to experiment a bit to learn how your brand works in the Instant Pot, and consider finding a brand that you like and sticking with it.
In addition, labeling rarely indicates what size the grain is. Farro sold in the U.S. may be einkorn (the smallest variety), emmer, or spelt (the biggest). Size will affect cooking time a bit, so again, it's best to experiment and/or find a brand you like and stick with it.
The good news is that all types of farro are delicious, and even if you over- or undercook it slightly on your first attempt, it's not the end of the world.
For reference, in creating this post I've used Rushtichella d'Abruzzo "whole grain" farro, which is semi-pearled. It's Triticum Dicoccum, which is emmer, the medium-sized grain. (See the FAQ section for more on grain size.)
How to make it
Here's an overview of what you'll do to make a beautiful batch of Instant Pot farro. You can see the steps in action in the video that accompanies this post, and get all the details in the recipe card below.
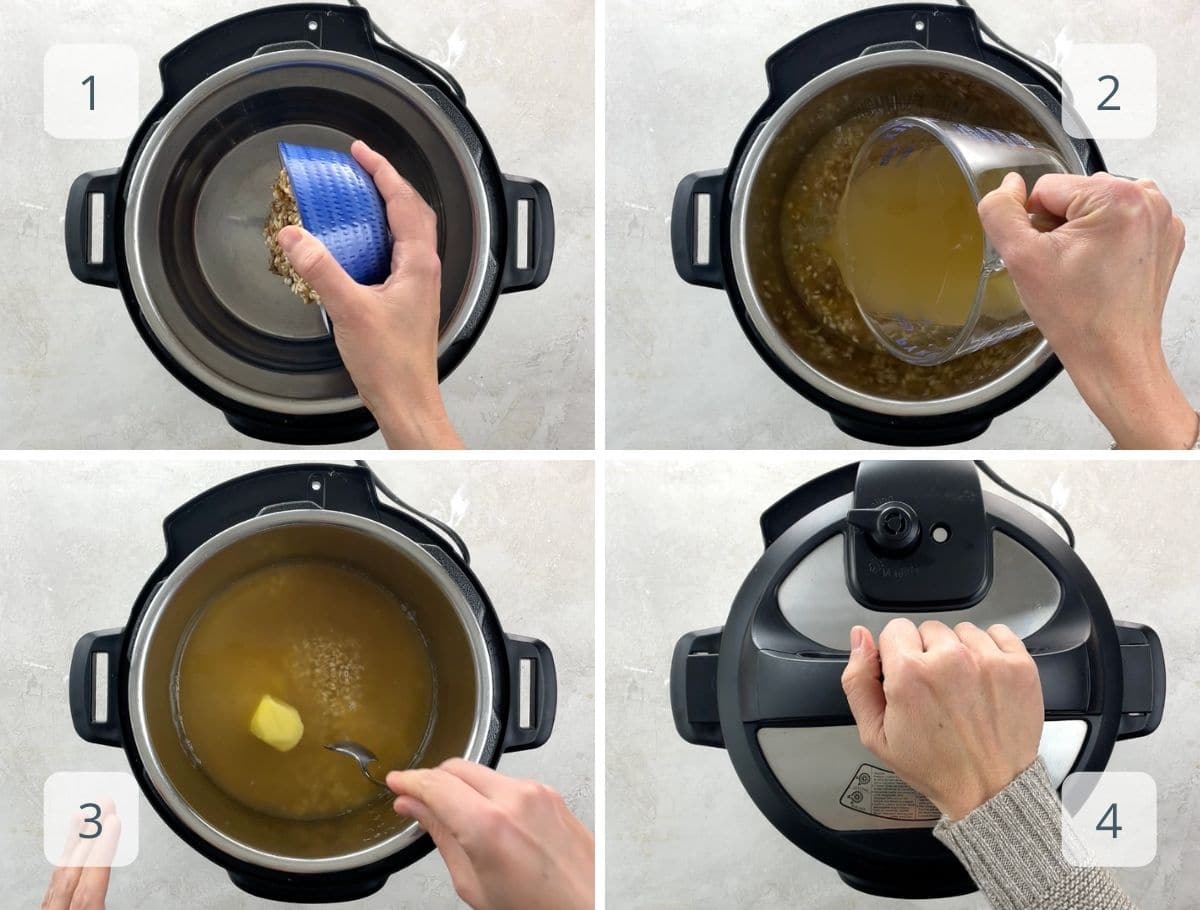
- Soak farro for 20 minutes, then drain. Place drained farro in Instant Pot.
- Add broth or water, salt, and butter or olive oil.
- Give it a stir.
- Position lid, set vent to sealing, and cook on manual, high pressure, for 7 to 15 minutes (see below for how to decide). IP will take about 10 minutes to come up to pressure before the countdown starts. When cooking time ends, let pressure release naturally. Open, stir, and serve or use in recipes.
Liquid ratio
The IP is a sealed environment, so you hardly lose any steam when cooking. That typically means that grains require a lower ratio of liquid than when cooking on the stovetop.
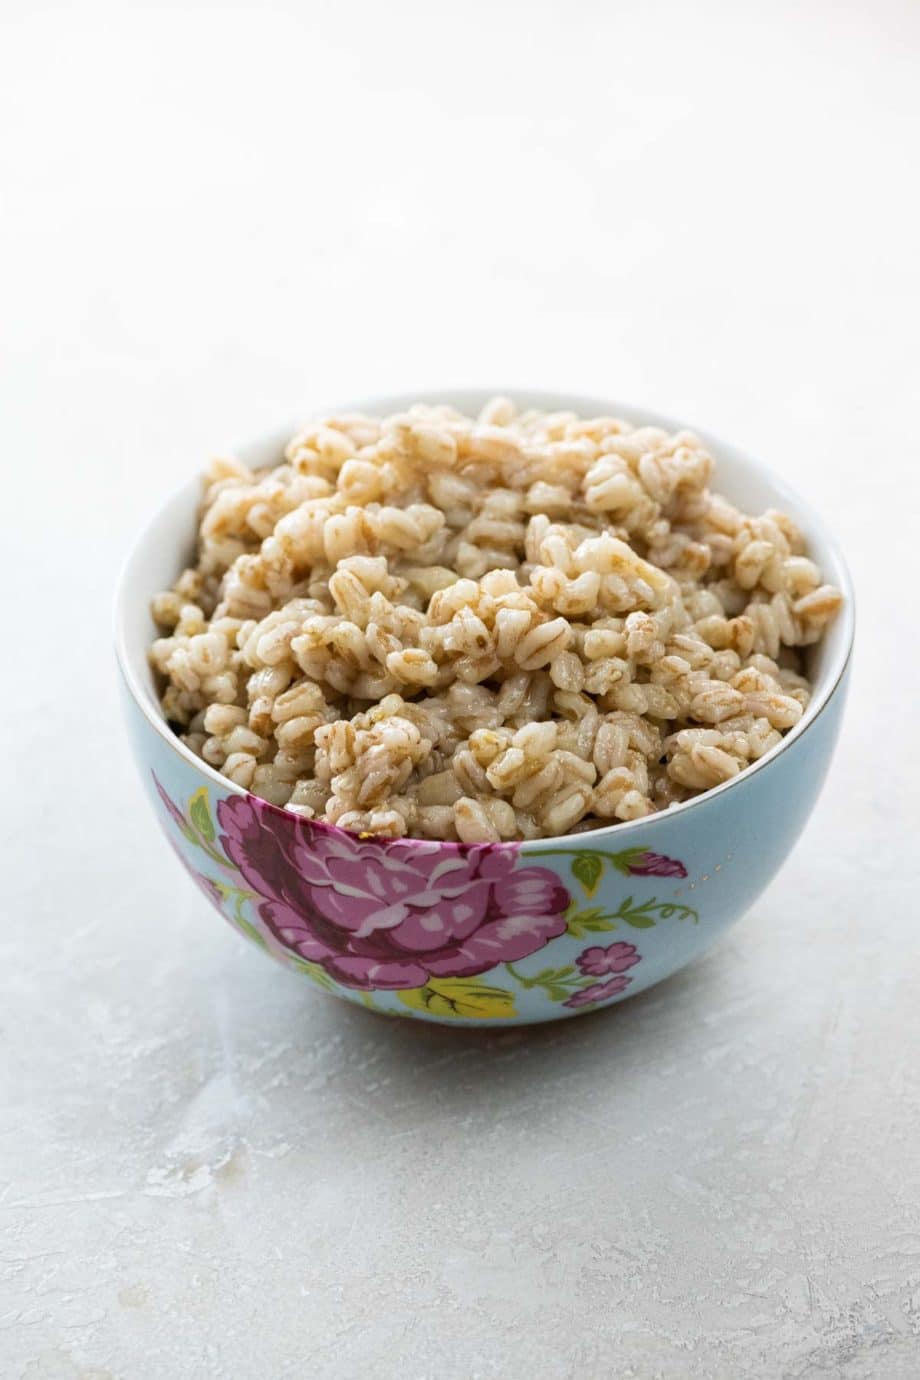
For farro, this means you can start with a ratio as low as 1.5:1 for chewy grains that retain their shape in a salad. On the other end of the spectrum, farro cooked in up to 3:1 ratio makes a beautifully creamy, risotto-like dish.
- To use in salads: Use a 1.5:1 ratio of liquid to grains by volume (so 1 ½ cups of liquid for each up of dry farro)
- For soups or anywhere you'd like a plump grain that retains a bit of texture: Use a 2:1 ratio
- For farrotto: Use up to a 3:1 ratio for a luxurious, creamy result without much bite left (or less if you prefer a more toothsome texture)
Cooking time
Cooking time also has a substantial effect on texture. There's no getting around the fact that the type of farro you've bought (which may not be 100% evident) will dictate the proper timing, and you may need to experiment a bit. But here's a basic indication of where to start. Use manual, high pressure for all timings.
- For firm farro, cook for 7 minutes with natural pressure release.
- To achieve what I'd consider the sweet spot for most recipes served hot, cook for 10 minutes with natural pressure release.
- For very soft farro, cook for 15 minutes with natural pressure release.
General recommendation
If you're just starting out with farro and will be serving it as a side dish, use a 2:1 liquid ratio and cook it for 10 minutes with natural pressure release.
Expert tips and FAQs
Farro is an ancient variety of wheat. These days, it comprises multiple varieties including einkorn, emmer, and spelt.
Learn more here if you like.
Whole farro is an intact grain, meaning it retains the bran, germ, and endosperm and all the associated nutrients and flavor. Semi-pearled farro has some of the bran removed, and pearled farro retains virtually none of the bran.
Yes. In a 6- or 8-quart Instant Pot, you can double the ingredients without making any further changes. The IP will take a bit longer to come up to pressure, but you don't need to do anything differently.
You sure can. Regardless of how you'll be using it, you can make a big batch of farro in the IP and keep it in an airtight container in the fridge for a week.
More Instant Pot basics
Hungry for more?
Subscribe to Umami Girl's email updates, and follow along on Instagram.
Instant Pot Farro
Ingredients
- 1 cup (200 grams) whole or semi-pearled farro (see note 1)
- 1 ½ to 3 cups 350 to (700 ml) water or broth (see note 2)
- 1 teaspoon fine sea salt
- 1 tablespoon (14 grams) butter or olive oil
Instructions
- Place farro in a bowl and cover with warm water. Soak for 20 minutes.
- Drain in a fine-mesh sieve, discarding soaking liquid.
- Place farro into a 6- or 8-quart Instant Pot along with broth or water, salt, and butter or olive oil.
- Position the lid and set the vent to sealing position.
- Cook on manual, high pressure. For firm farro, cook for 7 minutes. For softer farro that retains a great bit of chewiness, cook for 10 minutes. For soft, creamy farro that resembles risotto, cook for 15 minutes.
- Allow the pressure to release naturally.
- Stir and serve or use in recipes.
Notes
- When shopping for farro in the U.S., it can be hard to know exactly what you're buying. Even premium brands labeled as "whole" are typically semi-pearled. This includes Bob's Red Mill and Rustichella d'Abruzzo. It's not worth worrying about — just know that you may need to experiment a bit to learn how your brand works in the Instant Pot, and consider finding a brand that you like and sticking with it. I've done my best to calibrate the cooking times here for semi-pearled farro, but your mileage may vary.
- For firm farro to use in salads, use a 1.5:1 ratio of liquid to grains by volume (so 1 ½ cups of liquid per up of dry farro). For a nice, plump grain that still retains a bit of chewiness, great as a side dish or for adding to soups, use a 2:1 ratio (so 2 cups of liquid). For risotto-style farro, use up to a 3:1 ratio to yield a luxurious, creamy result without much bite left — or use a little less if you prefer a more toothsome texture.
- In a 6- or 8-quart Instant Pot, you can double the ingredients without making any further changes. The IP will take a bit longer to come up to pressure, but you don't need to do anything differently.
- Farro keeps well in an airtight container in the fridge for a week.
Nutrition
Hungry for more?
Subscribe to Umami Girl's email updates, and follow along on Instagram.




Leave a Reply