This post may contain affiliate links. Learn more.
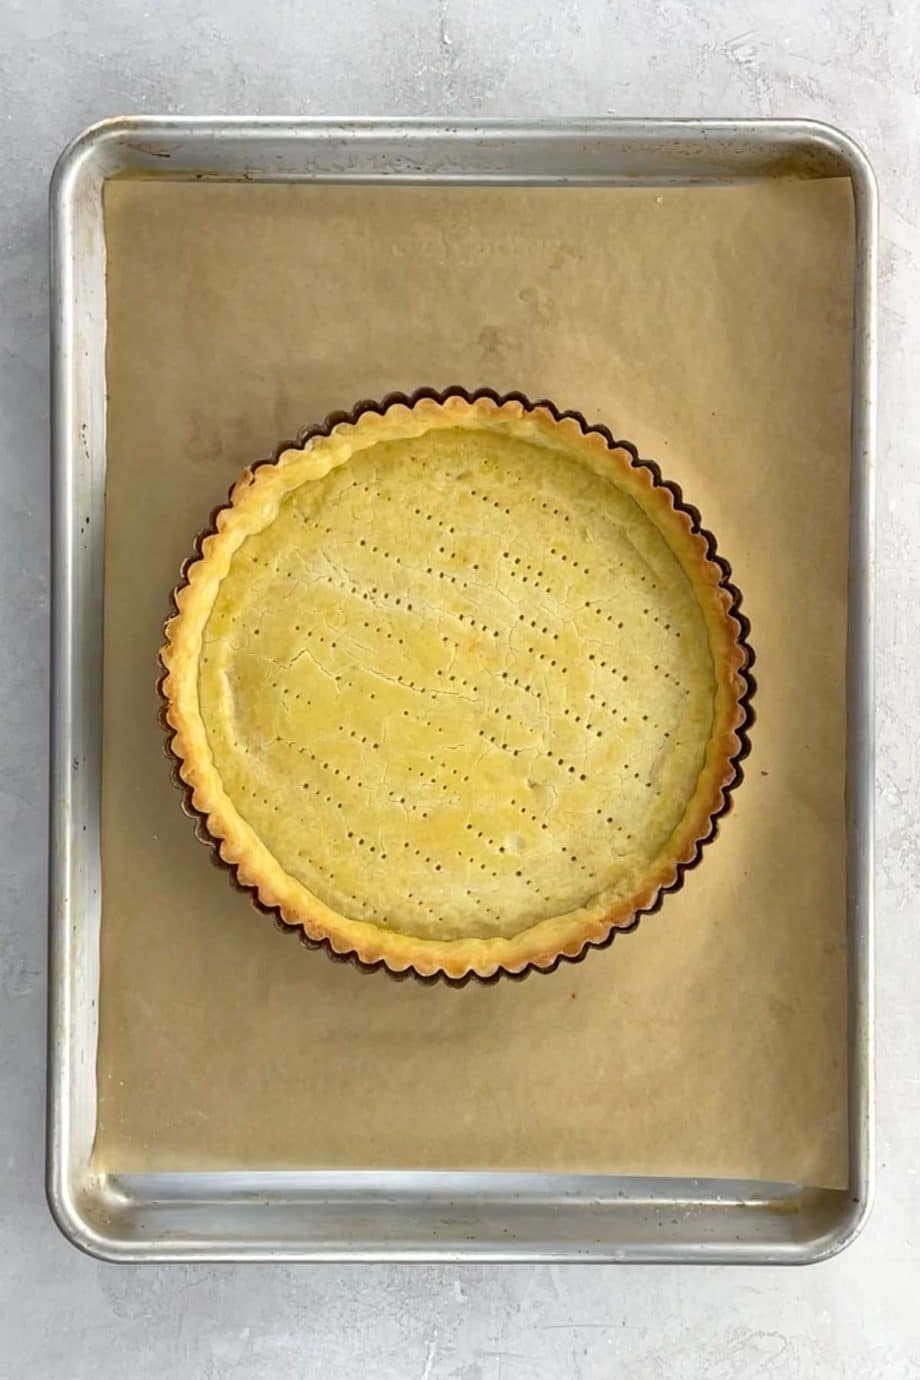
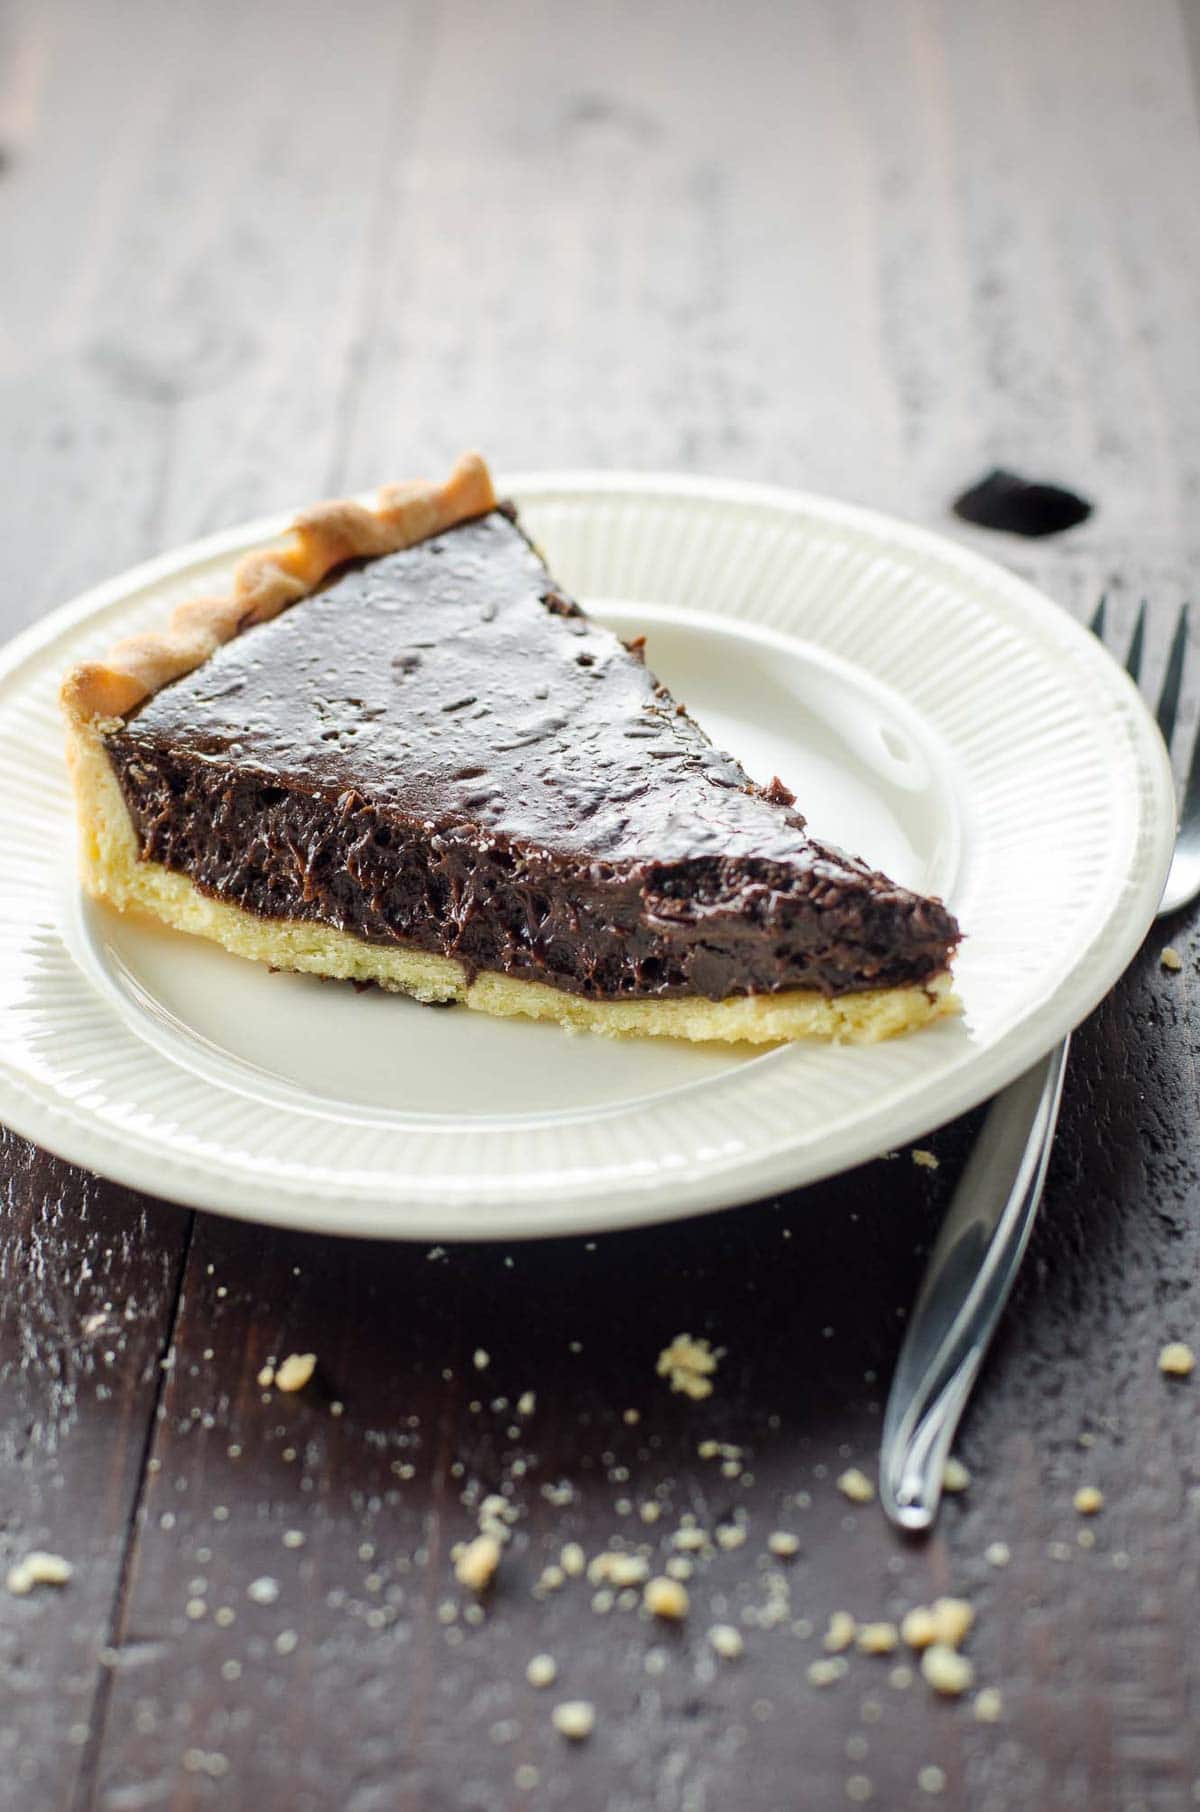
This buttery shortbread tart crust makes a delicious bed for a wide variety of fillings. It’s easy to make and doesn’t have to be perfect to be great. Here’s how to do it.
Why we love this recipe
This is my favorite shortbread tart crust. It’s:
- Buttery and gently sweet
- Somewhere between flaky and crumbly
- Not too thin, not too thick
- Amenable to a wide variety of fillings
- Pretty easy to work with, and totally forgiving if you don’t do it perfectly
I first published this recipe here in 2017, adapted from Simon Hopkinson’s bittersweet chocolate tart, which I’ve been making as often as possible for decades. I’ve since updated the post for clarity and added an optional egg wash, but the recipe remains otherwise the same.
What you’ll need
Here’s a glance at the ingredients you’ll need to make this recipe. It’s not much!
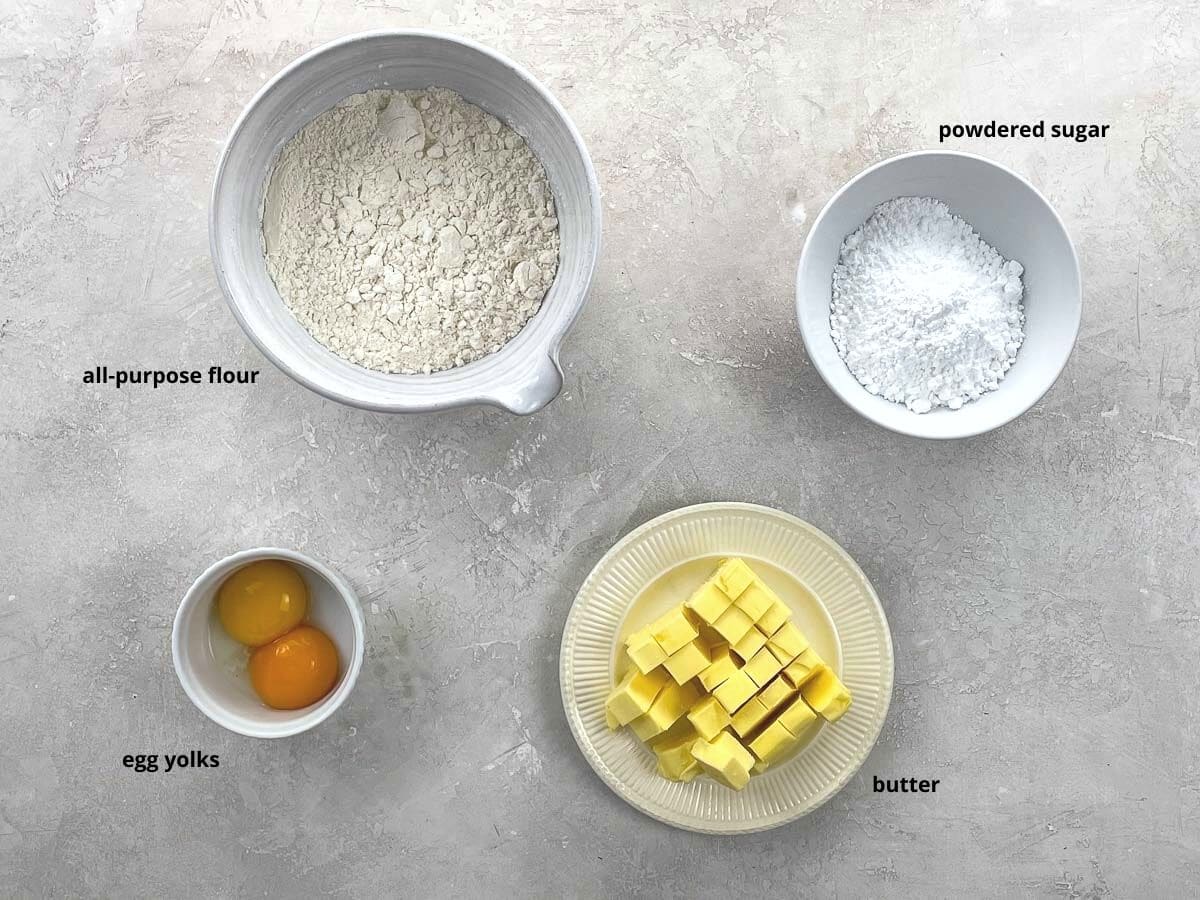
- All-purpose flour gets the job done without a fuss. As long as you don’t overwork it, this crust is beautifully tender with no need for special pastry flour.
- You don’t even need to sift the powdered sugar (also called confectioners sugar and 10x sugar) ahead of time, since you’ll be blitzing it in the food processor.
- You can use salted or unsalted butter. I like to use a good cultured, salted butter for the vastly superior flavor. It sounds fancy but doesn’t have to be. Kerrygold, for example, is widely sold in supermarkets for a reasonable price.
How to make it
Here’s an overview of what you’ll do to make a fabulous shortbread tart crust. You can see the steps in action in the video that accompanies this post, and get all the details in the recipe card below.
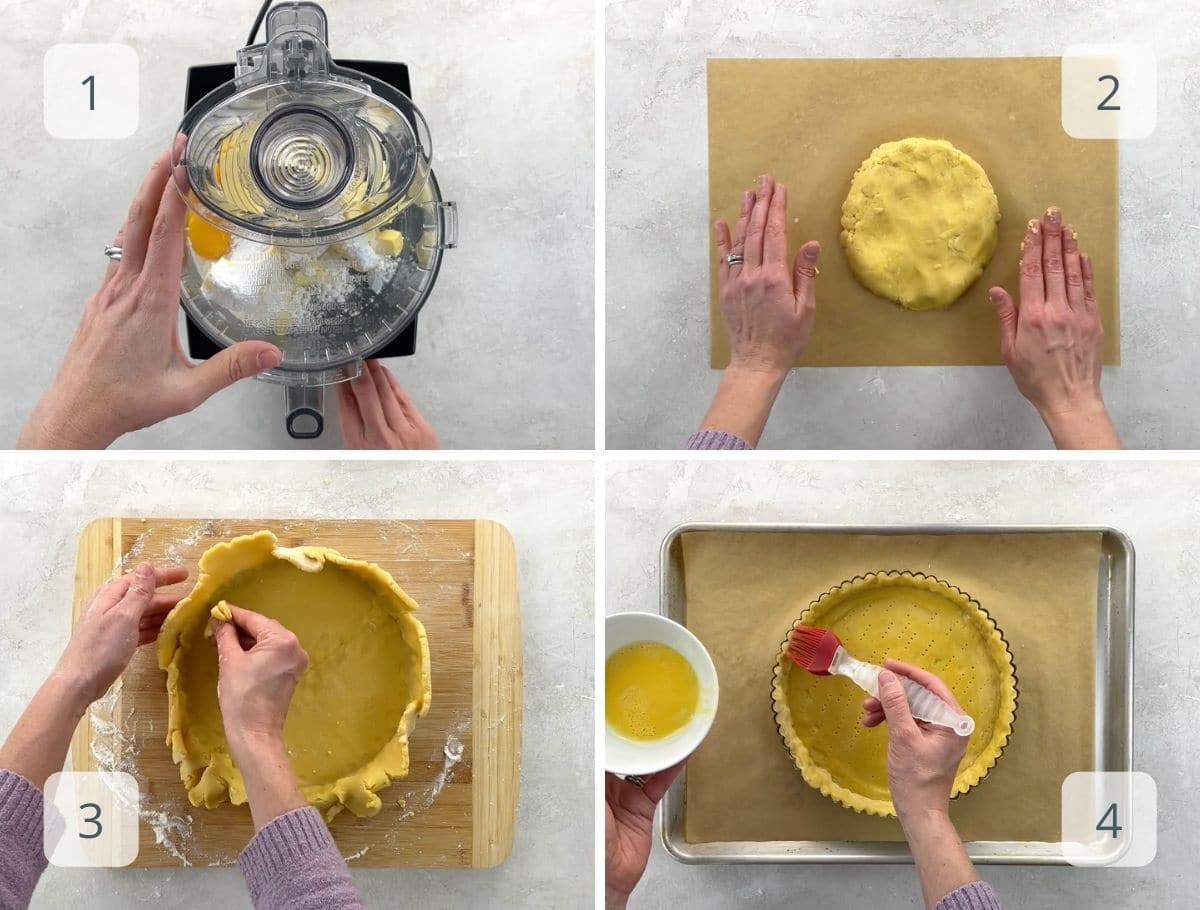
- Pulse together the butter, sugar, and egg yolks. Add the flour and process just until it comes together when you pinch the dough with your fingers.
- Turn out onto parchment, knead a few times to bring together, and shape into a disc. Wrap and chill for at least 30 minutes, then leave at room temperature for 15 minutes.
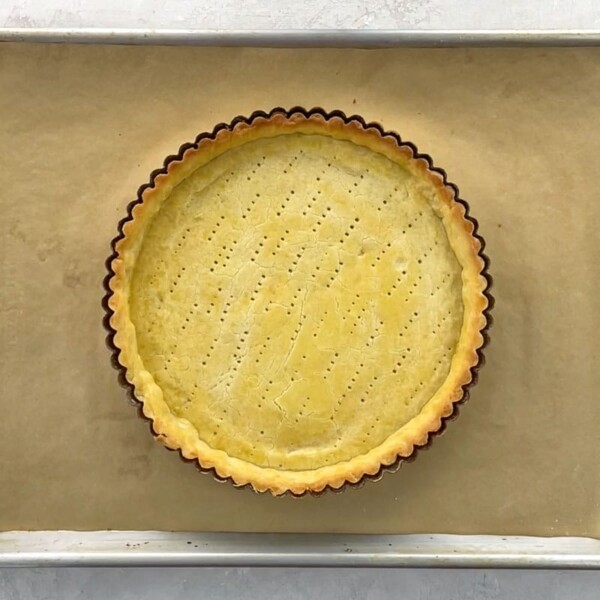
- Roll out onto a floured work surface and gently edge dough into tart pan. Prick the bottom all over with a fork.
- Cover with parchment and dry beans or pie weights. Bake at 350°F for 15 minutes, then remove beans and parchment, brush with egg wash if you like, and return to oven for at least 10 minutes (depending on whether you’ll be cooking the filling in the tart shell).
How to use it
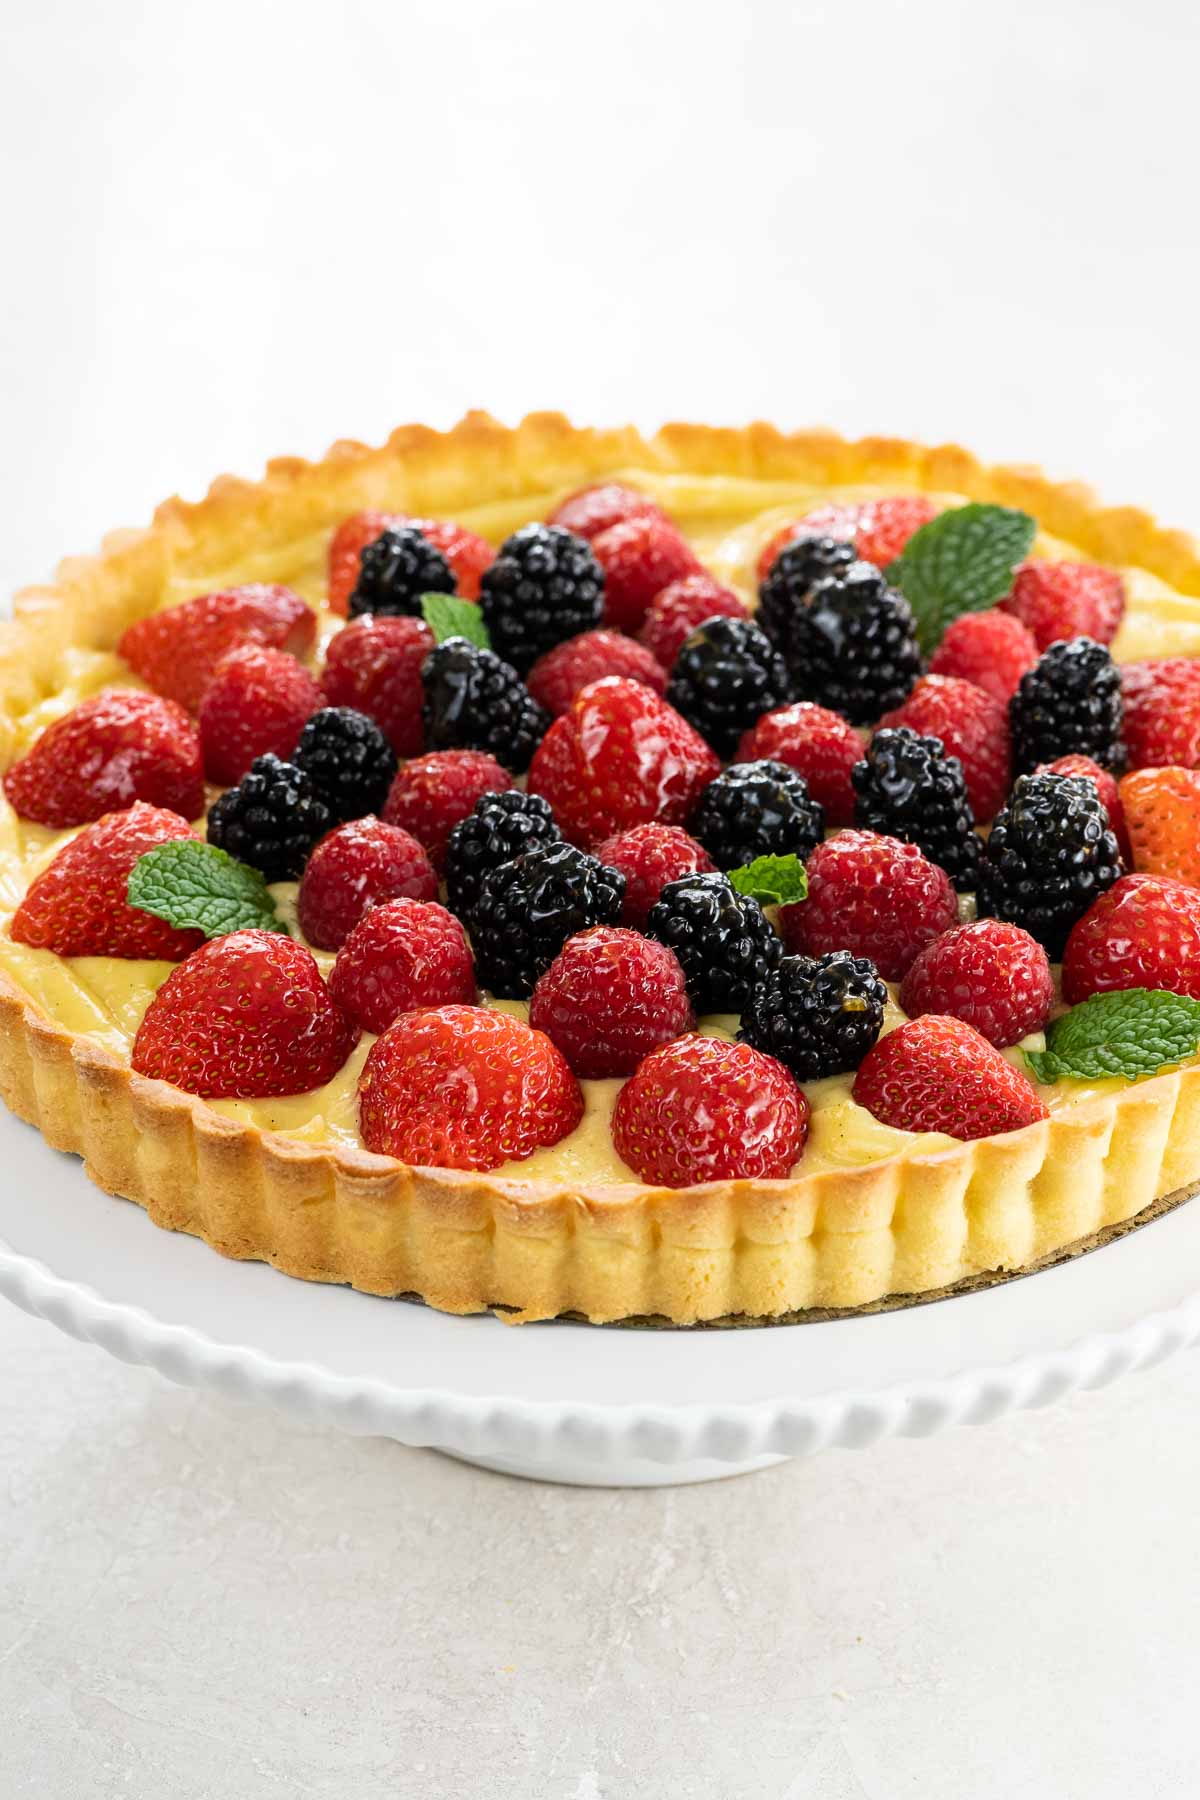
This is a super-adaptable crust that pairs well with many fillings. Here are a few easy favorites:
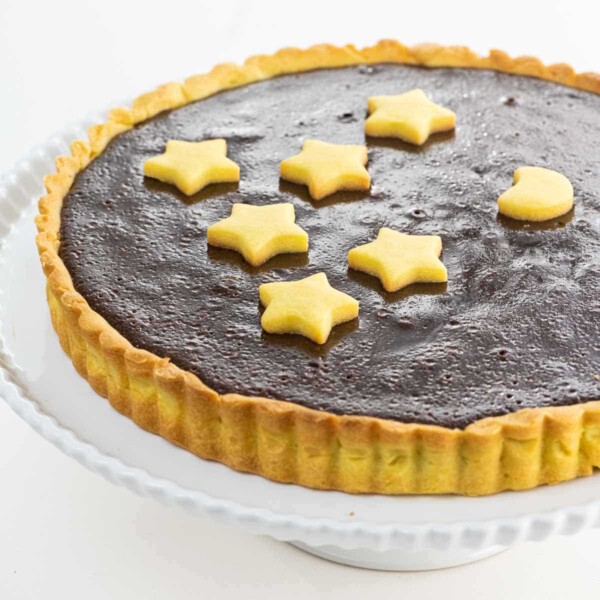
- The luscious bittersweet chocolate custard where it all began
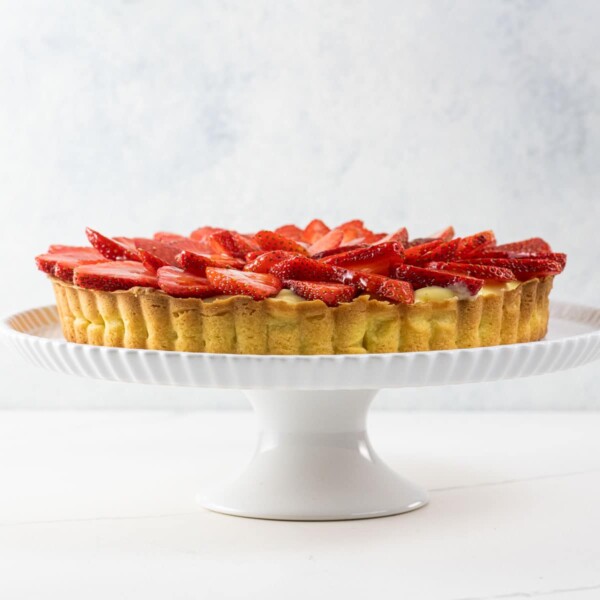
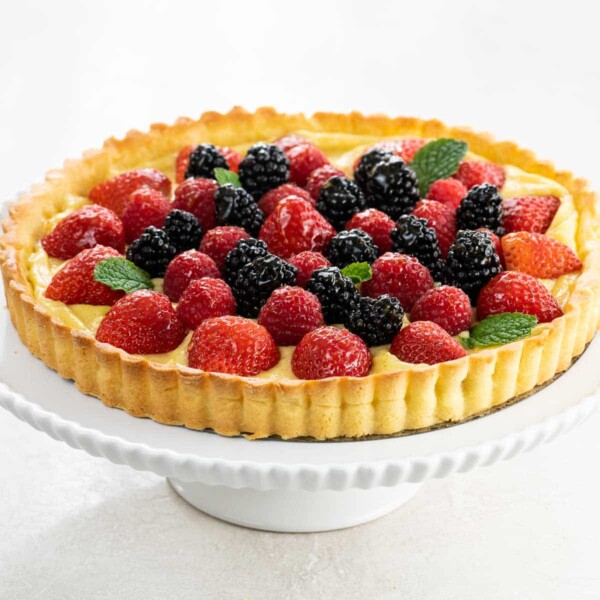
- Lemon curd or (grapefruit curd!) with fresh berries
- Classic chocolate or vanilla pudding
- Nutella, sliced banana, and whipped cream
- Balsamic strawberries and whipped cream
Expert tips and FAQs
If you haven’t overworked it, this dough will be nice and “short” (as the Brits say), meaning is has a nice tender crumble when baked. Although the dough is fairly easy to work with, it can definitely develop a tear or crack here and there as you edge it into the tart pan. Don’t worry about this one bit. If it rips a little, patch it and be on your way. As you can see from the photos, it doesn’t have to be perfect to be great — and it will heal itself pretty efficiently in the oven.
I try to make shortbread tart crust on the day I plan to serve it since butter pastry is at its best in the first 24 hours. If you need to get a head start, you can prepare the dough in advance and freeze it either as a disc or in a tart shell before baking. Either way, wrap it very well in plastic wrap followed by foil followed by a zip-top freezer bag. Use within six months.
Depending on what’s in it, leftover filled tart shell will keep in an airtight container in the fridge for up to a week.
More favorite shortbread recipes
Summarize & Save This Content On
Shortbread Tart Crust
Ingredients
For the dough
- 12 tablespoons (168 grams) cold butter, diced
- ⅔ cup (75 grams) powdered sugar
- 2 egg yolks
- 2 cups (240 grams) all-purpose flour
For the egg wash (optional)
- 1 egg
- 1 tablespoon water
Instructions
- Place the butter, powdered sugar, and egg yolks in the bowl of a food processor fitted with the blade.
- Pulse until combined but still speckled with butter.
- Add the flour and run the machine just until the dough comes together when you pinch it between your fingers.
- Turn dough out onto a large piece of parchment, knead a few times to bring it all together, and pat it into a disc shape.
- Wrap well in the parchment and chill for about half an hour.
- Preheat the oven to 350°F with a rack in the center.
- Remove dough from the fridge and let it rest on the counter for 15 minutes.
- Sprinkle a bit of flour on your work surface and over the surface of the dough. Roll out the dough with a rolling pin to an approximately 12-inch circle.
- Transfer the dough very carefully to a 10-inch tart pan with a removable bottom, pressing on the dough lightly so it sits snugly against the bottom and sides of the pan. Prick the bottom of the shell all over with a fork. Place the whole thing onto a baking sheet.
- Place a piece of parchment paper over the shell, making sure to cover the edges. Spread plenty of dried beans or pie weights over the parchment, covering the whole bottom of the tart shell.
- Bake for 15 minutes this way, then remove the parchment and beans.
- If you would like to egg wash the tart, beat the egg and water together with a fork in a small bowl. Brush the shell with a bit of the egg wash. (You'll have a lot left over and can use it to make scrambled eggs if you like.)
- Return shell to the oven for at least an additional 10 minutes. If you'll be using a fully cooked filling, bake until shell is completely cooked through, probably about 15 minutes. If edges start to color too much, you can cover them lightly with foil. If you'll be cooking the filling inside the shell, add it after the 10 minutes.
- Remove from the oven and cool completely before filling.
Notes
- You can use salted or unsalted butter. I like to use a good cultured, salted butter for the vastly superior flavor. It sounds fancy but doesn't have to be. Kerrygold, for example, is widely sold in supermarkets for a reasonable price.
- If you haven't overworked it, this dough will be nice and "short" (as the Brits say), meaning is has a nice tender crumble when baked. Although the dough is fairly easy to work with, it can definitely develop a tear or crack here and there as you edge it into the tart pan. Don't worry about this one bit. If it rips a little, patch it and be on your way. As you can see from the photos, it doesn’t have to be perfect to be great — and it will heal itself pretty efficiently in the oven.
- I try to make shortbread tart crust on the day I plan to serve it since butter pastry is at its best in the first 24 hours. If you need to get a head start, you can prepare the dough in advance and freeze it either as a disc or in a tart shell before baking. Either way, wrap it very well in plastic wrap followed by foil followed by a zip-top freezer bag. Use within six months.
- Depending on what's in it, leftover filled tart shell will keep in an airtight container in the fridge for up to a week.
Serving suggestions
This is a super-adaptable crust that pairs well with many fillings. Here are a few easy favorites:- The luscious bittersweet chocolate custard where it all began
- Lemon curd or (grapefruit curd!) with fresh berries
- Classic chocolate or vanilla pudding
- Nutella, sliced banana, and whipped cream
- Balsamic strawberries and whipped cream
Nutrition
Nutrition information is automatically calculated, so should only be used as an approximation.



Great recipe! The dough is super easy to work with and very quick to whip up. I love using this for tarts.
Thanks, Ava! I’m so glad.